4. Screens
MMP1 Operation Manual
43
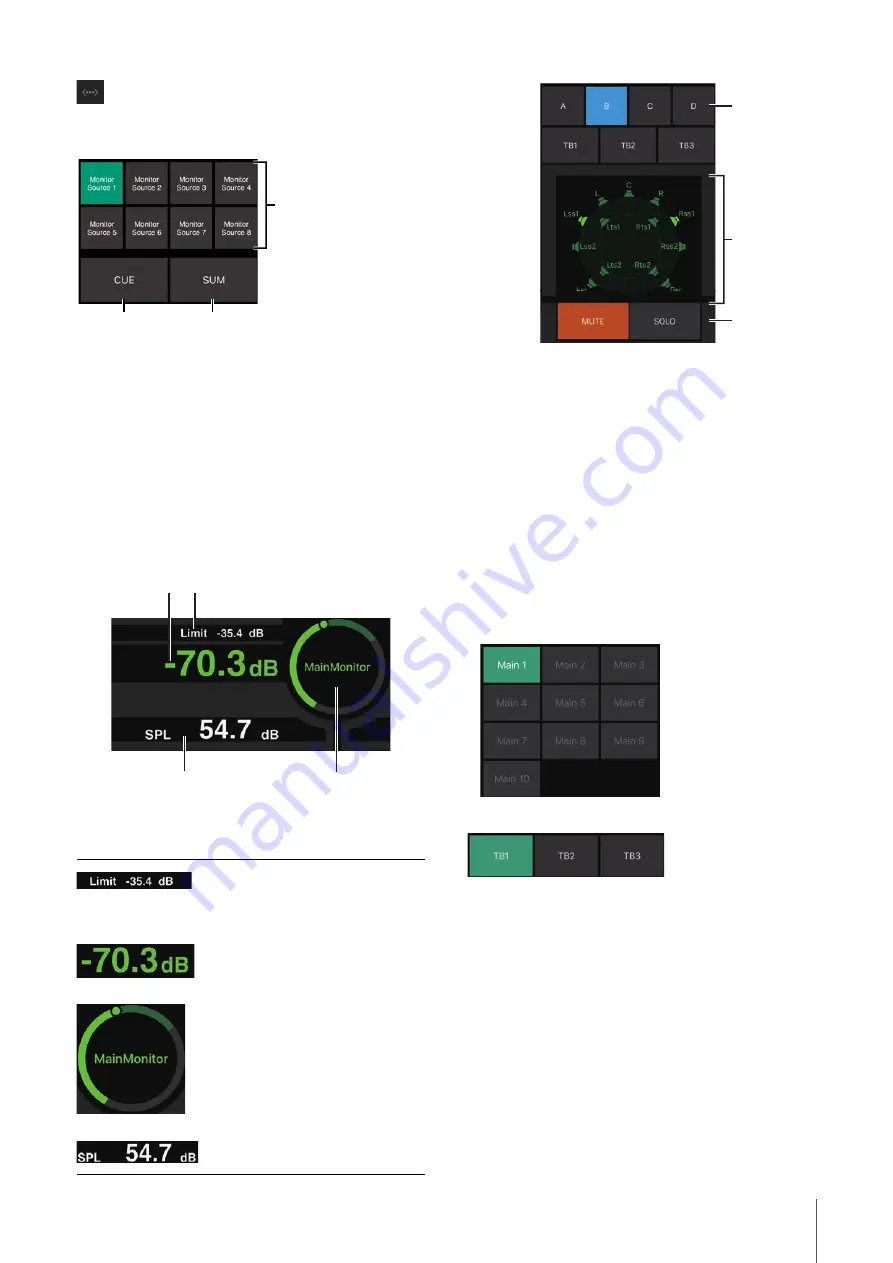
Displays the online (green)/offline status. Also, tap to
display the “Select MMP1” dialog box.
1
Off:
Monitor Source selection buttons will appear in the
area
3
on the image.
On (green):
Cue output selection buttons will appear in
the area
3
on the image.
2
Turn on (green) when mixing multiple Monitor Sources.
This cannot be turned on when Cue output selection
buttons are displayed.
3
Select the audio to be monitored.
NOTE
You can set which input source audio can be monitored while the
corresponding “Monitor Source” button is pressed in the MMP1
Editor.
1
Tap the value you want to change.
2
Drag the pointer to adjust the selected value.
1
Select a Speaker Set.
2
Select a speaker.
3
Tap MUTE to mute the speaker selected in
2
.
Tap SOLO to output audio from the speaker selected
in
2
.
NOTE
• Speaker Sets can be set in the MMP1 Editor.
• Up to 12 channels can be displayed as the send destinations.
If there are 13 or more channels on the Main Monitor, only the
first 12 channels will appear here.
• Area
2
of the image will appear differently depending on
whether you used the Setup Wizard or not when configuring
basic settings.
When Setup Wizard is not used, buttons to select the Main
Monitor for output destinations will appear as below.
Turn Talkback on (green)/off.
NOTE
You can set Talkback interrupt destinations in the MMP1 Editor.
The maximum value for the Monitor
Source level. Slide this up and down to
make minor adjustments in ±0.1 dB
increments.
The Monitor Source level. Slide this up
and down to make minor adjustments in
±0.1 dB increments.
While the Monitor Source level is
selected, double tap to load the
reference level, and hold this down to set
it.
You can turn the SPL level display off by
selecting SPL, and then double tap the
inside of the circle. This will remove the
set value and turn the SPL display off.
Slide this up and down to make minor
adjustments in ±0.1 dB increments.
1
2
3
1
1
2
1
3
1
2


