


Page 14
August 2020 – TD 316 OPERATING MANUAL – Motus Wave Sensor 5729
1.4
Sensor Connection
Aanderaa offers a wide range of cables for different use of the sensors, both standard cables for use with loggers using
AiCaP and RS-232 but also special customer specified cables for use in project. See
chapter 10.3
for an overview of
for more info. To configure the sensor it either need to be
connected to an Aanderaa logger using AiCaP, a real-time RS-232 cable or you need a RS-232 configuration cable.
1.4.1 Configure sensor using RS-232 configuration cable
The 5789 cable is a 1.5 meter configuration cable used for connection between sensor and PC.
The cable is supplied with a USB port providing power to the sensor but since the USB port on a computer normally
gives 5V power and the Motus needs 6-14V the sensor cannot be powered from the computer like for most other
Aanderaa Smart Sensors. A USB extension is supplied with the cable and we recommend connecting the free end to an
external power (6-14V). An alternative solution is
to use a 9V alkaline battery (6LF22) to set the sensor up or log it in the
laboratory.
Sensor Cable 5789 is also available in other lengths.
Cable 5789 do also consist of a read switch that is used for firmware upgrade. This can only be performed by trained
and certified personal. Please contact
To configure/communicate with the sensor you might either use AADI Real-time collector, refer to
and
or you might use terminal software like Tera Term or HyperTerminal, refer
This cable can be used to communicate with the sensor regardless of which mode the sensor is set to. An AiCaP cable
can only be used to communicate with a cable set to AiCaP mode.
Pin configuration is shown in
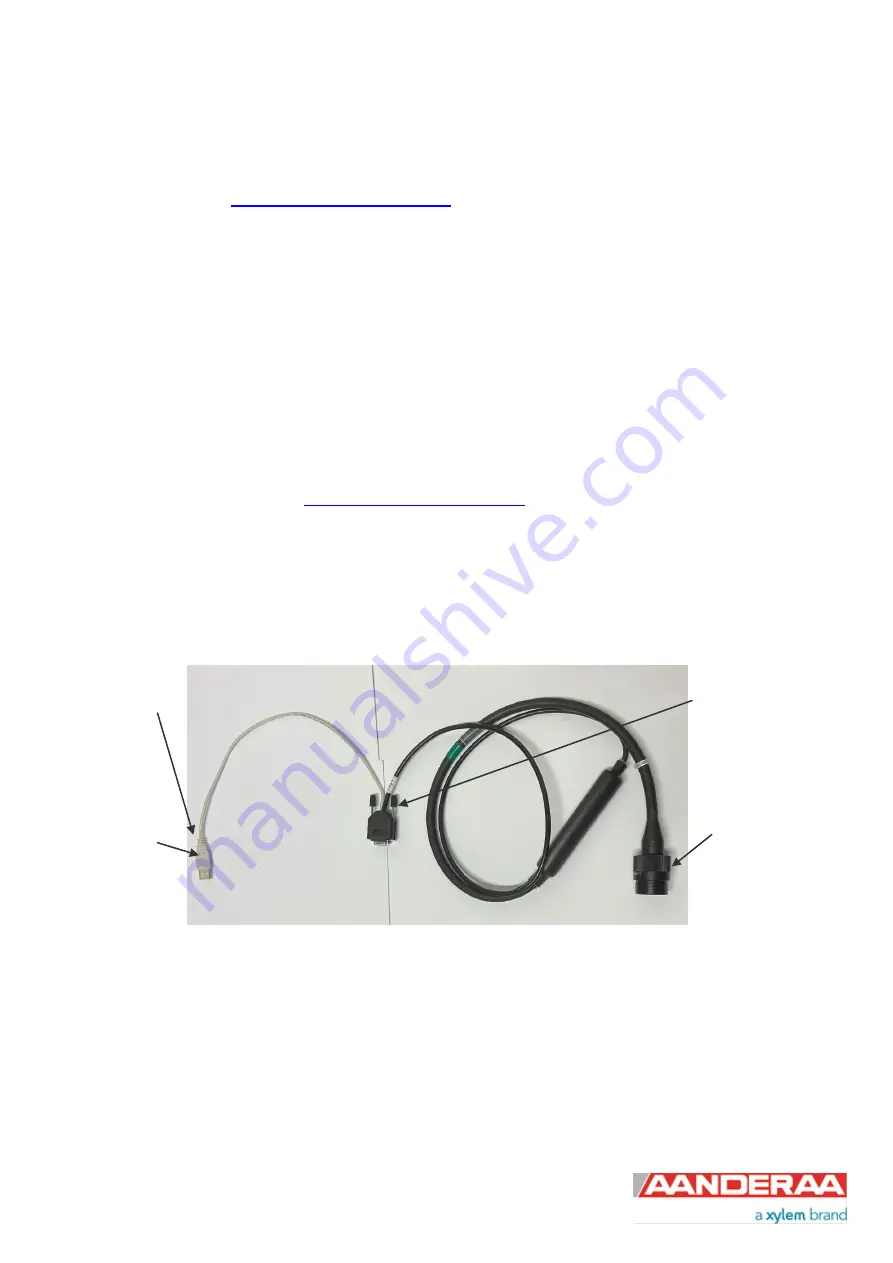
Figure 1-6: Configuration Cable 5789
Connection
to the
sensor
Connection to the
USB port for
power supply
Connection to an
external power
supply
(alternative2)
Connection to
the PC serial
Port


