


UC912G IP Phone
Copyright © 2019 Xorcom Ltd.
All rights reserved
Page 55 of 165
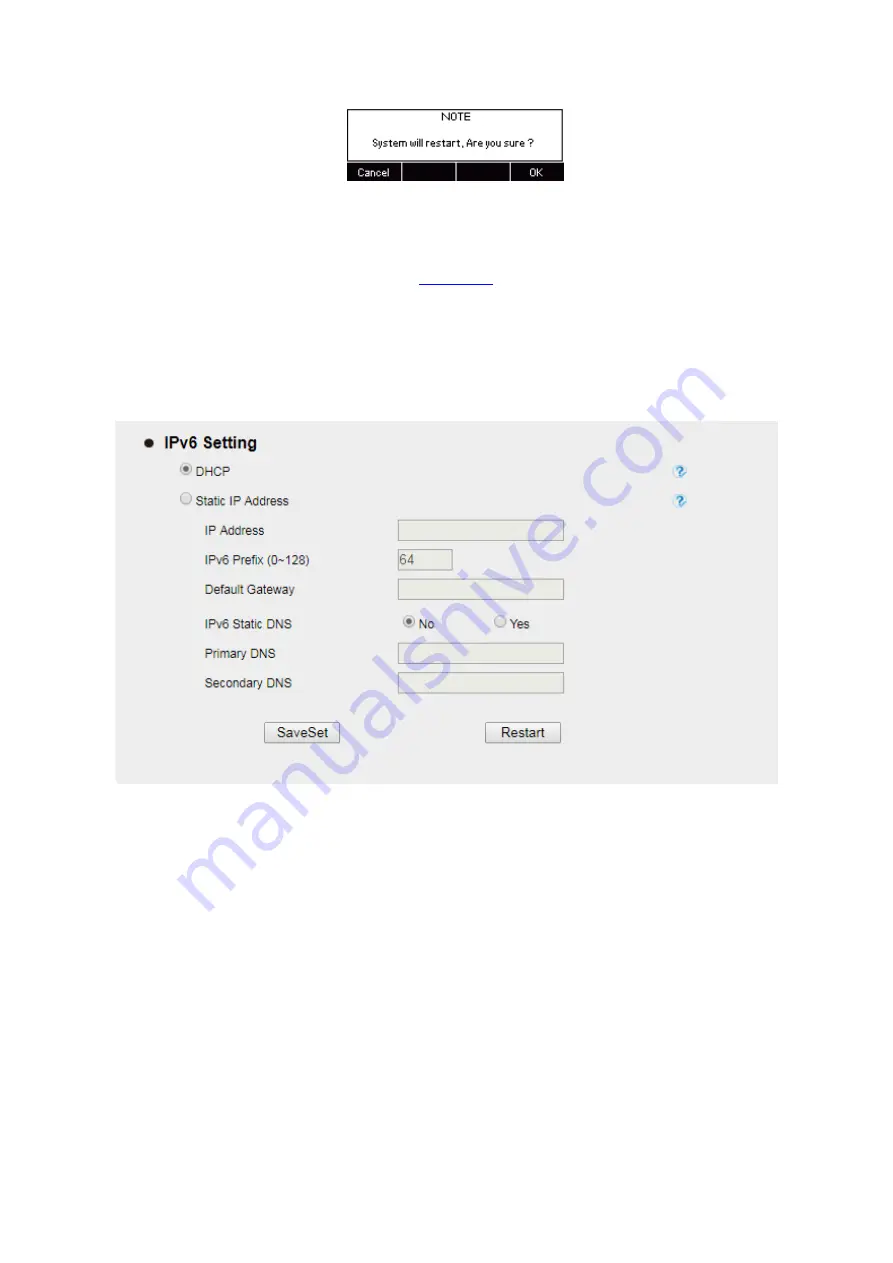
Configuring Network using the web interface
1.
Login to the web interface (refer to
for details of the login process) and click
Network→ Basic→ IPv6 setting
2.
Select the desired IPv6 Setting: DHCP or Static
3.
Enter required fields
4.
Click on SaveSet and restart the phone
IPv4 & IPv6
If you set IP Mode to IPv4&IPv6, phone will support both IPv4 and IPv6 addressing. The settings of
DHCP, Static, and PPPoE are same as above.
Configuring IPv4 & IPv6 using the phone interface
1.
Press Menu→ Settings→ Advanced Setting (password: admin) → Network→ WAN Port → IP
Port Mode.
2.
Press Left arrow or Right arrow key to change the IP Port Mode
3.
Press OK or Save soft key to save the configuration
Summary of Contents for UC912G
Page 1: ...UC912G IP Phone Xorcom UC912G IP Phone User Manual ...
Page 16: ...UC912G IP Phone Copyright 2019 Xorcom Ltd All rights reserved Page 16 of 165 12 Mute ...
Page 35: ...UC912G IP Phone Copyright 2019 Xorcom Ltd All rights reserved Page 35 of 165 ...
Page 82: ...UC912G IP Phone Copyright 2019 Xorcom Ltd All rights reserved Page 82 of 165 ...
Page 157: ...UC912G IP Phone Copyright 2019 Xorcom Ltd All rights reserved Page 157 of 165 ...
Page 159: ...UC912G IP Phone Copyright 2019 Xorcom Ltd All rights reserved Page 159 of 165 ...


