Paper and Media
5.
Slide the guides so they touch the edges of the paper.
6.
Close the tray.
7.
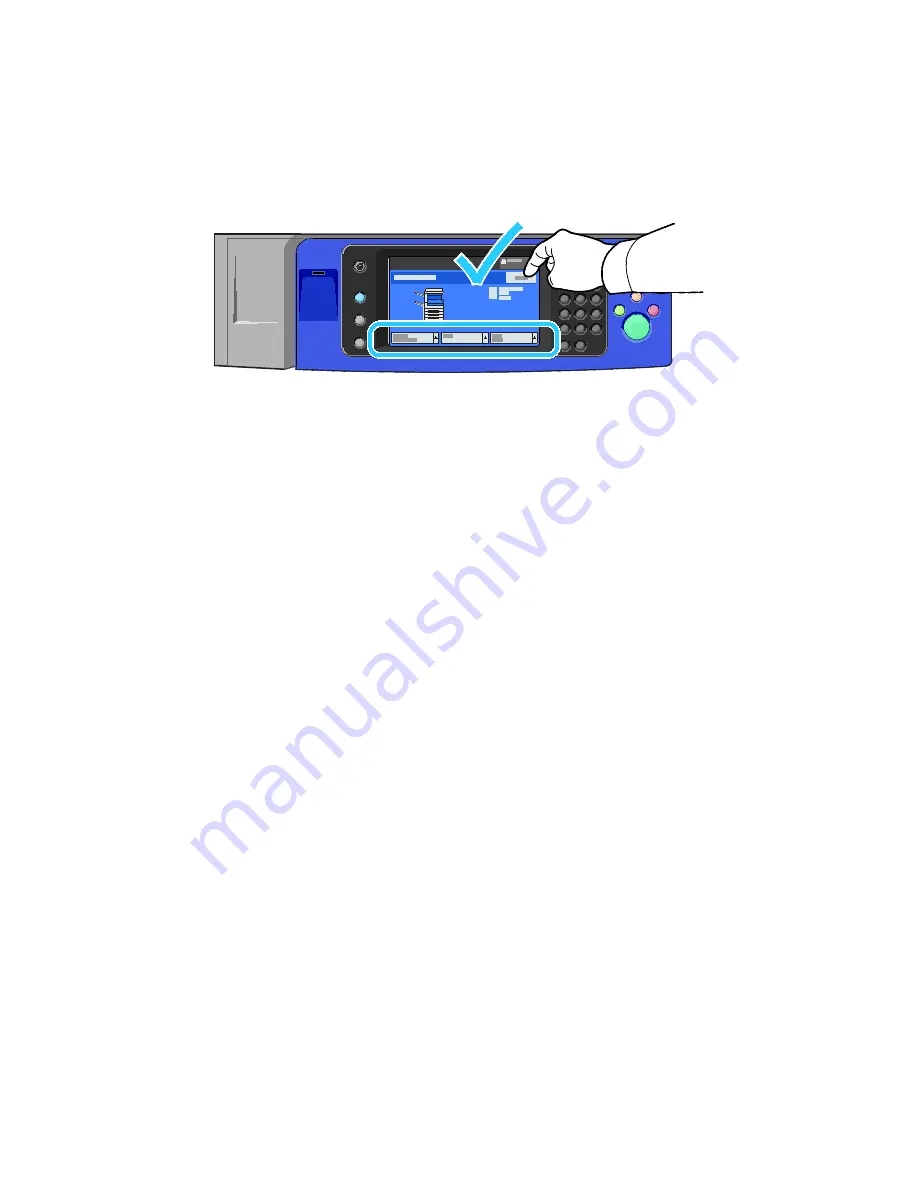
Verify the size, type, and color of the paper. Change the selection for any incorrect setting.
8.
On the printer touch screen, touch
Confirm
.
Configuring Tray 6 in the High-Capacity Feeder
Tray 6 is a dedicated high-capacity feeder. It must be configured to support the paper in use. If the tray
has never been used, it must be configured for the desired paper size. If you are changing the paper size,
you must reconfigure the tray for the new paper size. For details on supported paper sizes, see
Supported
Paper
on page 50.
Before changing the drawer configuration, always compare the paper size to the Tray 6 configuration. If
the paper size matches, no adjustment is needed.
1.
Remove the screw that holds the spacer plate at the back of the tray.
2.
Lift the spacer plate to remove it.
3.
Place the tabs at the bottom of the plate into the slots in the bottom of the drawer that correspond
with the paper size.
4.
Slide the top of the spacer plate to engage the peg on the back of the tray into the matching hole in
the plate.
5.
Install the screw to secure the spacer plate.
6.
Repeat steps 1–5 for the spacer plate at the front of Tray 6.
7.
Locate the pin at the top of the side gate.
Xerox
®
WorkCentre
®
7970 Multifunction Printer
63
User Guide


