58
Xerox Phaser 5400 Laser Printer
Hard Disk Drive and Memory (DRAM and Flash ROM)
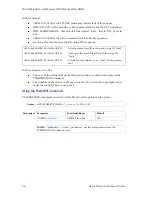
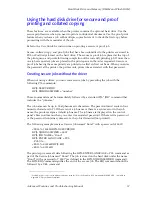
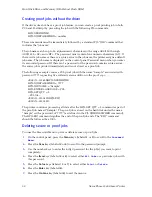
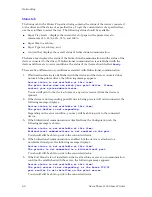
Creating proof jobs without the driver
If the driver does not have a proof job feature, you can create a proof printing job in both
PCL and PostScript by preceding the job with the following PJL commands:
@PJL XPROOFJOB
@PJL XJOBPASSWORD = number
These commands must be immediately followed by a standard PJL “JOB” command that
includes the “jobname”.
The job name can be up to 16 alphanumeric characters in the range ASCII 30 through
ASCII 255, <SP> and <HT>. The password must contain four numeric characters (0-7). If
there isn’t a job name or there is a syntax error in the job name, the printer assigns a default
job name. The job name is displayed on the control panel Password menu when you enter
its associated password. If there isn’t a password or the password contains syntax errors,
the entire job is printed immediately and is not stored as a proof job.
The following example creates a PCL proof job with the name “Sample” associated with
password 7777 requesting five collated sets in addition to the proof copy.
<ESC>%-12345X@PJL XPROOFJOB
@PJL XJOBPASSWORD = 7777
@PJL JOB NAME = "Sample"
@PJL ENTER LANGUAGE = PCL
@PJL SET QTY = 5
...PCL file...
<ESC>%-012345X@PJL EOJ
<ESC>%-012345X.
The printer continues processing all data after the @PJL SET QTY = 5 command as part of
the proof job named “Sample.” The proof job is stored on the hard disk under the name
“Sample” with a password of "7777" (as defined in the PJL XJOBPASSWORD command).
The @PJL EOJ command signifies the end of the proof job ends. The “EOJ” command
should be followed by a UEL.
Deleting secure or proof jobs
You use the Password Menu to print or delete secure or proof jobs.
1.
On the control panel, press the
Menu
keys (labeled
1
or
5
) to scroll to the
Password
Menu
.
2.
Press the
Item
keys (labeled
2
or
6
) to scroll to the password prompt.
3.
Use the number keys to enter the 4-digit password for the job(s) you want to print
completely.
4.
Press the
Item
keys (labeled
2
or
6
) to select either
All Jobs
or a particular jobs with
this password.
5.
Press the
Value
keys (labeled
3
or
7
) to select either
or
Delete
.
6.
Press the
Enter
key (labeled
4
).
7.
Press the
On Line
key (labeled
0
) to exit the menus.
Summary of Contents for PHASER 5400
Page 1: ...P H A S E R 5 4 0 0 L A S E R P R I N T E R Advanced Features and Troubleshooting Manual ...
Page 2: ......
Page 3: ...Xerox Phaser 5400 Laser Printer Advanced Features and Troubleshooting Manual September 2001 ...
Page 10: ...viii Xerox Phaser 5400 Laser Printer ...
Page 16: ......
Page 122: ...106 Xerox Phaser 5400 Laser Printer Appendix C Unique Printer Commands ...
Page 126: ......
Page 127: ...7 2 1 P 5 8 0 1 0 ...

