


MAINTENANCE
4–6
DOCUCOLOR 12 SYSTEM ADMINISTRATION GUIDE
1
2
3
4
5
6
7
Supply replacement
Replacing the Dry Ink Cartridge
When a message is displayed to replace a Dry Ink
Cartridge (Figure 7), follow the instructions
provided here in addition to those on the labels
surrounding the cartridges and affixed to the
copier/printer.
CAUTION:To prevent dry ink spillage, remove the
Dry Ink Cartridge only when the “Cartridge is
Empty" message appears on the Touch Screen.
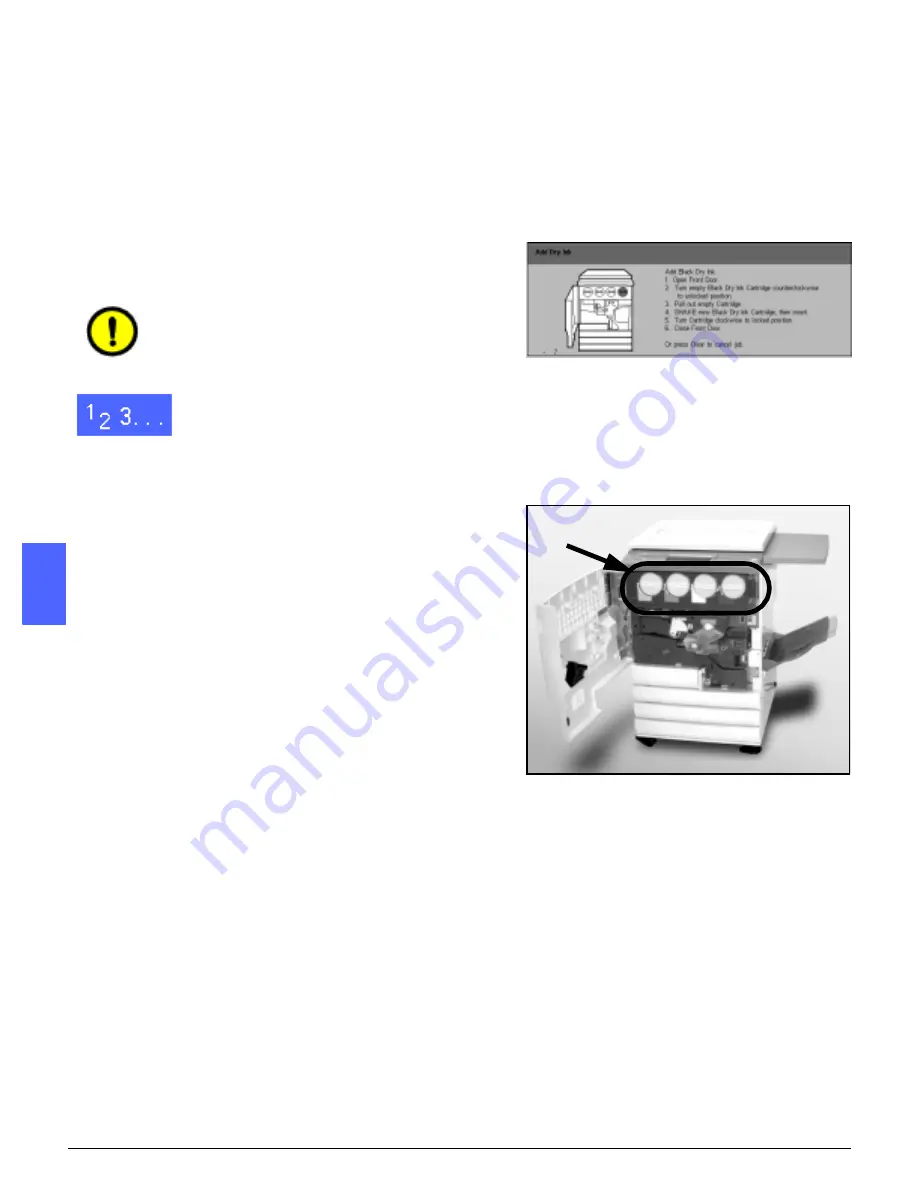
1
Open the Front Door of the copier/printer and
locate the Dry Ink Cartridges, as illustrated in
Figure 8. From left to right the Dry Ink Cartridge
colors are Cyan, Magenta, Yellow, and Black.
2
Place a few sheets of paper on the floor under the
Dry Ink Cartridge to catch any dry ink that may
spill.
Figure 7: Add Dry Ink message
Figure 8: Locating the Dry Ink Cartridge