


getting started guide
21
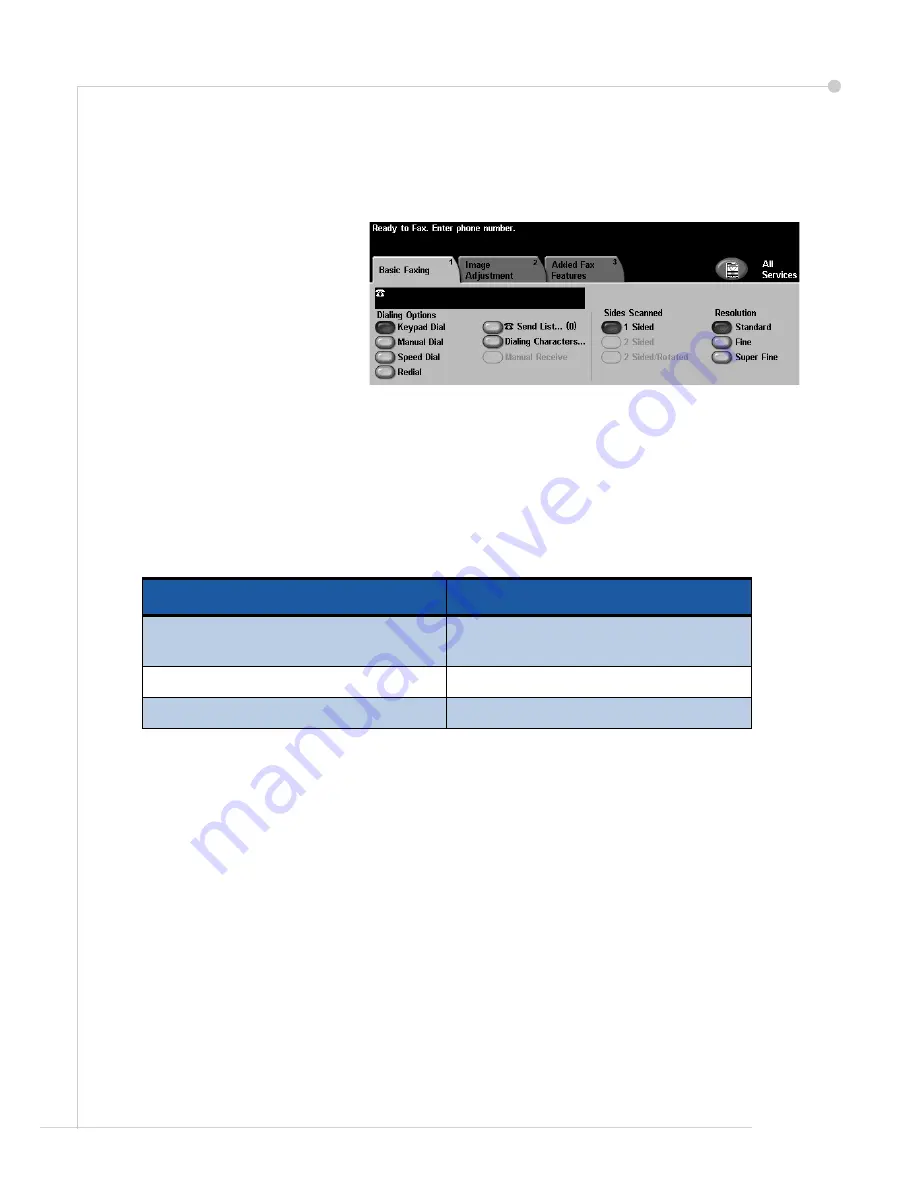
Sending a Fax
1
Load the documents to be faxed either face down on the Document Glass or face up into
the Document Feeder.
2
Press the
Services
button on
the Control Panel. Select the
All Services
button and
choose the
Fax
option. This
displays the
Basic Fax
screen.
3
Enter the recipient’s fax
number by:
• Keypad Dial - enter the
number on the numeric keypad.
• Manual Dial - if a telephone handset is attached to the WorkCentre, select
Manual Dial
and dial the number on the handset.
• Speed Dial - Select Speed Dial and enter a pre-set speed dial number.
• Send List - Add several recipients to the Send List to send the same fax to several
recipients. This button provides access to the dial directory for individuals and groups.
4
Select the required features for your fax job. They are shown in the following table:
NOTE:
The Added Fax Features tab provides access to fax setup features such as
creating mailboxes, adding names to a dial directory and other useful options.
5
Press
Start
to transmit your fax.
NOTE:
To confirm the Fax job, press the
Job Status
button on the Control Panel to display
the Job Status screen. The queued job will be displayed.
Basic Faxing
Image Adjustment
Sides Scanned
- 1-sided or 2-sided
originals
Image Quality
- adjust settings to
improve image quality
Resolution
- sets the quality of image
Color Mode
- mono or color
Original Size
- set size of original
Summary of Contents for 4150 - WorkCentre B/W Laser
Page 1: ...WorkCentre 4150 Getting Started Guide...
Page 2: ......
Page 3: ...WorkCentre 4150 Getting Started Guide...
Page 4: ......


