


Page: 66
SmartPad LCD
¥
© 2006 Xantech Corporation
Note:
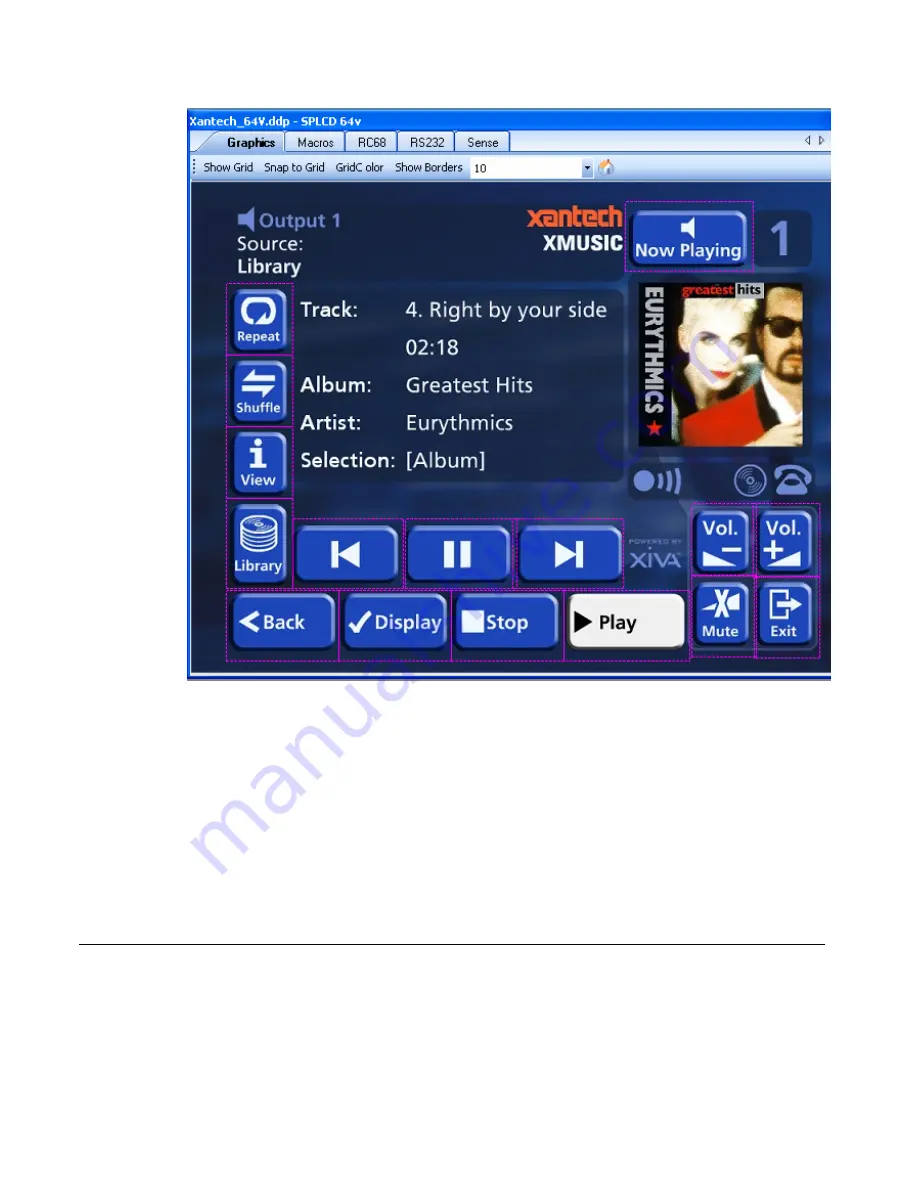
Please see section on IMPORTING BACKGROUNDS for instructions. After the
desired background is placed on the SmartPad LCD™ Systems window, place Source
buttons as you would normally and then follow the instructions below for adding
Transparent Button GTL’s:
1. To add a
Transparent Button GTL
simply right-click anywhere on the blank area
of the screen and select
Insert Object
from the pop-up menu.
2. Select
Insert Transparent Button
from the pop-up menu. A Transparent Button
will appear outlined on the screen.
3. Click-and-drag the button to the desired location.
4. The button can be re-sized easily by clicking on one of the blue squares
outlining the button and dragging the square to the desired size.
MRC88 EMULATION MODE: FEATURE DESCRIPTION & PROGRAMMING
MRC88/SmartPad™
LCD Emulation
Mode:
The full line of SmartPad™ LCD Controllers can be seamlessly integrated into a new
or existing MRC88 System over the standard CAT5 cable. This allows the SmartPad
LCD™ Controller to access any macro programmed in the MRC88 Controller without
the use of IR commands. All Macro Programming resides in the MRC88 allowing for
ease of initial programming and any upgrades that should occur.


