7
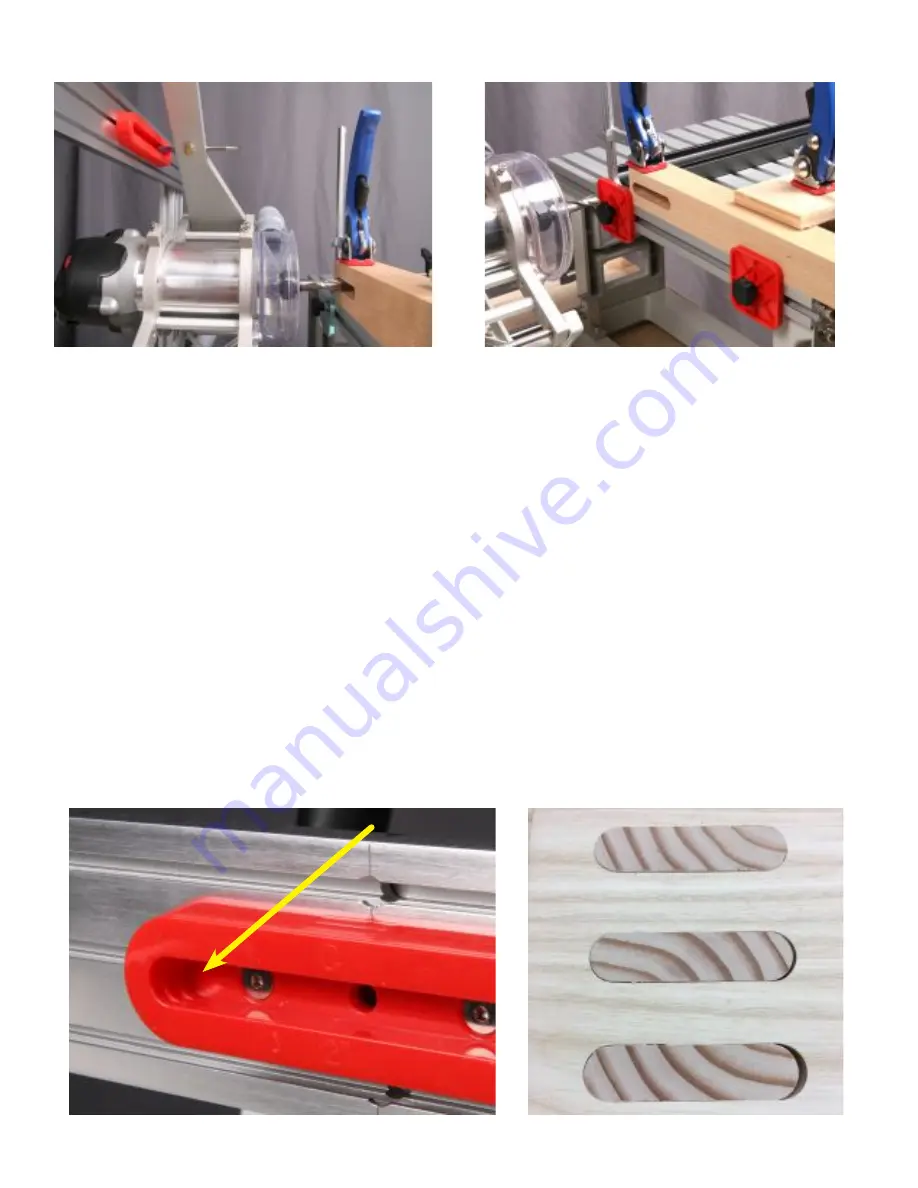
Mortising is fast and foolproof.
Take shallow passes, moving the router back and forth with one hand and gently
pushing forward with the other, until the depth stop bottoms out. That’s it! We’ve removed the dust shroud for
these photos but you’ll definitely want to keep it on for mortise and tenon work.
Note the two Fence/Stops on the table that align the workpiece to the front of the table. They’re ABS plastic to
make it a little easier on the bit if one gets accidentally nicked. Once the workpiece is clamped in place the front
stops can easily be slid out of the way.
Magic in the mortise slot.
In the ends of the mortise slots there are three steps to make the mortise a little
longer than the tenon if you prefer a little wiggle room for adjustment during glue-up. Following the bottom
of the mortise pocket with your guide bearing makes a perfect fitting mortise and tenon joint, which is always
a good idea for through mortises. The second and third steps allow a little more room at the ends of the
tenons. Both ends of the mortise are end grain so there’s much less strength in that part of the joint than the
glued side grain so a little extra room doesn’t significantly weaken the joint.


