46
WPS-550-DOM-IP Installation Manual
9.4.2.4.
How To Configure Privacy Masks
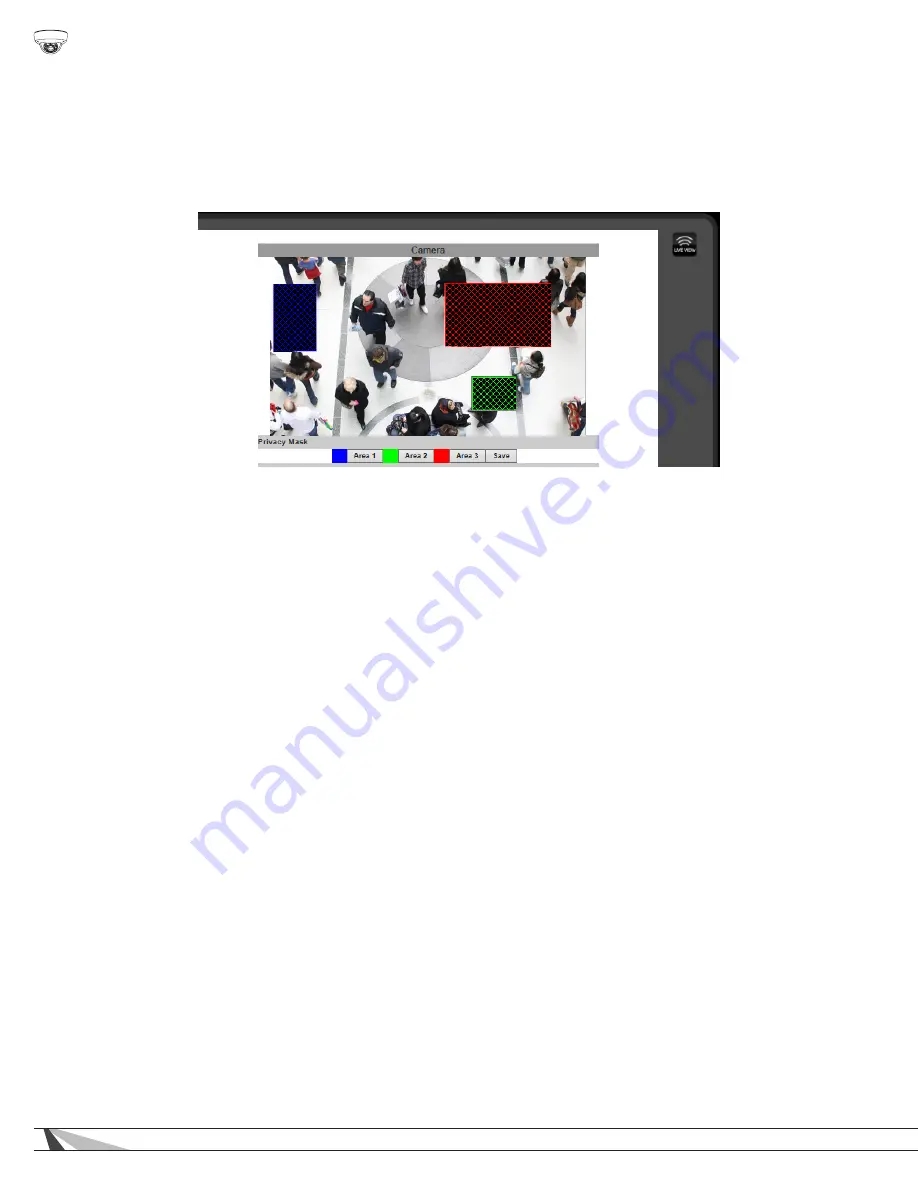
Privacy mask allows for areas of an image to be blocked out to avoid unwanted capturing of sensitive areas.
Example: A camera used to monitor the front lawn of a house would have the windows on the neighboring homes masked to avoid
peeping on the neighbors.
• Menu Navigation: Log in as an administrator.
From Home Screen, click “Config” button in top right corner, then click “Image
Settings” in the left column menu.
A. Assigning a Privacy Mask
1. Select Area 1 next to the blue box.
2. Place the mouse at the upper left hand corner of the area to mask, hold down the left mouse button and drag the box over
the area to mask and release the mouse button. The area to be masked will be indicated by a colored grid.
3. Click Save to save the setting. The selected area will now display a black privacy mask under the colored grid, and this
area will be blacked out in all viewed and recorded video.
4. Repeat for areas 2 & 3 if multiple privacy masks are required.
B. Removing a Privacy Mask
1. Select the button for the area to remove. The colored grid for the selected area will be removed.
2. Select Save to save the change. The black privacy mask will be removed.


