


Using the WebGUI interface of the POS Device HUB
BEETLE /moPOS "Getting Started"
55
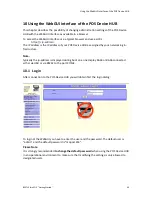
10.6
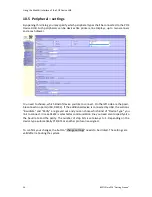
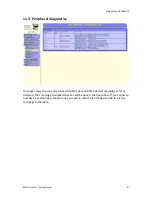
Peripheral – testing
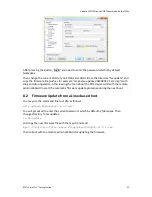
After specifying the peripheral devices in the previous dialog and connecting a device, you
can test the new device if it’s working properly. Therefore you first press the button “acti-
vate changed configuration” once. This allows making the settings already valid without per-
forming the usually required reboot of the POS Device HUB. Afterwards you click one of the
“test” buttons, depending on which kind of device you connected.
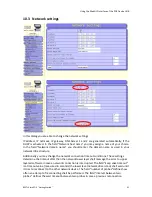
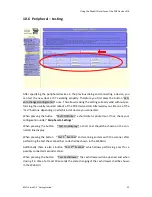
When pressing the button “Test POSPrinter” a short ticket is printed out. If not, check your
configuration under “
Peripherals- Settings
”:
When pressing the button “Test LineDisplay ” a short text should be shown on the con-
nected line display.
When pressing the button “Test 1
st
Scanner” and scanning an item with the scanner after
performing the test the scanned bar code shall be shown in the WebGUI.
Additionally there is also a button “Test 2
nd
Scanner” which allows performing a test for a
possibly connected second scanner.
When pressing the button “Test CashDrawer” the cash drawer will be opened and when
closing it in time of at most 10 seconds the state changing of the cash drawer shall be shown
in the Web GUI.