Benchmark 750-3000 Installation & Startup Manual
SECTION 7
– ONAER SETUP
OMM-115_D
•
GF-200
•
5/9/2019
Technical Support
•
(800) 526-0288
•
Mon-Fri, 8 am - 5 pm EST Page 117 of
126
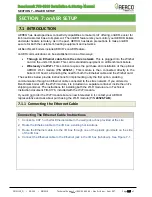
7.1.2 Confirming the Ethernet Connection
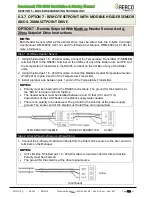
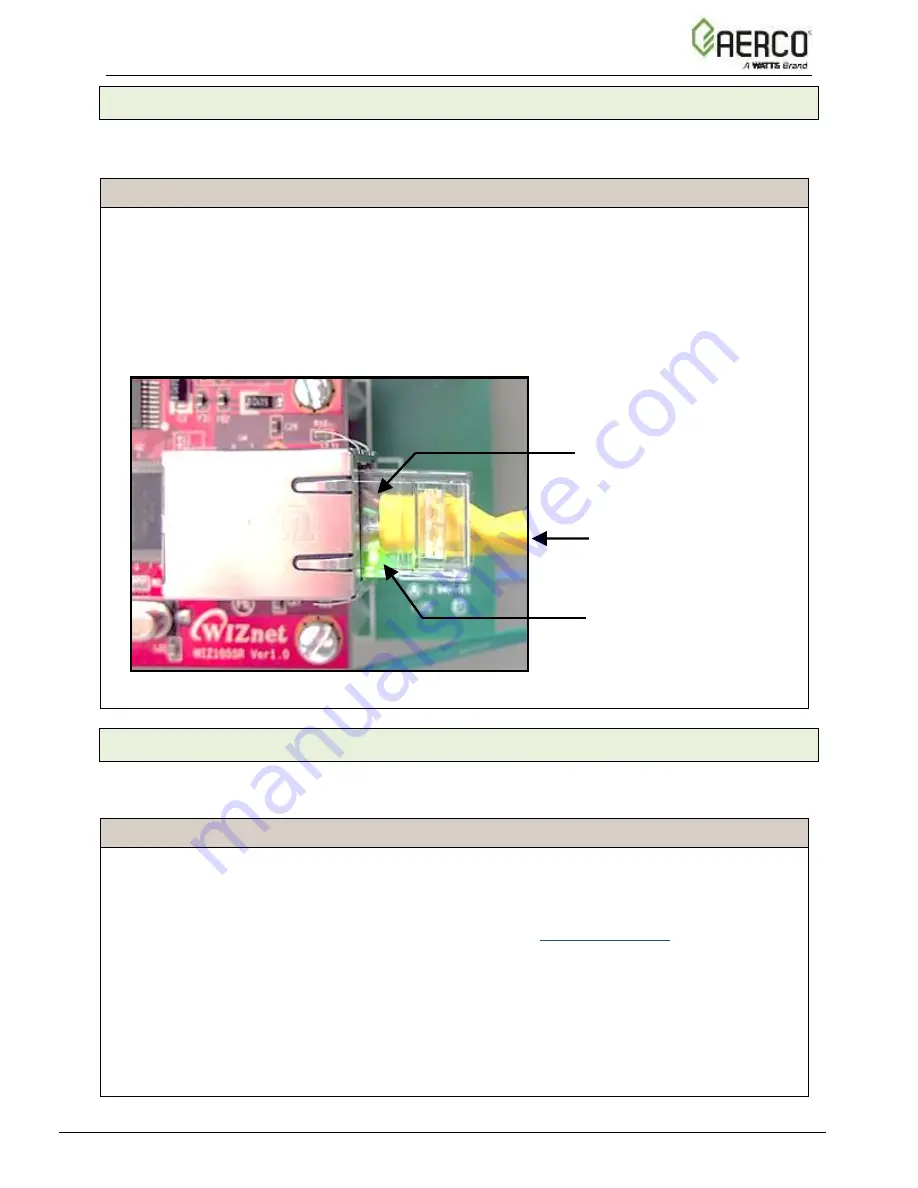
Refer to Figure 7-2, below, and complete the following instructions to confirm that the Ethernet
cable connection is working.
Confirming The Ethernet Connection Instructions
1. With the unit powered on, look at the two LED lights (green and orange) on the (Red)
onAER Communications Ethernet card at the bottom edge of the RJ45 connector - this is
the silver-metal rectangular receptacle.
2. The green LED should be on steadily - this indicates that you are connected to the LAN
(Local Area Network).
3. The orange light should blink periodically, indicating that there is normal traffic on the
network.
Figure 7-2: Ethernet Link and Data Traffic LEDs
7.1.3 Confirm Ethernet DHCP Configuration
Once you have confirmed that the Ethernet connection is working, complete the following steps
to confirm that the connection is active.
Confirming Ethernet DHCP Configuration Instructions
1. Connect your computer to the network jack that will be used by the C-More Controller.
Your computer should be configured to automatically get a network address. Boot or
reboot your computer.
2. Open a web browser (e.g., Internet Explorer) and go to www.google.com.
3. Confirm that you can access the Google home page without entering a password. This
confirms that the connection is active, provides DHCP addresses, and allows access
without the need for a password.
NOTE
Static addresses are not required or recommended by AERCO. Reserved
addresses are a simpler solution.
ETHERNET CABLE:
RJ45 Connector
ORANGE LED:
Periodic
flashing means data
traffic OK.
GREEN LED:
Steady On indicates link to
Ethernet is OK.

