3
Drill halfway through from both sides on
the bottom into the mortise lock and the
top 3 in until the holes meet in the center.
(the large hole at the top must be large
enough for the plug to pass through. In
addition there should be space for the
cable. The 4 markings around the square
pin hole for the handles are drilled to fit
the 4 protruding threaded bushings on
the outer part.. Make sure that the new
square handle spindle fits into the square
hole. Pass the cord through the upper
hole in the door and the square handle
spindle through the lower one..
NOTE! The arrows on the handle spindle
MUST point upwards and the red mark
must be on the top. Otherwise the lock
will not work!
NOTE! When mounting the lock on
your exterior door make sure to use
the attached insulation. Spread the
insulation in the top and bottom
hole around the spindle to prevent a
thermal bridge.
INTERIOR UNIT
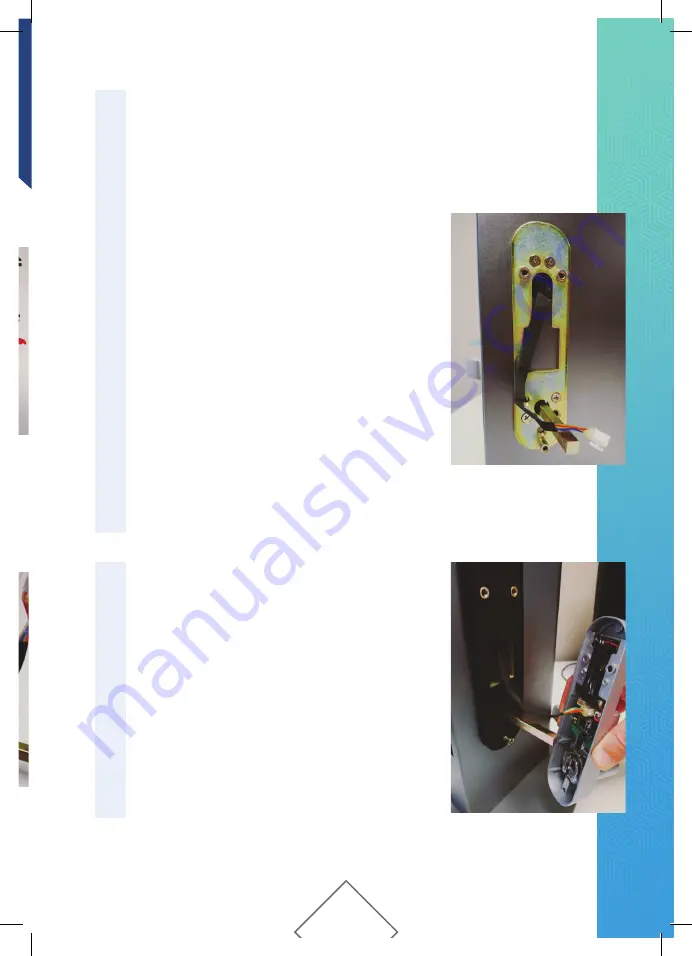
Place the supplied bracket in the correct
orientation and attach it to the exterior
unit (through the door and the mortise
lock) by using the 4 supplied long
machine screws. Do not use an electric
screwdriver or too much force to tighten
these screws as this may damage the
emergency key function. The screws must
be adjusted to the correct length (use a
cable cutter).
Make sure there is at least 5 mm
engagement on the screw. If they are too
long, the lock will not sit tight on the door.
43


