Optional glass capillary sprayer
4-9
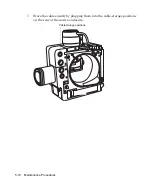
5. Place the sprayer (with gas line fitted) on the platform, and secure it
with the thumbscrew.
6. Refit the safety cover.
Fitting and loading the glass capillary
Required materials
•
Chemical-resistant, powder-free gloves
•
Fused silica syringe needle or a GELoader
®
tip
To fit and load the glass capillary
1. Unscrew the union at the front of the sprayer, and remove the sprayer’s
front section.
f
Warning:
The source components can be contaminated with
biohazardous and/or toxic materials. Always wear
chemical-resistant, powder-free gloves while performing this
procedure.
Warning:
To avoid injury with a sliver of glass
contaminated with toxic samples, do not touch the
sharp end of the capillary.
Caution:
The capillaries are extremely fragile. Handle them with
great care from their square-cut ends. Touching their sharp end
can render the needle inoperable.
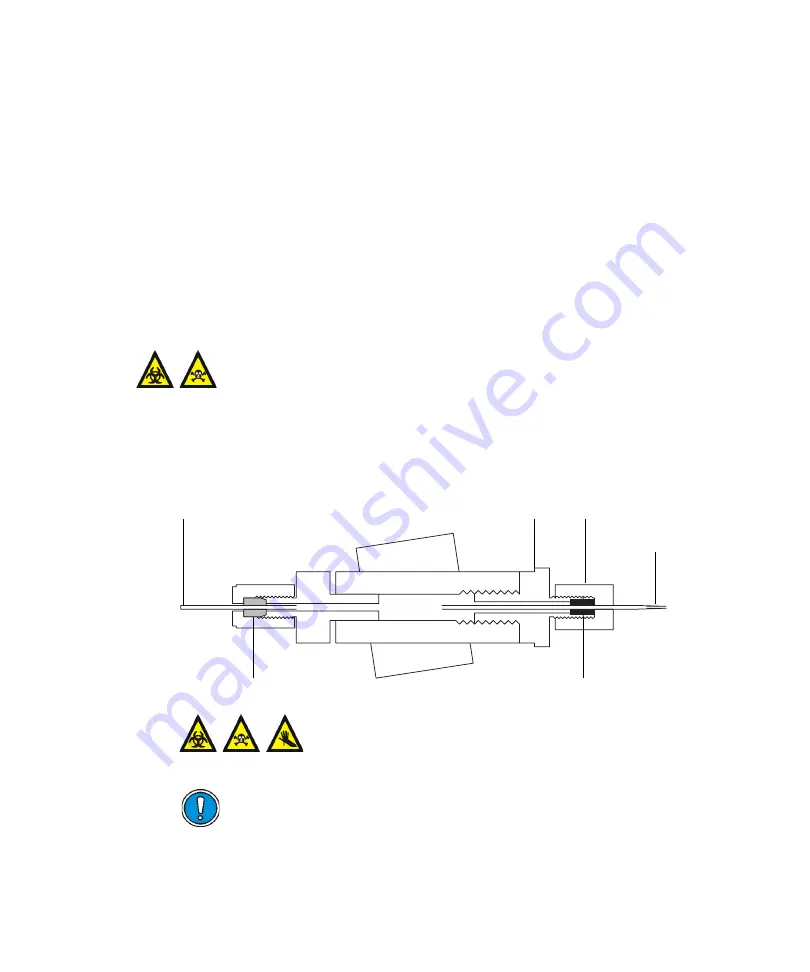
PTFE “backpressure” tubing
Blue conductive elastomer
Ferrule
Glass capillary
Knurled nut
Union
Summary of Contents for SYNAPT G2
Page 18: ...xviii Table of Contents...
Page 46: ...2 8 Starting Up and Shutting Down the Mass Spectrometer...
Page 66: ...3 20 Configuring the LockSpray Source...
Page 228: ...B 24 External Connections 7 Click Next Result The software installs 8 Click Finish...
Page 232: ...C 4 Materials of construction and compliant solvents...


