


Appendix D: VISTA Transfer Station Setup
Important!
You must enter the
Station ID
that you selected when
you configure the Transfer Station for use with Evidence Library software
(see
). The
Station ID
combined with the
Location
(also
entered during Transfer Station configuration) indicate a specific Transfer
Station to Evidence Library.
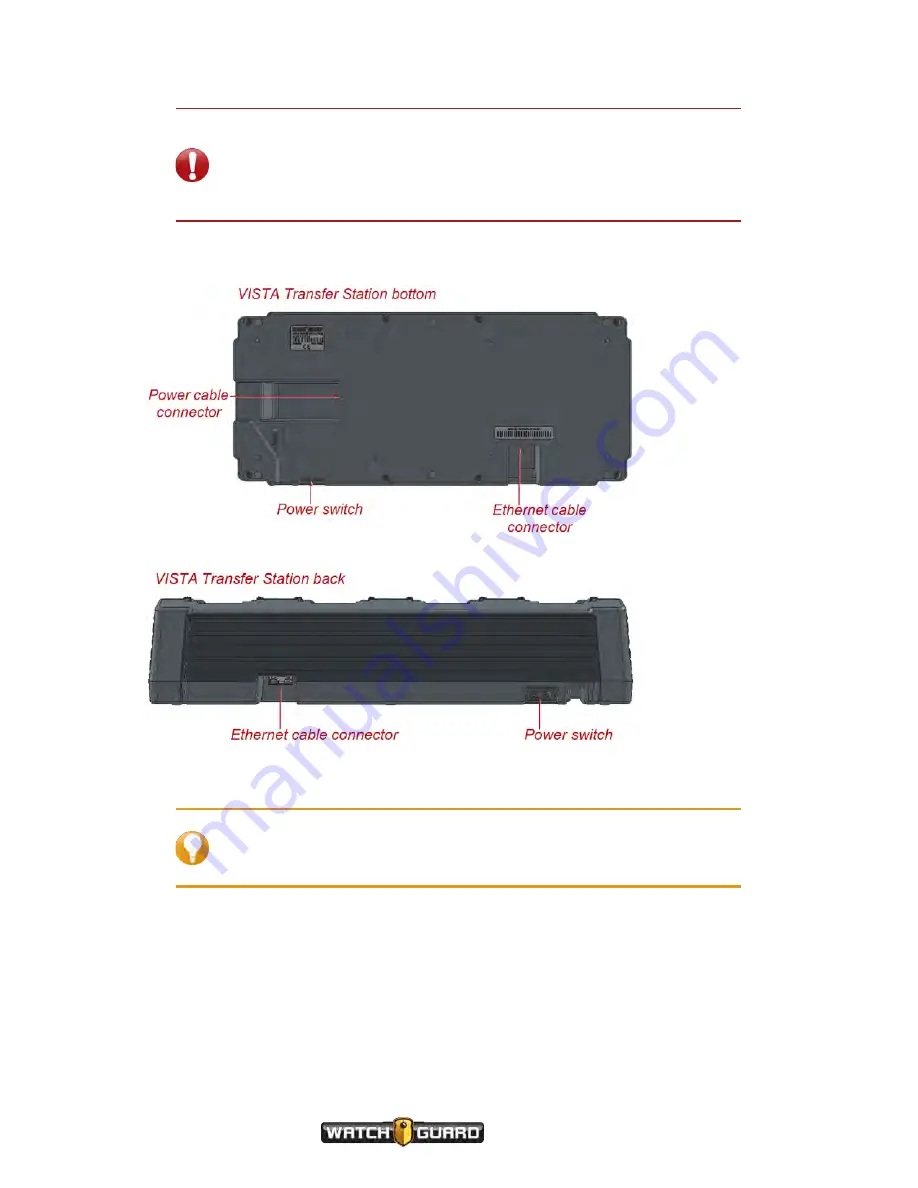
2. Connect the power cable to the power connector on the bottom of the Transfer Station, plug
the power cable into an electrical outlet, then power the Transfer Station ON.
3. Connect the Ethernet cable to the Ethernet connector on the back of the Transfer Station.
4. Connect the other end of the Ethernet cable to a computer that you have set up to access the
Transfer Station's factory default configuration web page.
Tip:
You access the default configuration web page using the Transfer
Station factory default IP address: 192.168.2.20. The computer you use
must have access to this network.
To continue setting up the VISTA Transfer Station, follow the instructions on
to
configure the Transfer Station to work with your Evidence Library software.
120
VISTA Body Camera
WGD00120 Revision
ReviewDraft_111518


