23
User guide for IP Weather Station WARIO ME13
26
Creating conditions in Conditions editor
A
B
C
D
E
F
H
I
J
K
L
M
N
O
P
R
Q
G
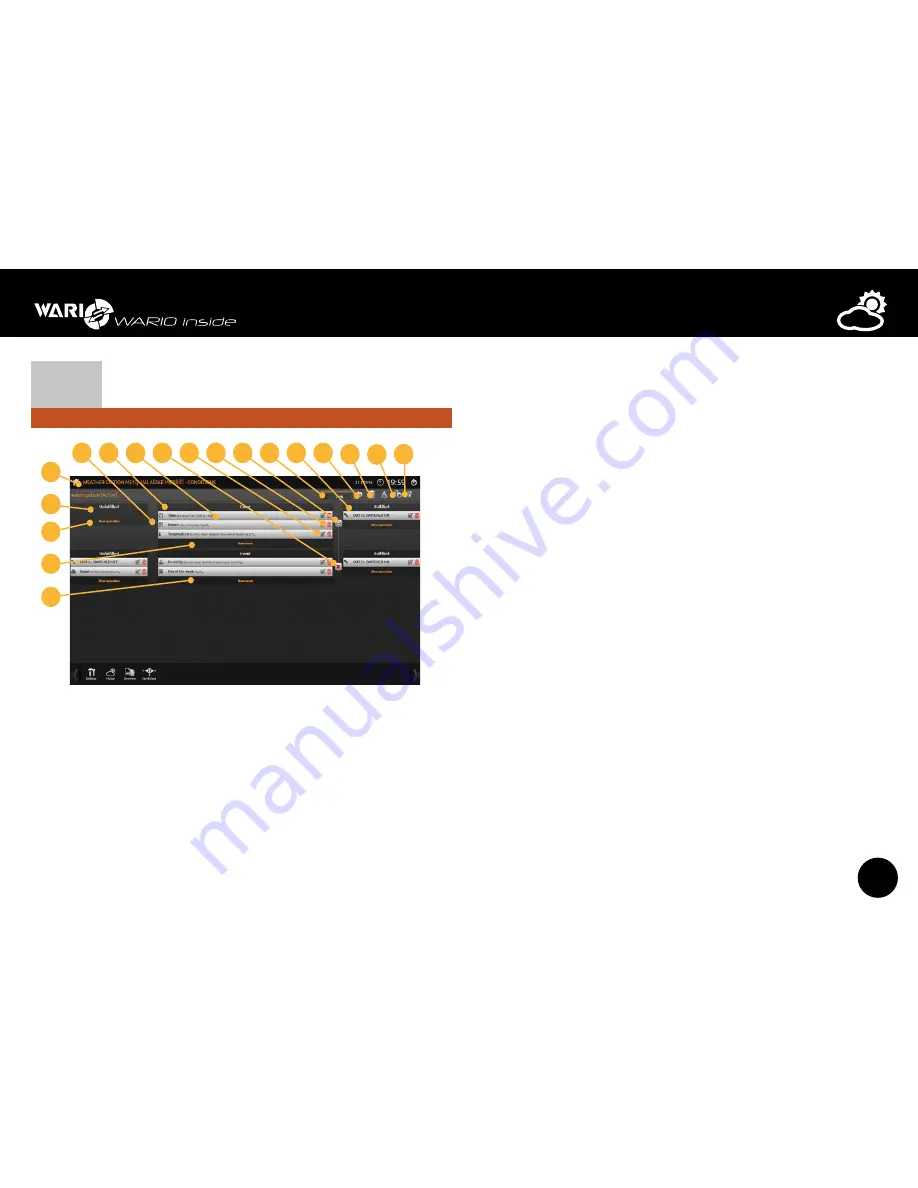
A: Subsequent events (executed after previous event is finished – only for Expert mode);
B: Click here to add new event; C: Click here to add new action; D: Container for adding
actions when events are not fulfilled; E: Home button, which always takes you back to the
home screen F: Button for creating subsequent events (only for Expert mode) G: Container
for adding events for evaluation; H: Individual events/actions defined by its icon and label;
I: Button for removing subsequent events J: Edit button for events/actions; K: Button for
removing event/action; L: Button for hiding/showing subsequent events (only for Expert
mode); M: Indicator of number of used conditions; N: Container for adding actions when
condition is fulfilled; O: Back button for returning to the conditions setting; P: Button for
deleting a condition; Q: Button for condition configuration; R: Save button;
Creating a condition is divided into three parts.
z
Events
z
Actions when not fulfilled
z
Actions when fulfilled
Conditions editor uses standard logical operators, which define the relationship between
the corresponding value and condition state.
=
(is equal to)
<
(is less than)
>
(is greater than)
<=
(is less than or equal to)
>=
(is greater than or equal to)
<>
(is between)
On each tab for the particular even type you specify the value, logical operator and add it
to the window with the list of events by clicking the “Add” button. The defined events are
listed in the order in which they were created. Particular events can be removed simply by
clicking the “Bin” icon on each row. Already existing value cannot be added again to the
list. The tabs for the “Not fulfilled” state define the list of events that result in not fulfilling
the condition. The tabs for the “Fulfilled” state define the list of events that result when the
condition is fulfilled.


