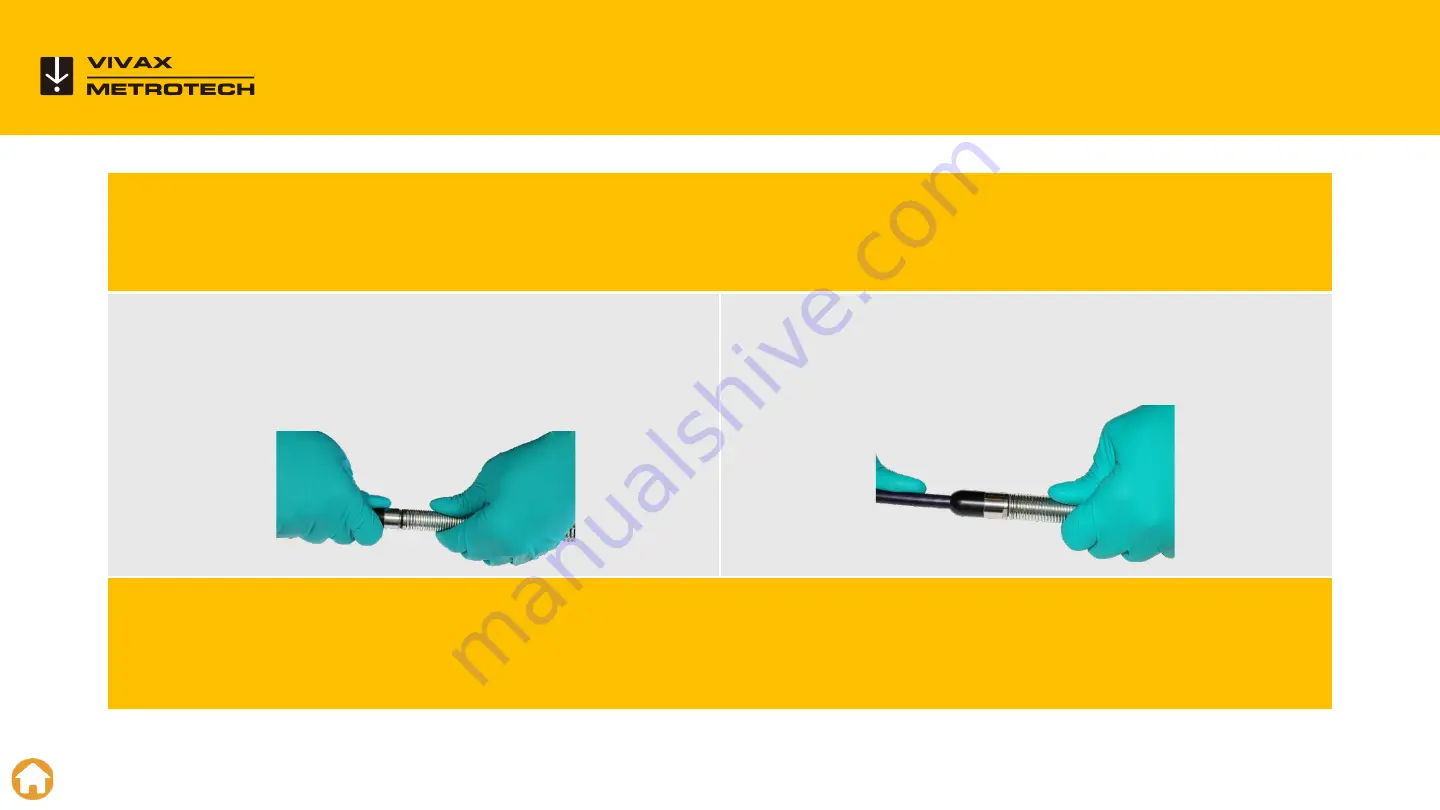
Removing and Installing
the Type-MX spring assembly
Remove any excess dirt that might come into contact with the gold pins or green circuit
board. Check that the O-rings are in good condition.
Grasp the termination base in one
hand while unscrewing or screwing on
the spring assembly.
Screw on the spring assembly (or
camera head until the O-Rings are no
longer visible.
Hand tighten the camera head and spring assembly. Do not use any tools.
Try not to touch the green circuit board or gold pins on the spring assembly or
camera head with bare hands.
1
2
3
4
56
Summary of Contents for vCam-6
Page 1: ...vCam 6 Control Module with Standard Type CP Reel and Type MX Mini Reel vCam 6 Training...
Page 3: ...3 Introduction...
Page 6: ...6 vCam 6 Control Module 6...
Page 8: ...Slide the latch to the right to release the keyboard 8 Latch Assembly...
Page 14: ...14 Type CP Standard Reel 14...
Page 18: ...18 Type MX Mini Reel 18...
Page 24: ...24 vCam 6 Menu Structure 24...
Page 30: ...30 Video Recording 30...
Page 38: ...38 Text Overlay 38...
Page 46: ...46 Sonde Locating and Pushrod Tracing 46...
Page 51: ...51 Changing Camera Heads and Spring Assemblies...
Page 57: ...57 Removing the Type CP Reel Camera Heads This video is available on our YouTube Channel...
Page 69: ...69 Software Updates...
Page 77: ...77 Add a Start Screen...
Page 80: ...80 Compatibility Camera Specifications and Popular Accessories...
Page 87: ...87 LACP WRC Integration 87...
Page 92: ...vCam 6 Control Module LACP WRC Integration 92...


