


3
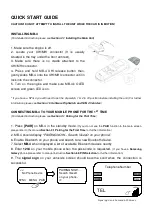
QUICK START GUIDE
CAUTION!! DO NOT ATTEMPT TO INSTALL THE UNIT WHILE THE CAR IS IN MOTION!
INSTALLING MB-4
(For detailed instruction please see
Section 2.1 Installing the Main Unit
)
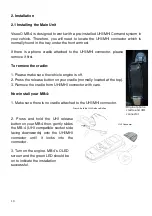
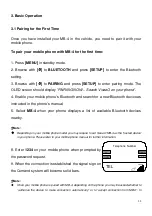
1. Make sure the engine is off.
2. Locate your UHI/MHI connector (It is usually
situated in the tray under the front armrest).
3. Make sure there is no cradle attached to the
UHI/MHI connector.
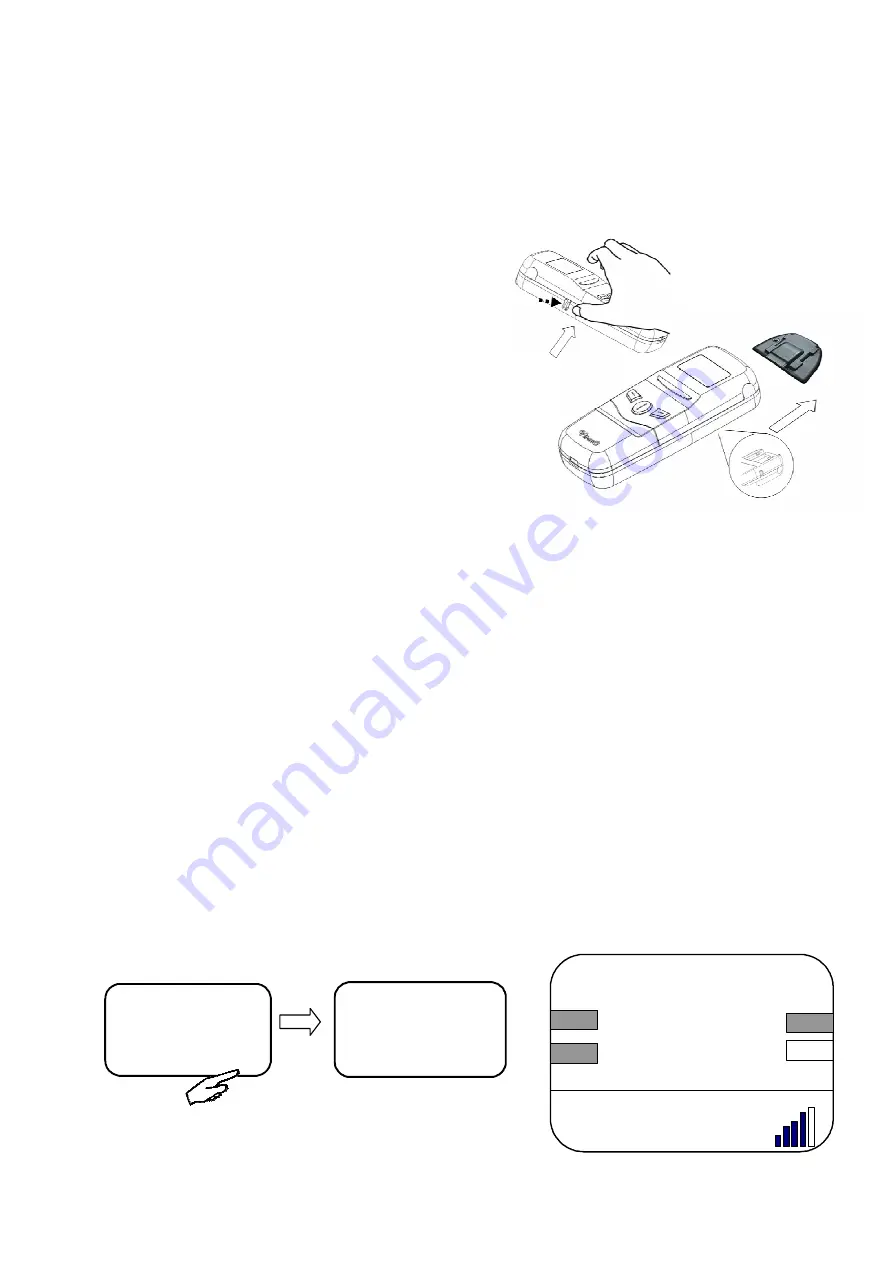
4. Press and hold MB-4 UHI release button then,
gently slides MB-4 onto the UHI/MHI connector until in
lock into the connector.
5. Turn on the engine and make sure MB-4’s OLED
screen and green LED is on.
*
If you have a NTG 4 you will need to set the dip switch 1 & 2 to off position before installing the unit (For further
information please see
Section 1.5 Software Dip Switch and NTG 4 Vehicles
)
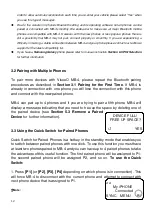
CONNECTING MB-4 TO YOUR MOBILE PHONE FOR THE 1
ST
TIME
(For detailed instruction please see
Section 3.1 Pairing for the First Time
)
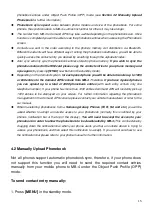
1. Press
[PAIR]
on MB-4 in the standby mode.
(If you do not see the
PAIR
function in the main screen
please refer to the manual
Section 3.1 Pairing for the First Time
for further information)
2. MB-4 should display “
PAIRING NOW... Search ViseeO on your phone”.
6. Enable Bluetooth on your phone and search for a new Bluetooth device.
7. Select
MB-4
when displayed a list of available Bluetooth devices nearby.
8. Enter
1234
on your mobile phone when the pass-code is requested.
(If you have a
Samsung
Galaxy
phone please refer to manual instruction
Section 6.5 PIN Selection
for further information)
9. The
signal sign
on your vehicle's screen should become solid when the connection is
successful.
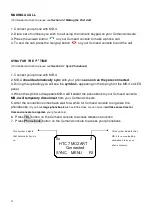
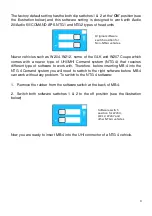
Signal sign on a Comand APS Screen
No Phone Device
SYNC MENU PAIR
<<
VISEEO1
Telephone Number
TEL
Calls
Redial
Delete
PAIRING NOW…
Search ViseeO
on your phone..
Summary of Contents for MB-4
Page 26: ...26 ...


