4 – 10
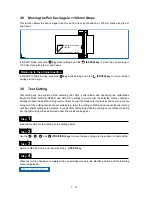
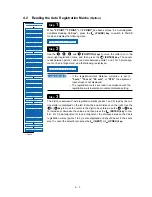
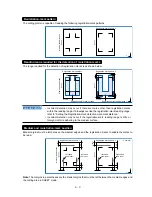
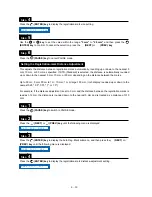
The drawing origin point following reading of the registration marks will be at the bottom-right registration
mark, as shown below.
■
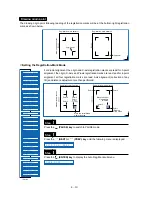
Setting the Registration-Mark Mode
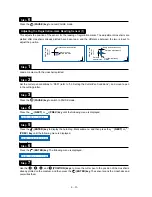
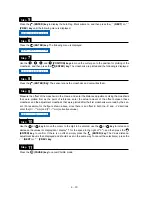
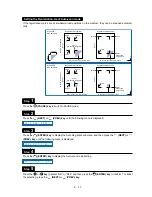
For 2-point alignment, the origin and X-axis registration marks are read; for 3-point
alignment, the origin, X-axis, and Y-axis registration marks are read; and for 4-point
alignment, all four registration marks are read. Axis alignment (correction of any
tilt) and distance adjustment are then performed.
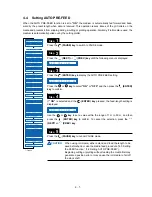
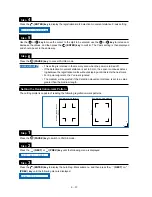
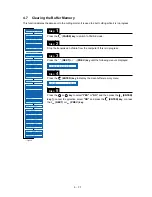
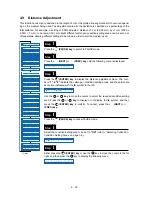
Press the
(PAUSE) key to switch to PAUSE mode.
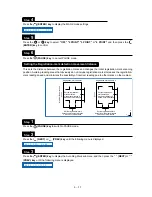
Press the
(NEXT) or
(PREV.) key until the following menu is displayed.
Press the
(ENTER) key to display the Auto Reg. Mark submenu.
Drawing origin point
Step
1
Step
2
Step
3
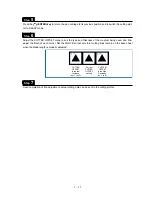
Registration-mark pattern 1
Medium feed direction
Registration-mark pattern 2
Origin point
Origin point
X
Y
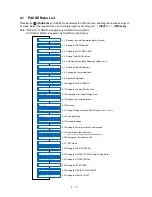
F E E D
M O V E T O R . M A R K
A U T O P R E F E E D
T A N G E N T I A L
A U T O R E G . M A R K
C L E A R B U F F E R
A X I S A L I G N M E N T
D I S T A N C E A D J U S T
P A G E L E N G T H
P L O T A R E A
E X P A N D
R O T A T E
M I R R O R
C O P Y
S O R T
R S - 2 3 2 C
C O M M A N D
B L A D E W E A R S E T U P
P E N U P / D O W N
T E S T M O D E
P E N U P S P E E D
O F F S E T F O R C E
O F F S E T A N G L E
S T E P P A S S
I N I T . D O W N F O R C E
L E N G T H U N I T
*
*
*: Option
Registration-mark pattern 1
Medium f
eed direction
Registration-mark pattern 2
Move the cutter
blade within
this area.
Point 1
(Drawing
origin point)
Point 2
Point 4
Point 3
Point 4
Point 1
(Drawing
origin point)
Point 3
Point 2
Move the cutter blade
within this area.
X
Y
A U T O R E G . M A R K
M A R K M O D E
Summary of Contents for Qe60
Page 1: ...Vinyl Express Qe60 USER S MANUAL MANUAL NO VEXQe06 UM 151 CUTTING PLOTTER Signwarehouse com ...
Page 2: ......
Page 6: ...iv ...
Page 28: ...2 14 ...
Page 42: ...3 14 ...
Page 94: ...4 52 ...
Page 100: ...5 6 ...
Page 110: ...A 4 Appendix C External Dimensions Units mm Dimensional accuracy 5 mm 851 585 1004 ...
Page 112: ...A 6 ...


