


60
A
Convert your designs between different
embroidery formats using the HUSQVARNA
VIKING® 5D™ Organizer software that
comes with you machine.
B
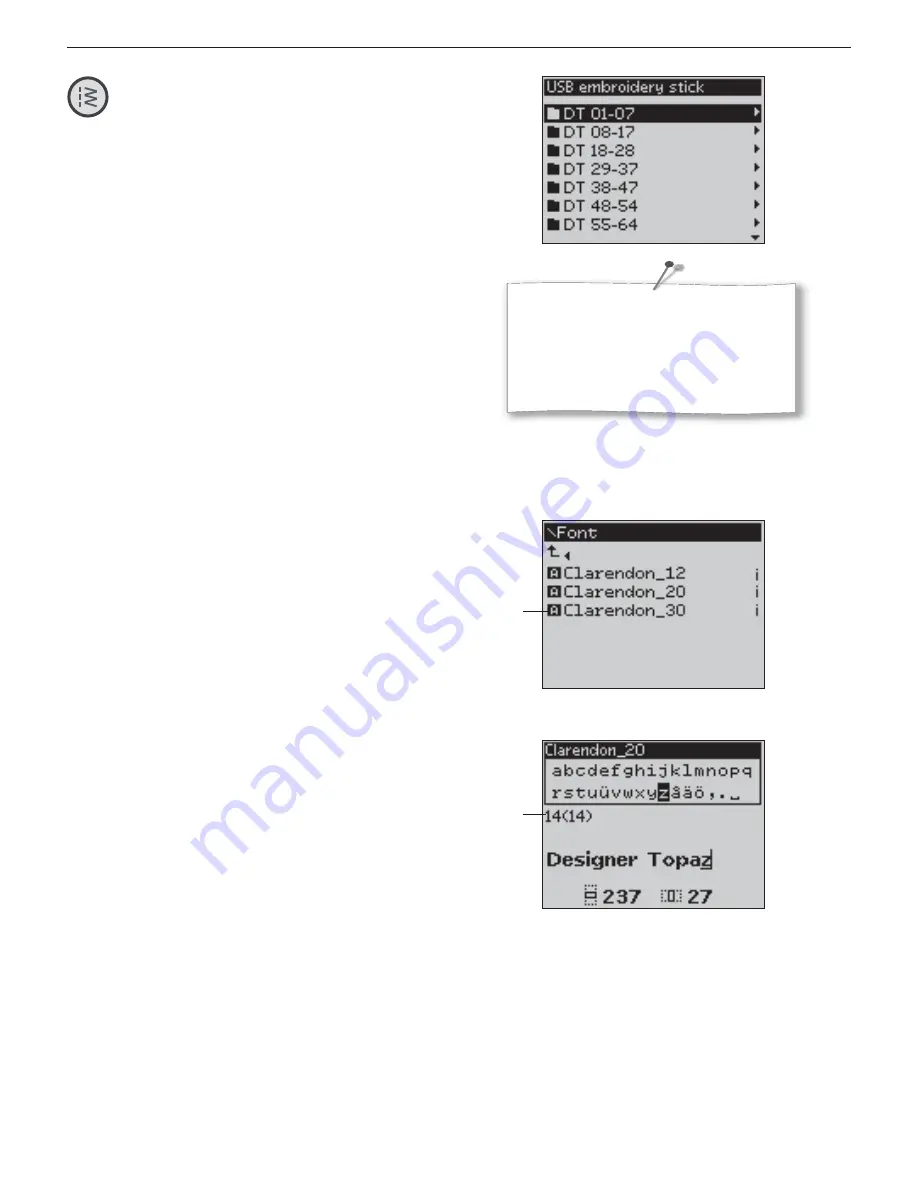
Embroidery Mode
Load a design
To load a design press the Stitch Menu button with the USB
embroidery stick connected. Your machine can load .vp3
embroidery
À
les and .vf3 embroidery font
À
les.
Select a design from the
À
les and folders shown in the menu. Use
the arrow up/down buttons to select a folder and then press the
OK button or the right arrow button to open it. To go back to
the previous folder, press the left arrow button.
Select the design you want to load and press OK to con
À
rm. It
will be loaded onto the embroidery
À
eld.
Note: If you have already loaded a design onto the embroidery
À
eld, the next
design you load will automatically replace the
À
rst one.
When saving designs on the USB embroidery stick, make sure not to create
too many levels of subfolders as this may create a
À
le path that is too long.
Also make sure to keep the
À
le name short. When trying to open such a
À
le
or folder, an alarm sound will be heard and the
À
le or folder will not open.
Load a font
One font is stored on the USB embroidery stick upon delivery.
To load a font press the Stitch Menu button with the USB
embroidery stick connected. Font
À
les are marked with an icon
(A) in the list. You can select between three different
À
les with
different sizes of the included font, 12 mm, 20 mm and 30 mm.
Select the font
À
le you want to load and press OK to con
À
rm. A
text editor opens.
Create additional embroidery fonts from fonts available on
your PC computer with the HUSQVARNA VIKING® 5D™
QuickFont software, which is included with your machine.
Add a letter
When loading a font the upper case alphabet is shown in the text
editor. Use the arrow buttons to select a letter and press OK to
add the letter to the program. To switch to lower case alphabet or
numbers press the Shift button.
If you wish to add a letter at another position move the cursor in
the program by pressing the left/right arrow buttons. The letter
will be inserted to the right of the cursor.
Note: Press the arrow down button to activate the cursor in the program
instead of in the alphabet.
Two numbers are displayed above the program on the left side
of the GraphicDisplay (B). The
À
rst number is the position of
the selected letter in the program. The second number, put in
brackets, is the total number of letters in the program. The height
and width of the program are also shown on the GraphicDisplay.


