Niagara 4100 User Guide
ViewCast
91
7.
Use the
Up
and
Down
arrows to select the appropriate group.
8.
Press
Enter
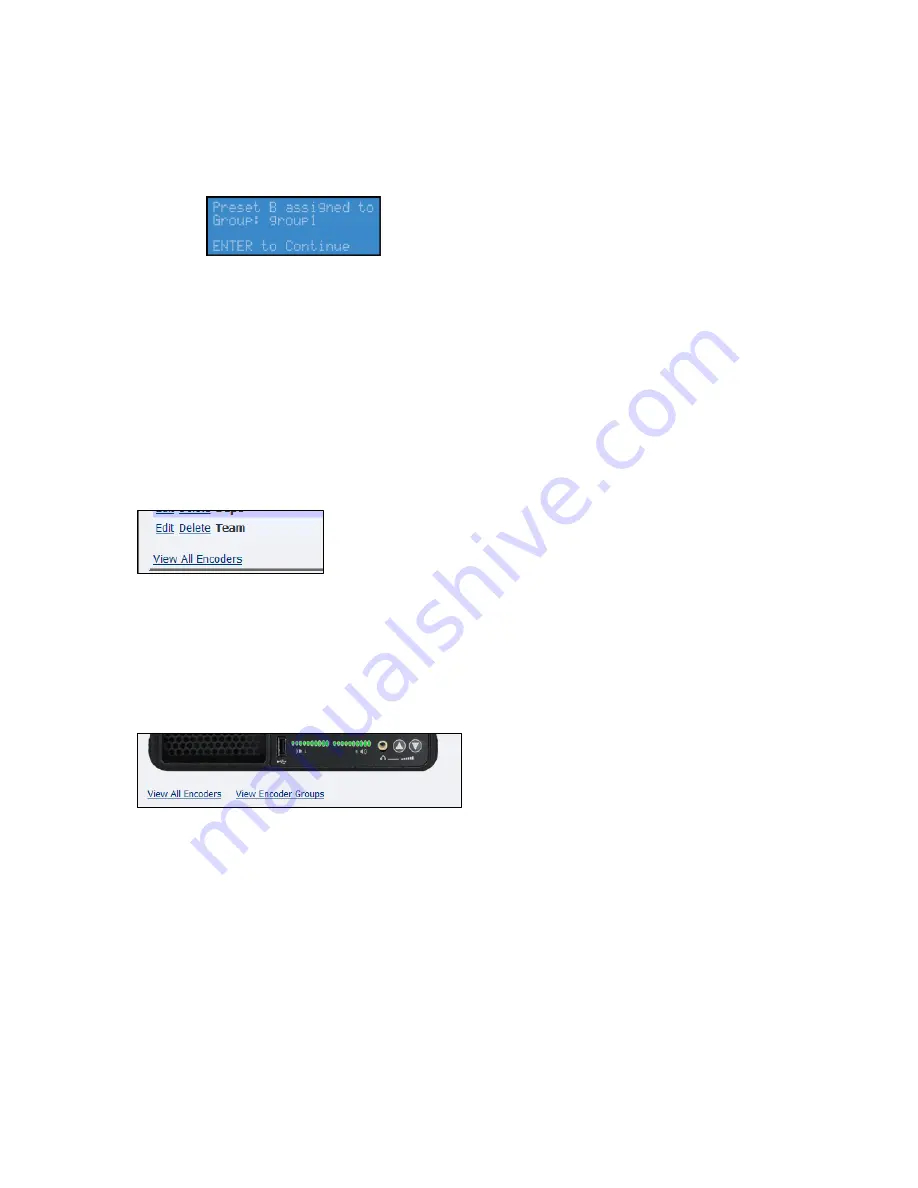
. A confirmation screen appears (Figure 106).
Figure 106. Confirmation screen
9.
Press
Enter
. A group is now assigned to the Preset button.
Viewing all encoders
After assigning encoders to the
A
,
B
, and
C
buttons, the system updates the
Preset
column on the
Encoder Groups window to reflect these changes. To view these changes, select the
View All Encoders
link at the bottom of the Encoder Groups window (Figure 107).
Figure 107. View All Encoders
Editing preset encoders
After assigning encoders to the
A
,
B
, and
C
buttons, you can access the Encoder Properties window by
clicking on the
View All Encoders
link at the bottom of the
Preset
window (Figure 108).
Figure 108. Editing Preset Encoders
Summary of Contents for Niagara 4100
Page 1: ......
Page 14: ......
Page 26: ......
Page 34: ......
Page 120: ......
Page 146: ...Appendix D System Menu 140 ViewCast Encoder menu Encoder start Encoder stop Encoder status...
Page 147: ...Niagara 4100 User Guide ViewCast 141 Access Health menu CPU status Memory available...
Page 148: ...Appendix D System Menu 142 ViewCast Setup system menu Network link status Network MAC address...
Page 149: ...Niagara 4100 User Guide ViewCast 143 View network settings Enable DHCP...
Page 150: ...Appendix D System Menu 144 ViewCast Set static IP addresses x 3 x 4 x6 x 5 x 3 x 4...
Page 151: ...Niagara 4100 User Guide ViewCast 145 Set gateway address x 2 x 5 x 5 x 2 x 5 x 5 x 2 x 5 x 5...


