FVAm™ Series Benchtop MPO Autofocus Microscope User Guide
22132675 Rev. 101, Standard, 3-7
Performing Pass/Fail tests and working with saved test results
Editing the active optical setting
Step 8 When the lighting adjustment is completed, use the
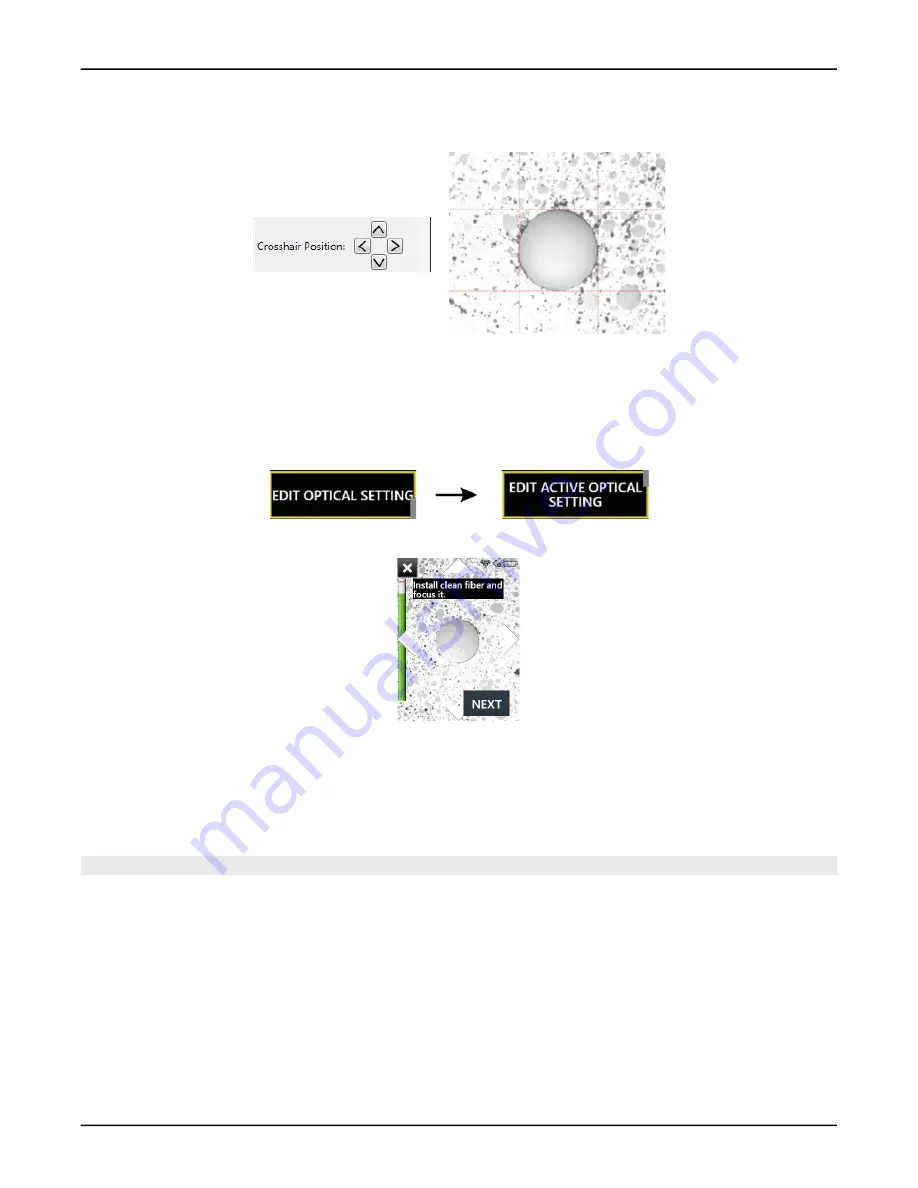
Crosshair Position
tool to align the red crosshairs to
the edges of the fiber.
Step 9 Click
OK
.
— End —
Editing the active optical setting using the touchscreen and onboard controls
Step 1 On the
Settings
menu, select
EDIT OPTICAL SETTING
>
EDIT ACTIVE OPTICAL SETTING
.
Step 2 At the prompt, connect a cleaned fiber connector to the microscope.
Optionally, pan to the leftmost fiber so that optimal lighting can be achieved during the lighting
adjustment routine. See
“Panning and auto-focusing in live view” on page 2-16
.
Step 3 Select
NEXT
.
The microscope locates a fiber in the array and displays an image of the fiber end with a blue circle
around it.
Note:
You can stop this procedure at any time by selecting the
X
icon at the top of the display.


