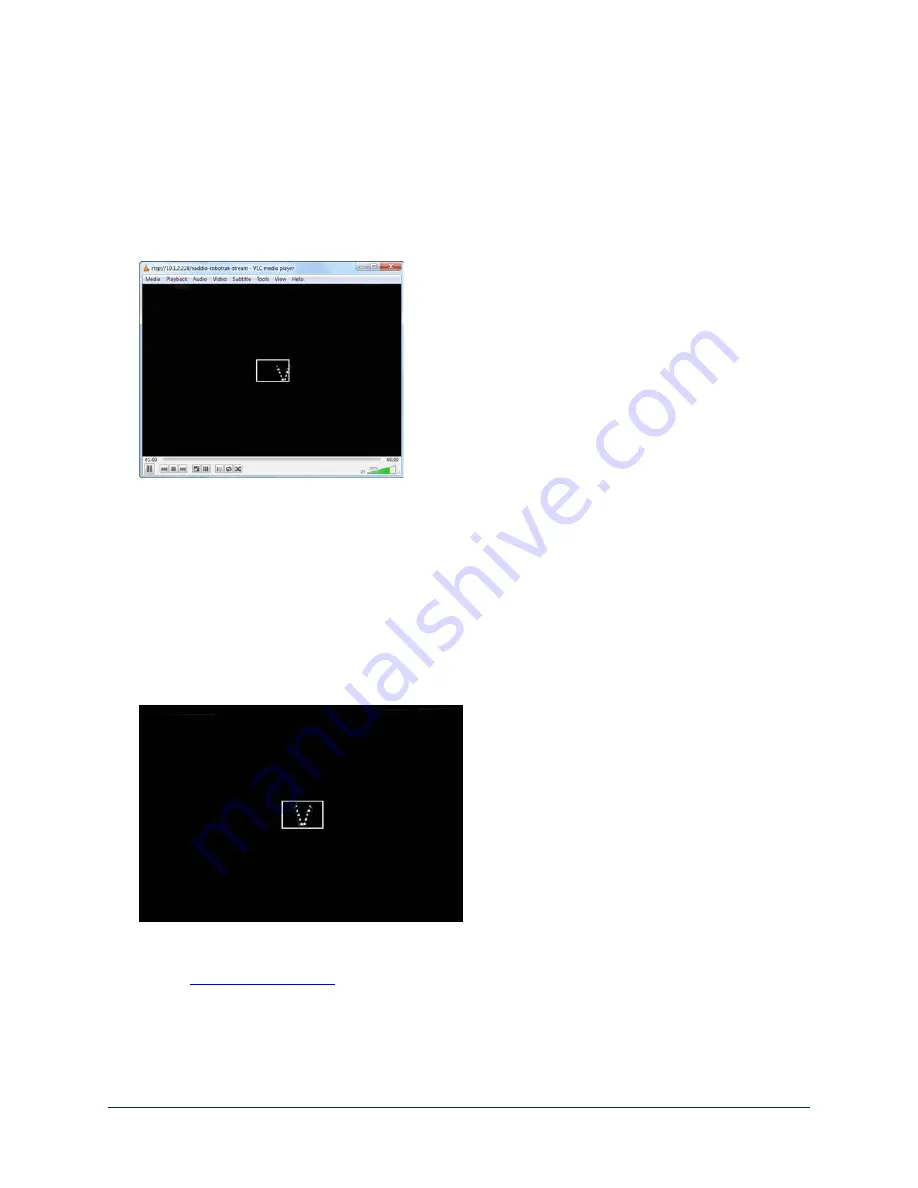
1. Select Setup mode. The IR stream shows a white rectangle outline at the center of the image. The
lanyard also shows up if the camera is pointing at the presenter. (That's you, if you're the one wearing
the lanyard) .
Fun Fact
If the presenter is in front of a reflective surface such as a display or dry-erase board that is mounted at
a certain angle, the IR image may show a reflection of the IR sources near the lanyard's clasp. This can
resemble glowing eyes.
2. Have the presenter go to exactly where a presenter will normally be when the system is in use. If
presenters are expected to move around a lot (for example, in a demonstration or lab setup), have the
presenter go to a location about halfway between the nearest and farthest presenter distances from the
camera.
3. Have the presenter face the camera directly.
4. On the IR Camera Shot tab of the Tracking page, use the arrow buttons to center the lanyard image side
to side. This keeps the presenter centered in the video shot.
5. Use the zoom controls to adjust the shot so that the lanyard reaches the top and bottom edges of the
framing rectangle without going outside the lines. This ensures smooth, reliable tracking. If the lanyard
is too large in this shot, tracking is likely to be choppy. If it is too small, the IR camera may lose the
lanyard entirely.
Note
In large rooms, it may not be possible to zoom in far enough to frame the lanyard in this way. You may
need to
for reliable tracking.
6. Select Store Lanyard Shot.
27
Integrator's Complete Guide to the RoboTRAK Presenter Tracking System


