29
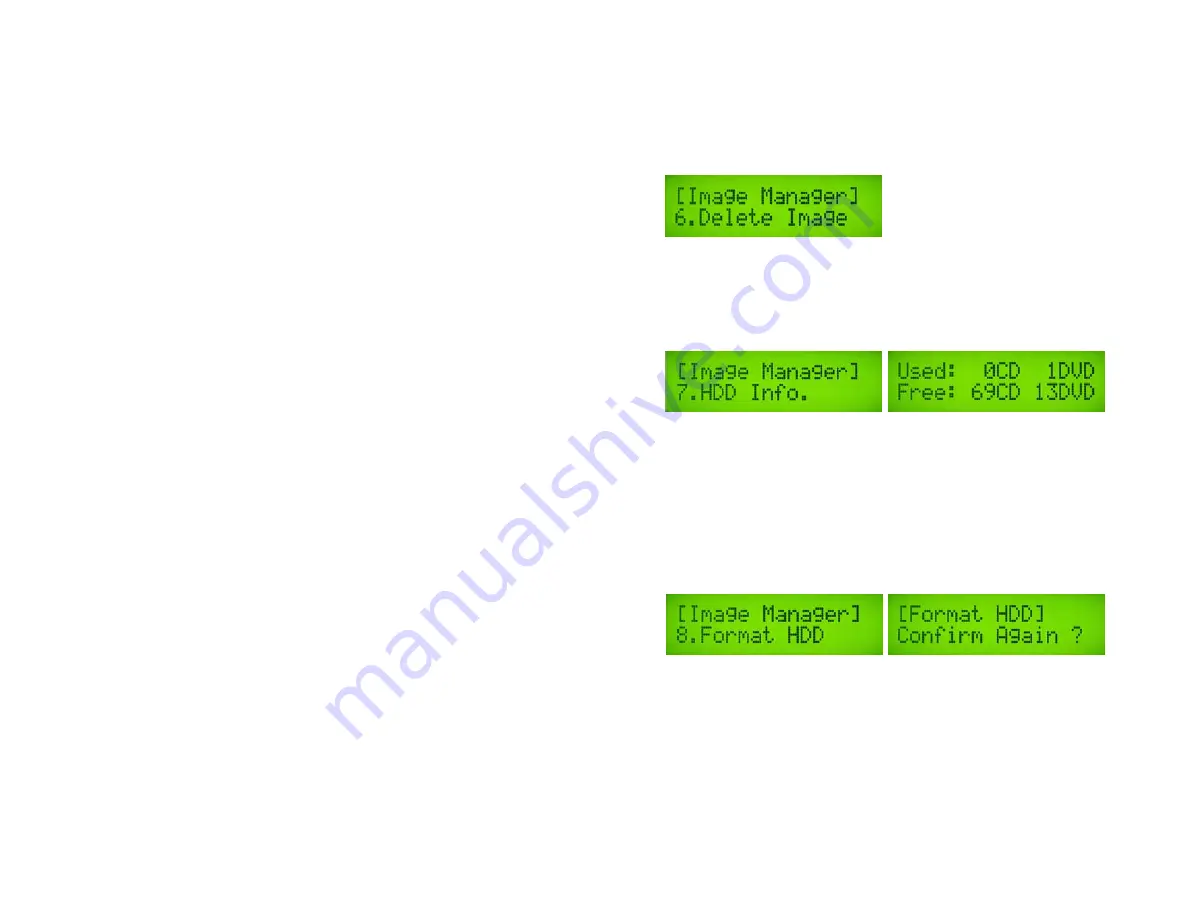
12.6 Delete Image
This function allows you to delete one or more image files on the HDD. If the file has been selected
as the source file, you are not able to delete it unless you go back to 12.1 to re-select other image as
source.
Select 12. Image Manager and press ENT
Select 6. Delete Image and press ENT
a. Use ,
to select the image and press ENT
You will be prompted to delete the image, press ENT to complete
12.7 Show HDD Info
This function allows you to check the status of the HDD, such as how many images are stored and
the HDD’s available space.
Select 12. Image Manager and press ENT
Select 7. Show HDD Info and press ENT
The information will be displayed on the screen, press ENT when finished
12.8 Format HDD
This feature will allow you to format the HDD. This will erase ALL disc images stored on the
tower and cannot be undone! However, you will not be able to format the HDD if the HDD image
was selected as Reading Source. You should go to 8. Select Source to select Optical Drive as
Reading Source, and then you will be able to format the HDD.
Select 12. Image Manager and press ENT
Select 8. Format HDD and press ENT
You will be prompted to confirm this action twice
When you are ready, press ENT to complete the operation
12.9 Load & Copy
This function consolidates the Disc => Image and Copy steps into one single step.
Select 12. Image Manager and press ENT
Select 9. Load & Copy and press ENT
You can choose from OFF, Synchronize, or Load First
Make your selection and press ENT


