30
within ±50.
3. Calibrate Tank Low Threshold: Replace the empty Tank with a Tank filled with 2-3mm resin (or
fill the empty Tank with 2-3mm resin), click “Read” button.
4. Calibrate Tank High Threshold: Replace the Tank with a Tank filled with 7-8mm resin (or fill the
Tank with 7-8mm resin), click “Read “button, and finish the Tank Level Calibration by clicking
“Cal” button.
Calibration of Bottle Resin Level
Auto Pump
Printer Settings
1. Install an Empty Resin Bottle, and install Resin Level Sensor to the Resin Tank
2. Calibrate Bottle Empty Level: Clicking “Read” and “Cal” button until “Bottle Reading” is within
±50.
3. High/Low threshold is not available in this version.
1. Click “Auto Pump” Button to turn on / off automatic pumping. If resin level is
too low in the tank and “Auto Pump” is on, the printer will pump resin from the bottle into the
tank automatically.
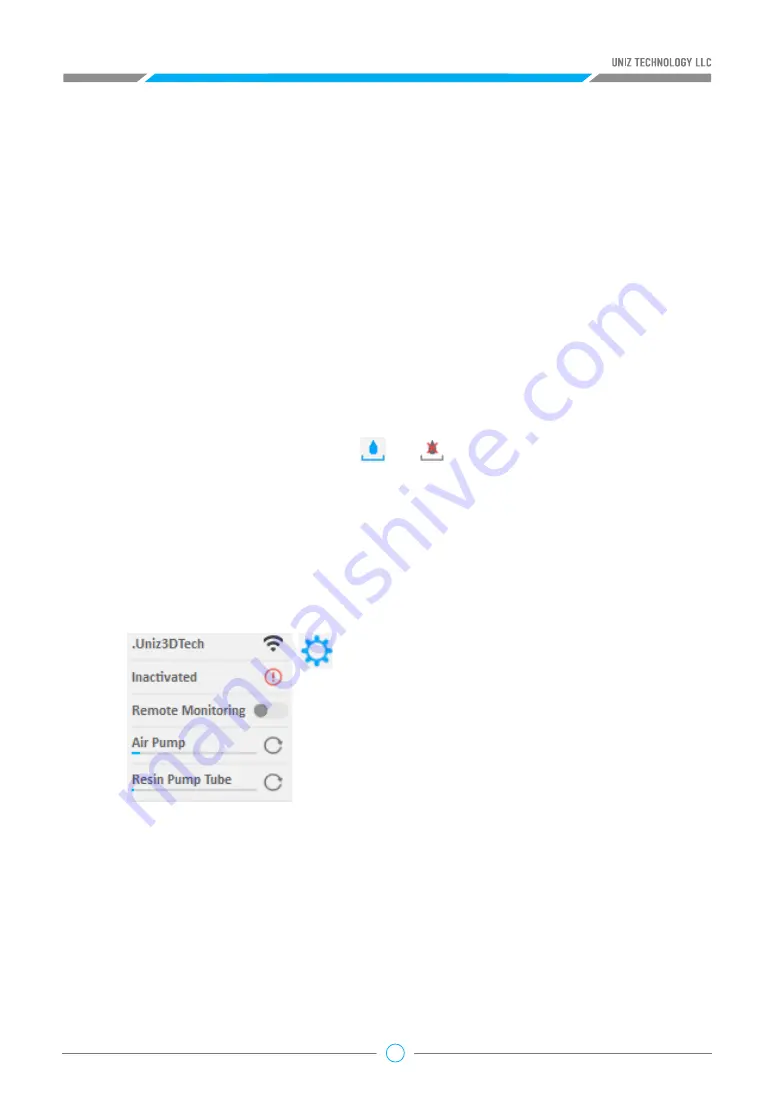
1. Network
This shows the printer connection network
status and provides network settings. It supports
automatic and manual IP configuration.
This function only supports setting via USB
connection.
TIP:
The Printer's Wi-Fi feature supports 2.4GHz
band only, it does not support 5 GHz connections.
2. Activation
This shows the activation status of the printer. Click to start activating.
3. Remote Control
This shows the remote control status. Users can manually turn on/off the remote control function.
When this function is started for the first time, the system needs to register the printer to the IoT
which may take some time.
4. Air Pump
Display running-time and recommended lifespan of Air Pump. Click right button , it will restart
timer.
Press the “Printer settings” button to popup the submenu including three functions: Network,
Activation,Remote Control, Retime Air Pump and Retime Resin Pump Tube.


