20
2.3 Change View
2.4 Change Position
2.5 Change Orientation
Viewing your model from preferred angle will benefit model positioning. To rotate the view, right
click and drag around the activated object. To pan, hold the shift key and click-drag with right
mouse or hold down the scroll wheel and move mouse around. To zoom in or out, use the scroll
wheel.
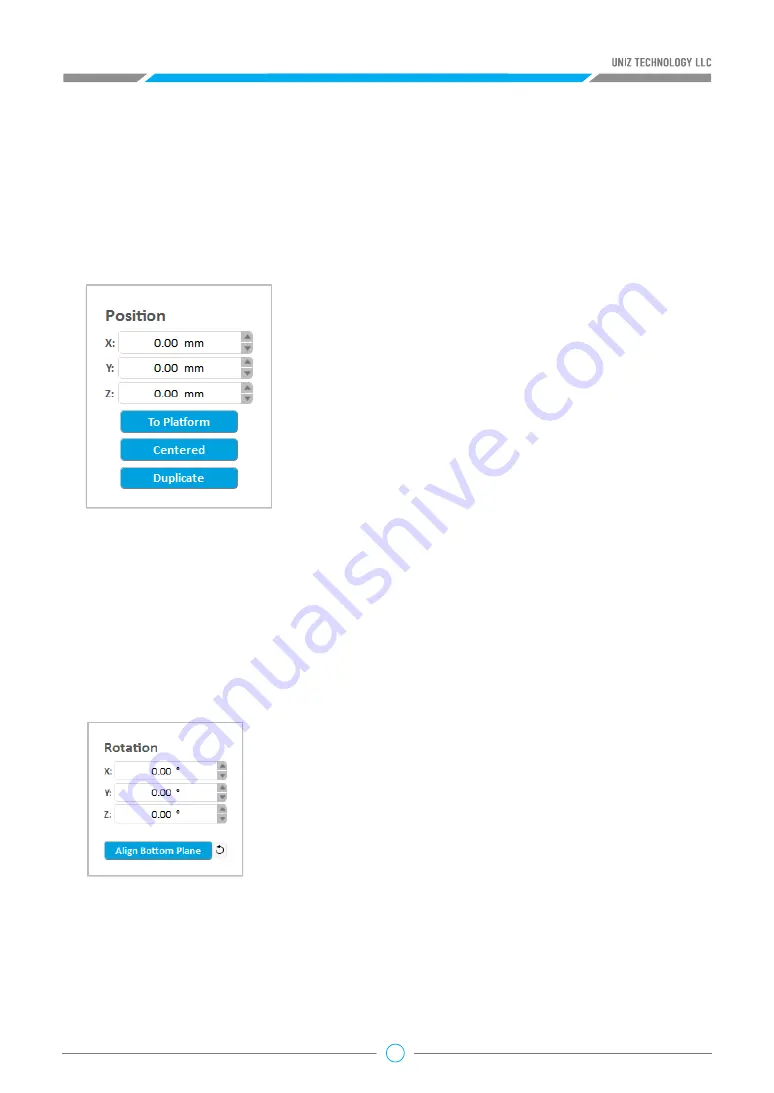
Pressing the “Position” Button will open following sub menu.
Press the “Rotation” Button on the main tools will open following sub menu.
• Once the Position tab is open, hold the left mouse
button on the object and move the mouse to move
the object freely in the X-Y plane. If the “Shift” key is
held down, the object will be moved up and down
along the Z-axis instead.
• The activated object can also be moved by inputting X/
Y/Z values in the field, press “Enter “to apply changes.
• Bring the active part in contact with platform.
• Use the “Centered” button to center active part on
platform.
• Use the “Duplicate” button to duplicate the active
part.
• Once the Rotation tab is open, hold the left mouse
button on the object and move the mouse to freely
rotate the object.
• Rotate any model more precisely in one of the three
main axes by dragging one of the circular rings on the
manipulator.
• The activated object can also be rotated by inputting X/
Y/Z values in the field. Press “Enter” to apply changes.
UNIZ's orientation tools are relative not absolute, so
the X, Y, and Z rotation angles reset to 0 degrees after
applying a rotation.
• Press “To Align Bottom Plane” button to align the
selected plane to the bottom of build platform.
• Click the “Reset” Button to restore the activated object to the original status.
Tips:
Make sure the models are distributed evenly on build platform. Un-balanced forces on the
build platform may result in inferior precision or cracking of the printed parts. Once supports
are attached to a model, its Z-position cannot be modified.


