


SonixMDP/SP/OP Service Manual 00.053.205, Revision A
Chapter 3: System Installation
3-7
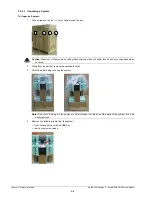
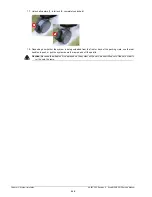
5.
Cut off and remove the strapping before removing the printer from the rear of the system.
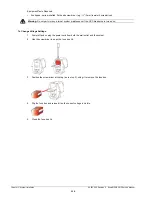
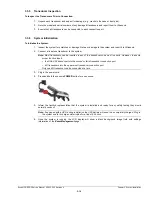
6.
At the rear of the system, pull off the padding protecting the neck of the LCD display stand.
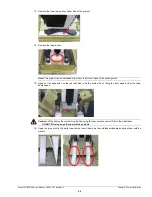
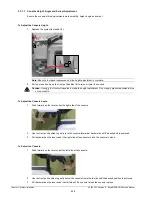
7.
At the rear of the system, slice the tape holding the foam together and remove the foam loops from the rear
handles.
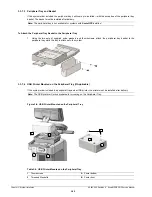
8.
Remove the foam, bending it open to clear the rear handles.
Note:
The strapping is only applied if a printer is included with the system.
Note:
Do not use a blade or scissors to cut the padding as this may result in damage to the system.
Summary of Contents for Sonix MDP
Page 1: ...Analogic Ultrasound Service Manual SonixMDP SP OPQ Ultrasound System...
Page 2: ......
Page 4: ......
Page 14: ...Chapter 2 System Specifications 00 053 205 Revision A SonixMDP SP OP Service Manual 2 2...
Page 46: ...Chapter 5 Software 00 053 205 Revision A SonixMDP SP OP Service Manual 5 4...
Page 120: ...Chapter 8 DICOM 00 053 205 Revision A SonixMDP SP OP Service Manual 8 24...
Page 147: ......


