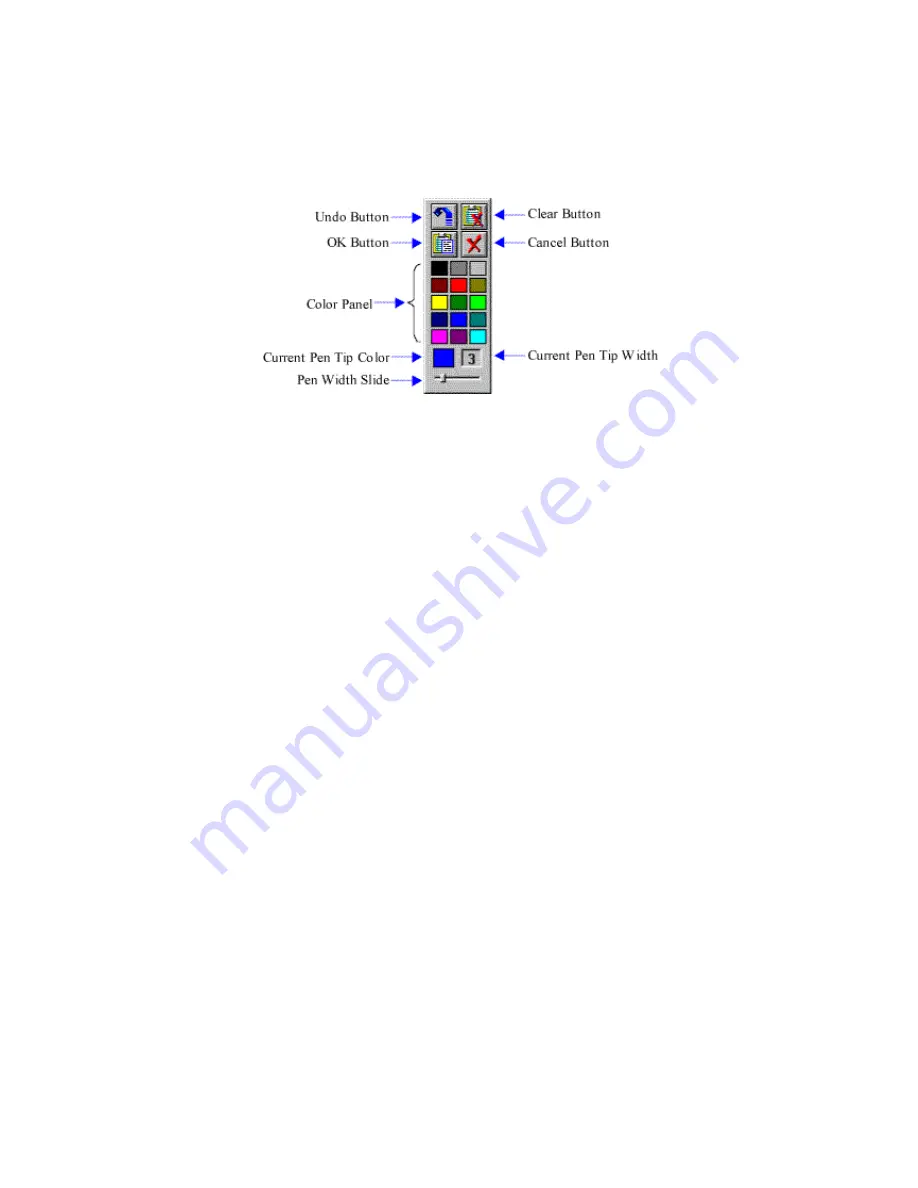
When you tap on either Pencil Button or Highlighter Button, Drawing Toolbar
appears (see below), and you may start drawing your annotation on the document
immediately. The document is automatically set to Page Layout mode as soon as you
enter drawing mode.
Figure 21 Drawing Toolbar
You may also select Highlight Text Button to give semi-transparent color to selected
texts. Or, you may select About Button to see information about this version of
Annotate for Word
.
When you finish drawing, tap on OK Button to paste the drawing onto current
document.
In certain contexts, Word does not allow drawings to be inserted. In these situations,
pressing Pencil Button or Highlighter Button will not enter drawing mode.
Note
:
Similar to a real pen, the "ink" or "lead" in Pencil or Highlighter is
limited. When the "ink" runs out, you must tap on OK Button to complete the
drawing or Cancel it before you can draw more pictures. You may continue your
annotating after you press Pencil Button or Highlighter Button again.
Possible Problems with Setup
If you do not see Annotate Toolbar after Word is started, first verify that Annotate
Toolbar is not temporarily disabled. You do this by following the procedure
described later in this section. Then, try to install
Annotate for Word
again by
starting the Setup program on the Driver Disc, and selecting only
Annotate for
Word
. If this still does not clear the problem, look for the "Startup" directory by
selecting "Tools /Options /File locations /Startup" and tap on "Modify". See the
figure below.


