AB Connectors Limited
Specification No. 528
ABCIRP Connector Series
Assembly and wiring Instructions
AB Connectors Limited Issue 9: July 2010
Page 14 of 41
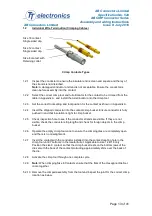
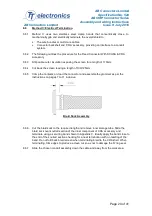
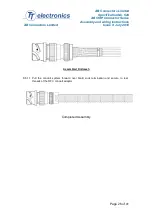
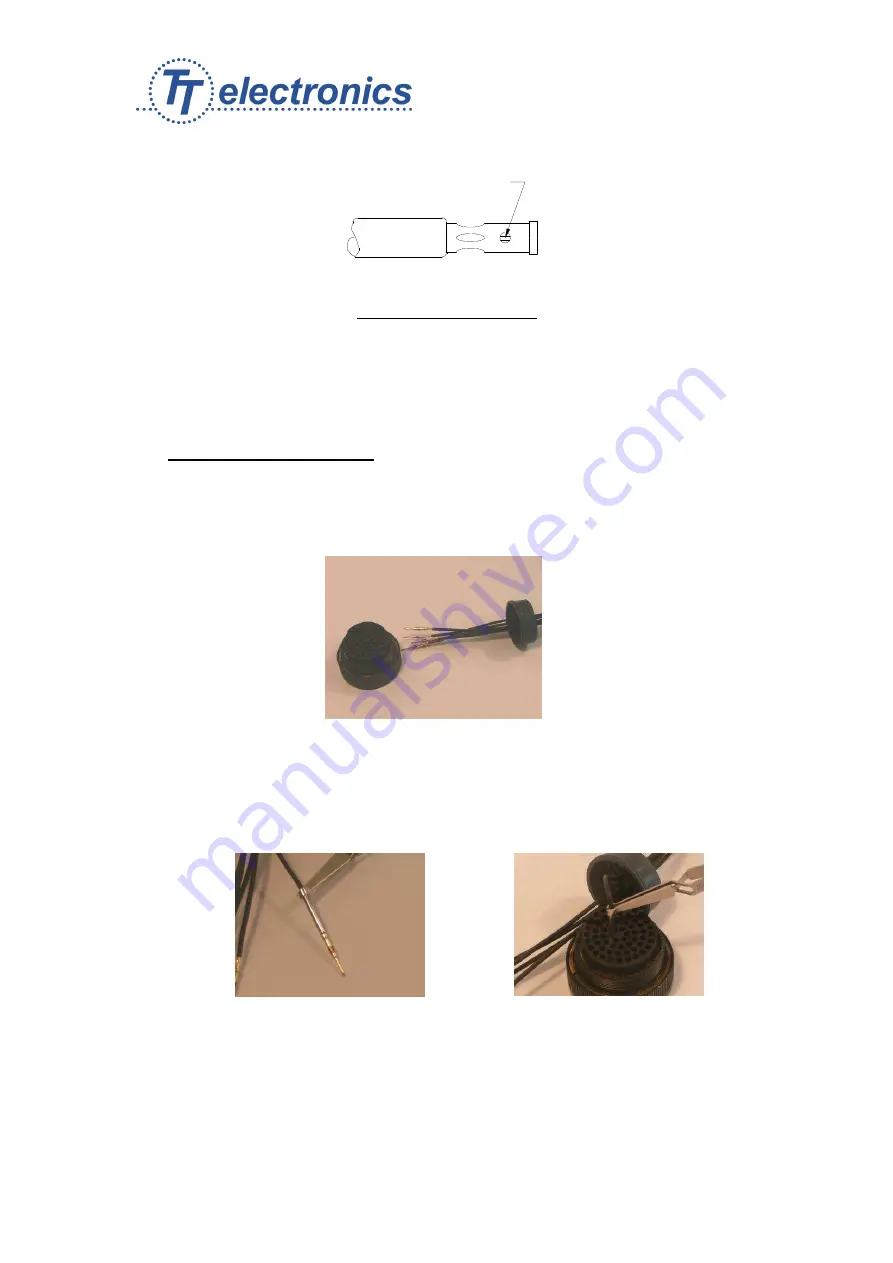
Completed crimp contact
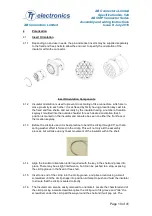
5.2.11 Check that the conductor strands are visible through the inspection hole.
Important Note: Loose conductor strands or cracks in the crimp area are not
acceptable.
The crimp joint must be re-made if there is any sign of damage.
5.3 Contact Insertion – Method 1
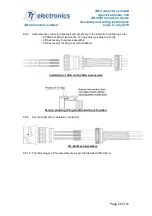
5.3.1
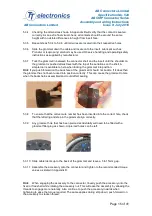
Push the contacts through the grommet according to the wiring list / schedule and
push the grommet up to, but not beyond the idents. Lubricant such as Pronatur or
Isoproyl alcohol may be used. Important: Observe handling and operating safety
instructions as supplied by manufacture.
5.3.2
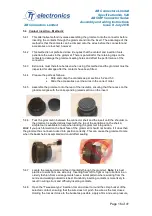
Locate the correct hole for the appropriate wire. Load the contact into the insert by
hand. Note: It is best practice to work from one side only, inserting from left to right or
top to bottom in an orderly fashion. Some arrangements have a radial pattern where
working from the centre and working outwards is best. Randomly inserting contacts is
more likely to result in wiring errors and difficulty inserting contacts.
5.3.3
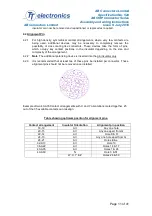
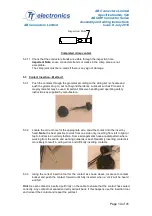
Using the correct insertion tool for the contact as shown above, locate onto contact
bucket and push the contact forward until fully inserted, when a ‘click’ will be heard
and felt.
Hint: As each contact is inserted pull firmly on the cable to ensure that the contact has seated
correctly. Any contact not seated correctly will pull back. If this happens use the insertion tool
and reinsert the contact and repeat the pull test.
Inspection H ole

