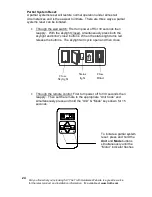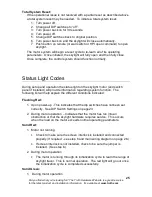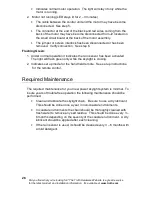
Did you find what you’re looking for? The Truth Hardware Web site is a great resource
for the latest product and installation information. It’s available at www.truth.com
13
9. Install Cover
•
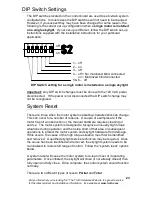
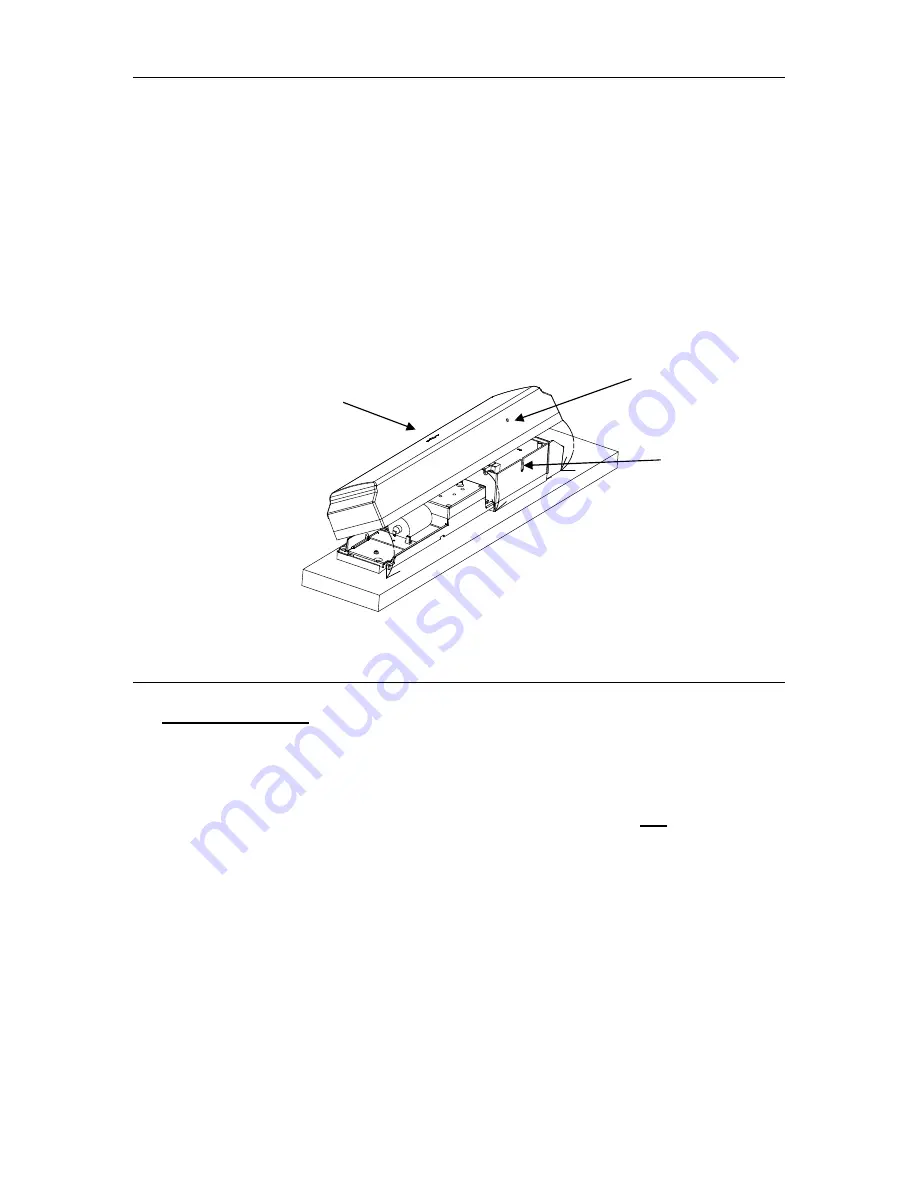
Remove the center trim button from the cover (Sentry II) and locate the
mounting screw beneath.
•
Slip the motor cover over the drive motor and control box. Start with the
notched edge of cover hooked behind the motor/control box closest to the
glass. Be sure that the lens in the side of the cover aligns with the notch
in the control box before pushing the motor cover down. Then swing the
front edge of the cover down into the flat position.
•
Fasten the motor cover using the pan head screw found under trim button
(#6-32 X 3/8” Phillips PH, Self Threading, Machine Screw).
•
WARNING: Use of a longer screw will damage motor. (If needed, a
spare screw is supplied in the hardware pack.)
10. Power Up and Initialization
Important notice: To help insure a successful power up be sure that the
following steps have been completed:
•
Check that the end of the operator chain is connected to the skylight.
(See Step 2)
•
Verify the screen interlock is installed and connected OR, that there is
a jumper installed across the two gray terminals on terminal block 10.
(See Step 6)
•
Units that have Followers need to be powered up at the same time.
Power up
•
Apply 120 VAC power to the control unit
Note: Upon power-up the skylight will automatically close. (If skylight
is already closed, the motor will momentarily start and stop verifying
the skylight is closed.)
Lens for Status LED
LED Notch
Center trim button &
Mounting screw


