10-12
Troubleshooting > Troubleshooting
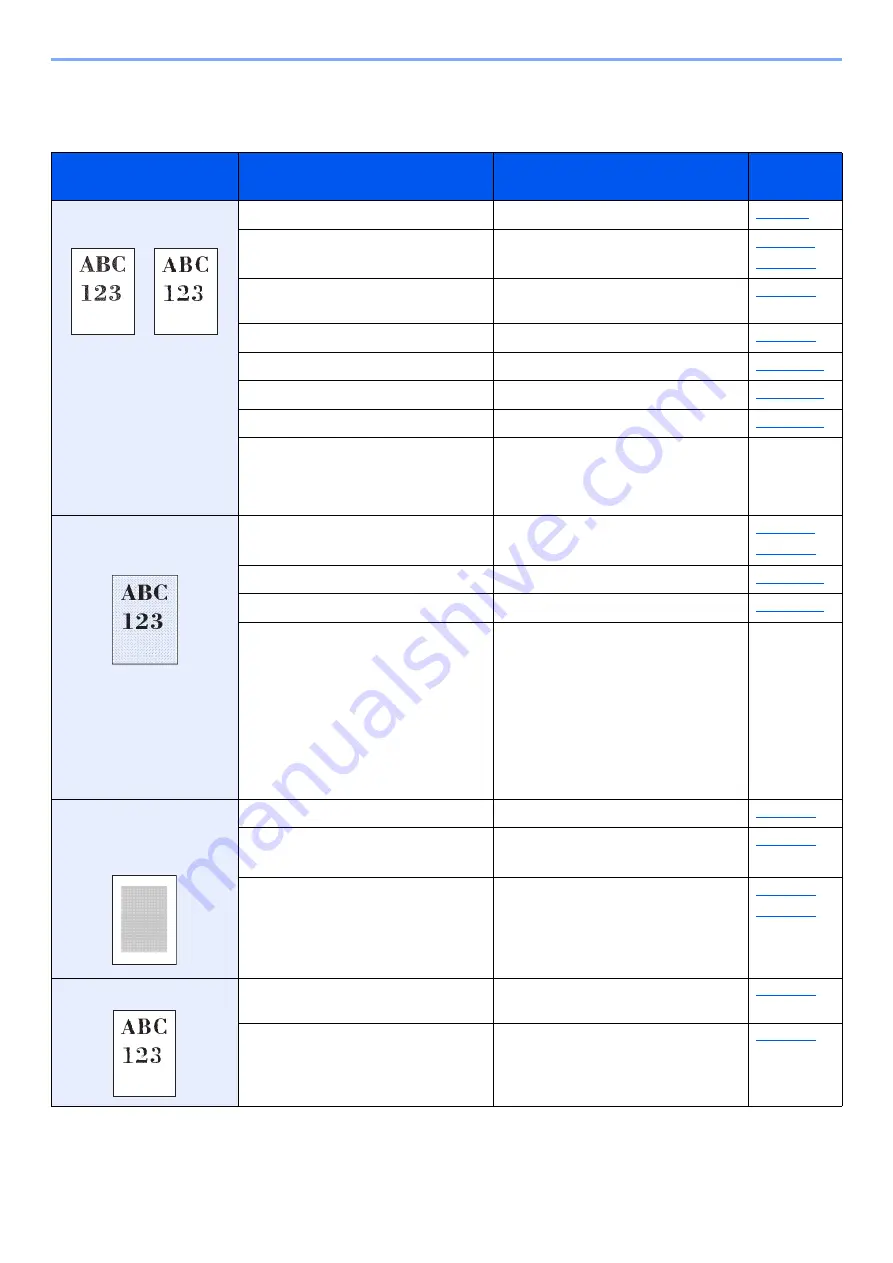
Printed Image Trouble
When the following printed image trouble occurs, implement appropriate procedures.
Symptom
Checkpoints
Corrective Actions
Reference
Page
Printed images are totally
too light.
Is the paper damp?
Replace the paper with new paper.
Have you changed the density?
Select appropriate density level.
Is the toner distributed evenly within the
toner container?
Shake the toner container from side to
side several times.
Is EcoPrint mode enabled?
Disable [
EcoPrint
] mode.
―
Run [
Calibration
].
―
Run [
Drum Refresh
].
―
Run [
Laser Scanner Cleaning
].
―
Select the [
System Menu/Counter
] key
> [
Adjustment/Maintenance
] >
[
Service Setting
] > [
DEV-CLN
], and
then select [
OK
].
―
White background parts of
the image appear to have a
slight overall coloration.
Have you changed the density?
Select appropriate density level.
―
Run [
Calibration
].
―
Run [
Drum Refresh
]
―
Select the [
System Menu/Counter
] key
> [
Adjustment/Maintenance
] >
[
Service Setting
] > [
MC
] and increase
the adjustment value. Increase the
adjustment value 1 level at a time from
the current value. If there is no
improvement after the value is
increased by 1 level, increase by 1 level
again. If there is still no improvement,
return the setting to the original value.
―
Copies have a moire pattern
(dots grouped together in
patterns and not aligned
uniformly).
Is the original a printed photograph?
Set the original image to [
Photo
].
―
When making copies
Set [
Sharpness
] to a value from [
-1
] to [
-3
].
―
When making copies
Select the [
System Menu/Counter
] key
> [
Copy
] > [
DP Read Action
] or [
Platen
Scan Act.
], and set to [
Quality
Priority
].
Texts are not clearly printed. Did you choose appropriate image
quality for the original?
Select appropriate image quality.
―
When making copies
Set [
Sharpness
] to a value from [
+1
] to
[
+3
].


