2HJ/2HK
1-5-44
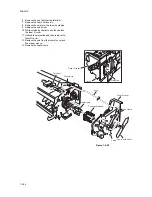
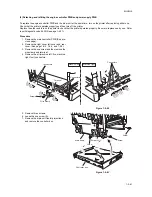
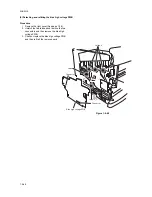
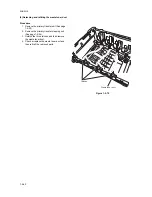
(3) Detaching and refitting the LED print heads relay PWB
Procedure
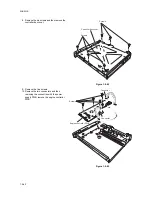
1. Remove the left cover (see page 1-5-5).
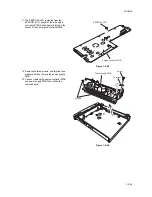
2. Remove the one screw.
3. Remove the two connectors and two tabs.
4. Unlatch the four latches and then remove
the LED print heads relay PWB.
5. Check or replace the LED print heads relay
PWB and then refit all the removed parts.
Figure 1-5-66
LED print heads relay PWB
Connector
Connector
Tab
Tab
Latches
Screw
Summary of Contents for CLP3316
Page 1: ...Service Manual Color Printer CLP 3316 CLP 3520 X First Edition Date 24 10 2006 2HKSM060 ...
Page 2: ...Service Manual Color Printer CLP 4316 CLP 4520 X First Edition Date 24 10 2006 2HKSM060 ...
Page 6: ...This page is intentionally left blank ...
Page 12: ...This page is intentionally left blank ...
Page 20: ...2HJ 2HK 1 1 8 This page is intentionally left blank ...
Page 32: ...2HJ 2HK 1 2 12 This page is intentionally left blank ...
Page 138: ...2HJ 2HK 1 6 4 This page is intentionally left blank ...
Page 168: ...2HJ 2HK 2 1 30 This page is intentionally left blank ...
Page 172: ...2HJ 2HK 2 2 4 This page is intentionally left blank ...
Page 188: ...2HJ 2HK 2 4 6 This page is intentionally left blank ...

