MicronNav System
0656-SOM-00001-07
88
© Tritech International Ltd.
6. Adding and Using User Bitmap Charts
If user ‘North Up’ bitmap charts are available they can be loaded into the system (with scaling
and position referencing) and the position of the ROV tracked and plotted on the chart. When
operating on a chart the user can mark Waypoints or Objects/Targets of interest by Adding
Markers, selected and configured from a predefined list, and dropping them onto the chart
as required. It should be noted that this method of using bitmap charts and all associated
features may be reviewed and changed at any time in future releases of Seanet Pro software.
Note
All user generated charts should be 'North Up' orientation.
Note
Charts saved in graphics formats other than .BMP (e.g. PNG, TIFF, JPEG) can
also be imported.
6.1. Adding a Chart
When capturing a bitmap chart (and saving to an image format that can be imported into
Seanet Pro) the user must note the following information is required to load/register the chart
into the system.
• The Latitude and Longitude of the origin of the chart or the metric UTM coordinates of the
corner of origin of the chart
• The metric coverage of the chart from East to West (Length)
• The metric coverage of the chart from North to South (Height)
• The ellipsoid code to be used (if using UTM coordinates)
• The UTM zone to be used (if using UTM coordinates)
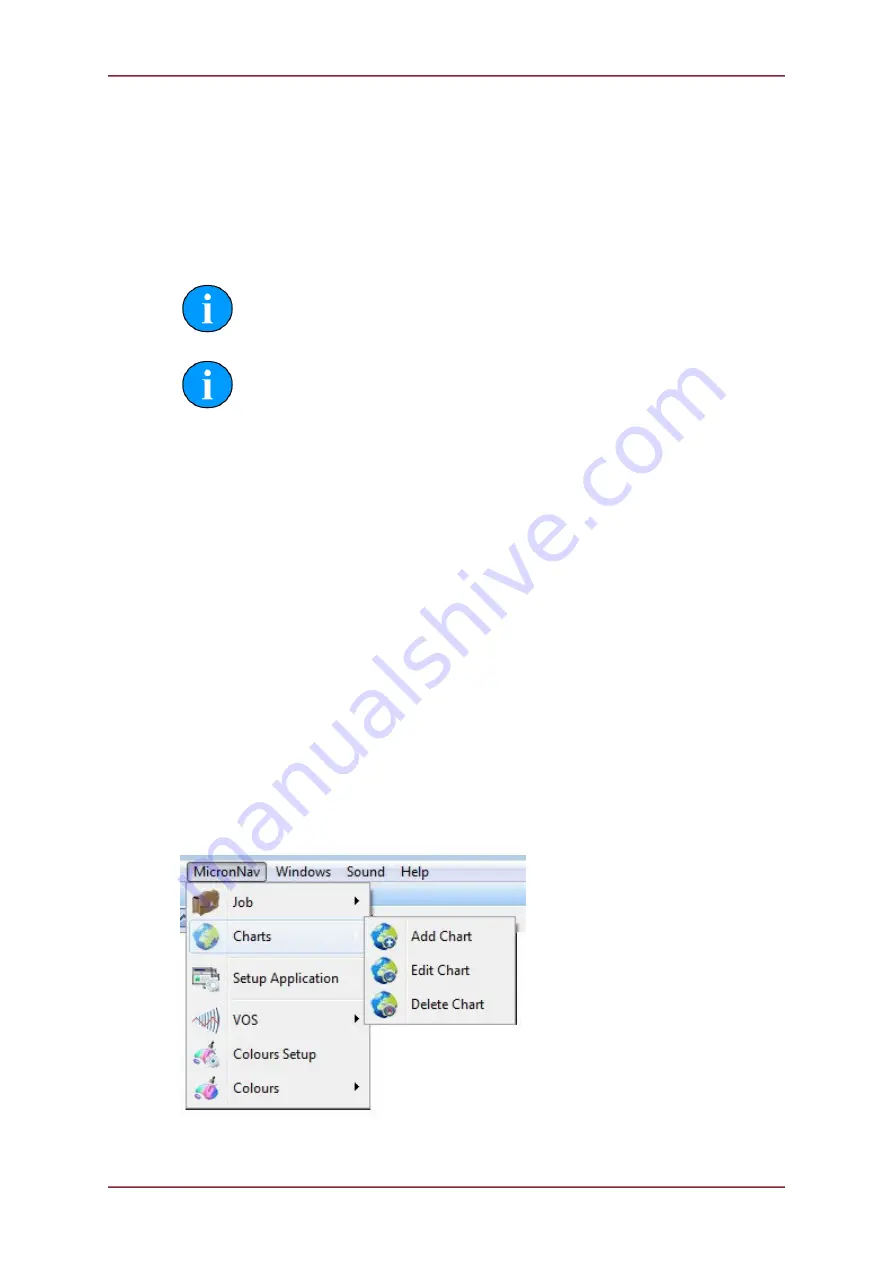
Open the Chart Editor by selecting from the Main menu,
MicronNav
–
Charts
–
Add
Chart
.
This will bring up the Create Overlay Chart editor.


