Installing the System
MicronNav System
0656-SOM-00001-07
50
© Tritech International Ltd.
3.4. Dry System Check
3.4.1. Setting up the Application
Ensure the system has been correctly installed and configured in accordance with
Section 3.2, “Installation” of this manual. Apply power to the MicronNav100 Interface Hub
and click the
Seanet Pro
icon on the desktop to run the MicronNav application software,
select Applications from the top menu bar of the Seanet Pro window and select the required
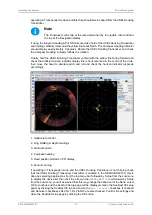
application from the list, Sonar Nav will display the Sonar and Navigation display and would
be used when operating in Responder mode, Nav will display only the Navigation display and
would be used when operating in Transponder mode, if Video is also required on the display
then select Sonar Nav Video for Responder mode and Nav Video for Transponder mode.
Once the display has updated with the selected application the MicronNav must be correctly
configured to address the sub-sea Modem Heads being used with the system - select
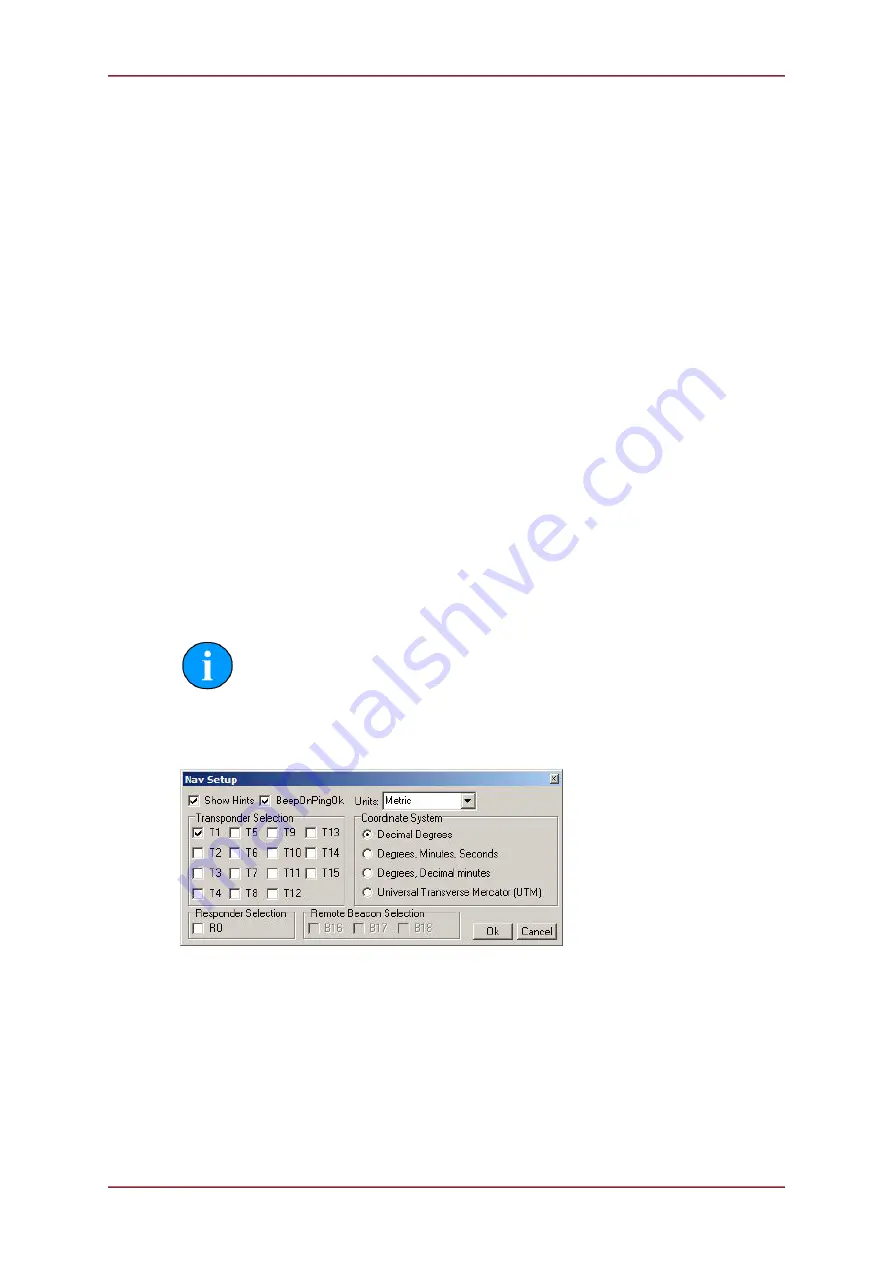
MicronNav from the top menu bar and select Setup Application to open the
Nav Setup
panel
(if this menu option is not displayed click inside the Navigation window first), then check the
appropriate check boxes for the Heads to be addressed - i.e. Responder R0 for Responder
Head, Transponder Selection T1 for Transponder T1, T2 for Transponder T2, etc., or B16,
B17 and B18 for remote beacons. The
Remote Beacon Selection
will be greyed out
if no remote beacons have been configured for use with the system - for more details see
Section 3.3, “Remote Beacons”.
A maximum of 1 Responder, 15 Transponders and 3 remote beacons are supported.
The PC will make an audible beep to indicate when the system sends out a ping, this can be
disabled by un-checking the BeepOnPingOk checkbox in this panel.
Note
If the Transponder checkboxes are greyed out then ensure that the MicronNav
system is powered and installed in accordance with Section 3.2.4, “Subsea
Hardware Responder Configuration” through to Section 3.2.5, “Subsea
Hardware Transponder Configuration”
Click the
Ok
button on the
Nav Setup
panel to confirm the configuration and close the panel.
3.4.2. Transducers and integral Heading/Pitch/Roll Sensor Check
Apply power to the sub-sea installation, if a Micron/SeaSprite is installed the blue led on
the front of the Sonar should light and the sonar display should start scanning and an
audible chirp should be heard from the sub-sea Modem head, position the USBL Dunking
Transducer next to the sub-sea Modem Head and readings of Rng, RelBrg and Depth should
now be displayed on the Navigation display and the position plotted on the PPI display. If


