


© Copyright 2018 TRENDnet. All Rights Reserved.
102
TRENDnet User’s Guide
TV‐NVR416
Appendix
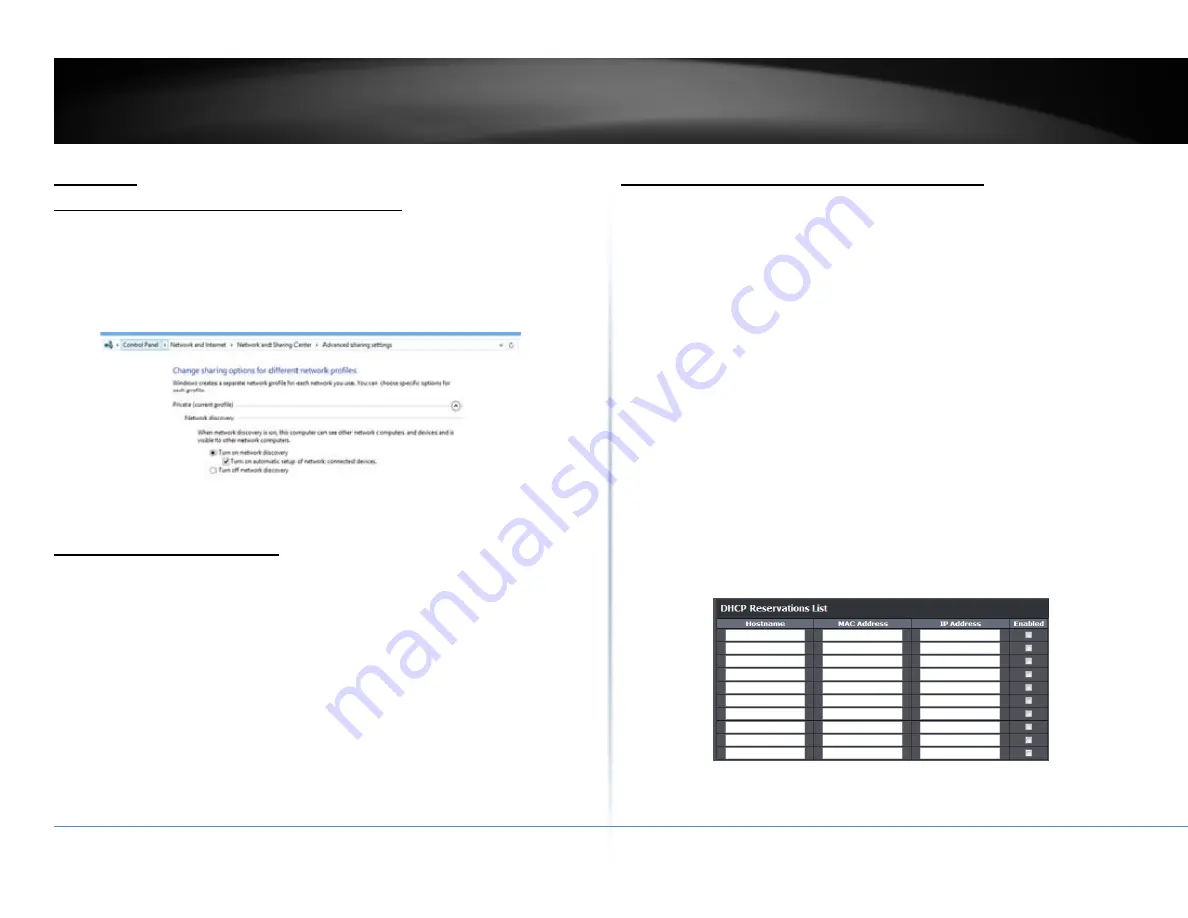
Turn on network discovery on Windows
The NVR is UPnP enabled device. Find your camera is easy with Windows network
discovery. If your network discovery is turned off, go to Control
Panel >> Network
and Internet >> Network and Sharing Center >> Advanced sharing settings
and
then select
Turn on network discovery
. Click
Save
changes to save the changes. If
you still have
difficulty to find your camera with network discovery, check it out if it
has to network discovery setting on other network profiles.
Direct video access ‐ RTSP
To access the video directly through RTSP, just visit the camera IP address on port
554 by default.
To access the video through NVR, you need to enter the IP address, port number
and leading path “/Streaming/Channels” then specify the channel number. The
channel number is 2 digits leading with zero. For example:
rtsp://192.168.10.60:554/Streaming/Channels/01 to view the channel 1 video on
NVR which located on 192.168.10.60.
Install your NVR System on Your Network
To enable remote network access to the NVR, you need to install your NVR onto
your network. Make sure your NVR system is working on the same network
segment your router defined. Reserve a pool of IP addresses for NVR and all
cameras. You can then access your NVR and network cameras everywhere over the
network.
The other option to setup the NVR and cameras on your network is using DHCP. The
NVR DHCP client is default disabled. You can enable DHCP client manually.
1.
Go to General Network Settings to enable the NVR getting its IP address from
your router DHCP.
2.
Reboot your NVR.
3.
Plug in the PoE cameras to the PoE ports.
4.
All the cameras are getting the assigned IP address from your router.
5.
For plug‐and‐play cameras, such as TV‐IP320PI, installed directly on the PoE
port, the NVR proceed following settings on camera to add on the security.
The camera will be assigned with an IP assigned by your router and then
the address becomes static IP on the camera. You can write down the IP
address for remote access or advanced port forwarding settings on your
router. Please make the assigned IP reserved, so your router will not
accidentally assign the same address to other of your network devices.
If the camera has its default setting, the password will be set to the same
password you set to the NVR.


