57
TRAK Machine Tools
Southwestern Industries, Inc.
ProtoTRAK SMX, K2, K3 & K4 & Retrofit Safety, Installation, Maintenance, Service and Parts List Manual
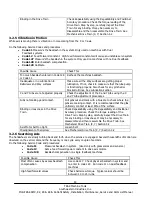
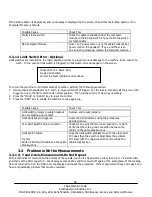
4.1.4.2 Feedrates
Factors that affect feedrates:
Depth and width of cut
Design or type of cutter
Sharpness of the cutter
Workpiece material
Type of finish or accuracy required
Climb or conventional milling
If a fine finish is required, reduce the feed rather than increase the spindle speed. Cutters are dulled by higher spindle
speeds rather than high feedrates.
4.2 The Mechanical Drive Train (X, Y)
Indications:
Troubleshooting instructions indicate that the drive train is potentially the problem and other (more easily
checked variables) have been exhausted.
Roughness, looseness, tightness or jamming movement in the table or saddle.
1.
Check for machine considerations, especially gib locks and gib adjustments. See Gib
Adjustments section
2.
Check the torque of the axis in three places (both ends and center of ball screw) along the length of the ball screw.
The torque should be within 2 or 3 in-lbs across the length of the ball screw. If it is not, chances are the ball screw
is misaligned. A misaligned ball screw can lead to parts being out of round and servo problems at low feedrates. A
bad ball screw can also cause high torque, although this is highly unlikely. See Sections 4.2.1 and 4.2.2 for more
information.
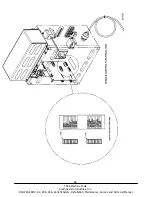
The following steps take you in logical sequence through the assemblies for the knee mills. For drawings of these
assemblies see Figures 31 and 32 in Section 5. These instructions break the machine down from fully assembled and
point out the areas to look at specifically.
3.
Check that the belt is properly tightened. A loose belt can lead to excessive backlash compensation values on motor
encoder only machines.
4.
Check that the nut that tightens up against the ball screw pulley is tight. If this is loose the pulley may not run true
on the ball screw.
5.
Check that the tapered sleeve that seats the pulley has not clamped to the ball screw prematurely. It should be
seated firmly against the pulley. Tightening the nut may not have ensured this. Also make sure the pulley is keyed
to the ball screw.
6.
Ensure that the screws that hold the bearing housing in place to the bracket are not loose.
7.
Ensure that the Clamp Nut is secured. The following applies to the clamp nut:
When loosening, make sure to back out the 10-32 screw from the clamp nut.
When tightening, snug the 10-32 screw so the clamp goes onto the ball screw thread with some drag.
Thread it onto the ball screw and torque the clamp nut to 50 ft/lbs and then tighten the screw down.
8.
Take out the angular contact bearings and inspect them. They should roll smoothly and be lightly greased. If not,
replace them. When putting the bearings back into the housing make sure to put them in correctly. Failure to do
this will cause problems. The thin race of each bearing should be facing inward toward the spacer ring.
Note: the bearing housing and spacer ring are matched sets - keep them together.
9.
Check the ball screw mounting to the yoke. Make sure the SHCS are tight.
10.
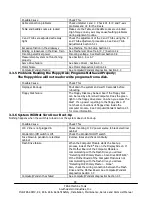
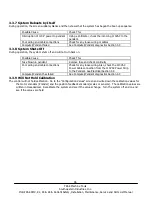
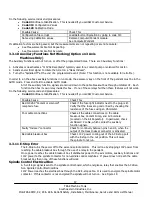
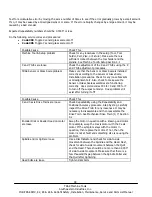
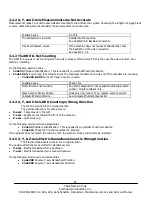
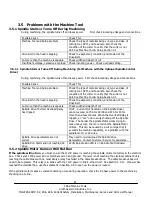
Inspect the ball screw, ball nut and yoke for the potential problems shown in the chart on the next page.
CAUTION!
Unlike a lead screw, do not unscrew the ball screw from its nut. This will destroy the
ball screw!

