65
¾
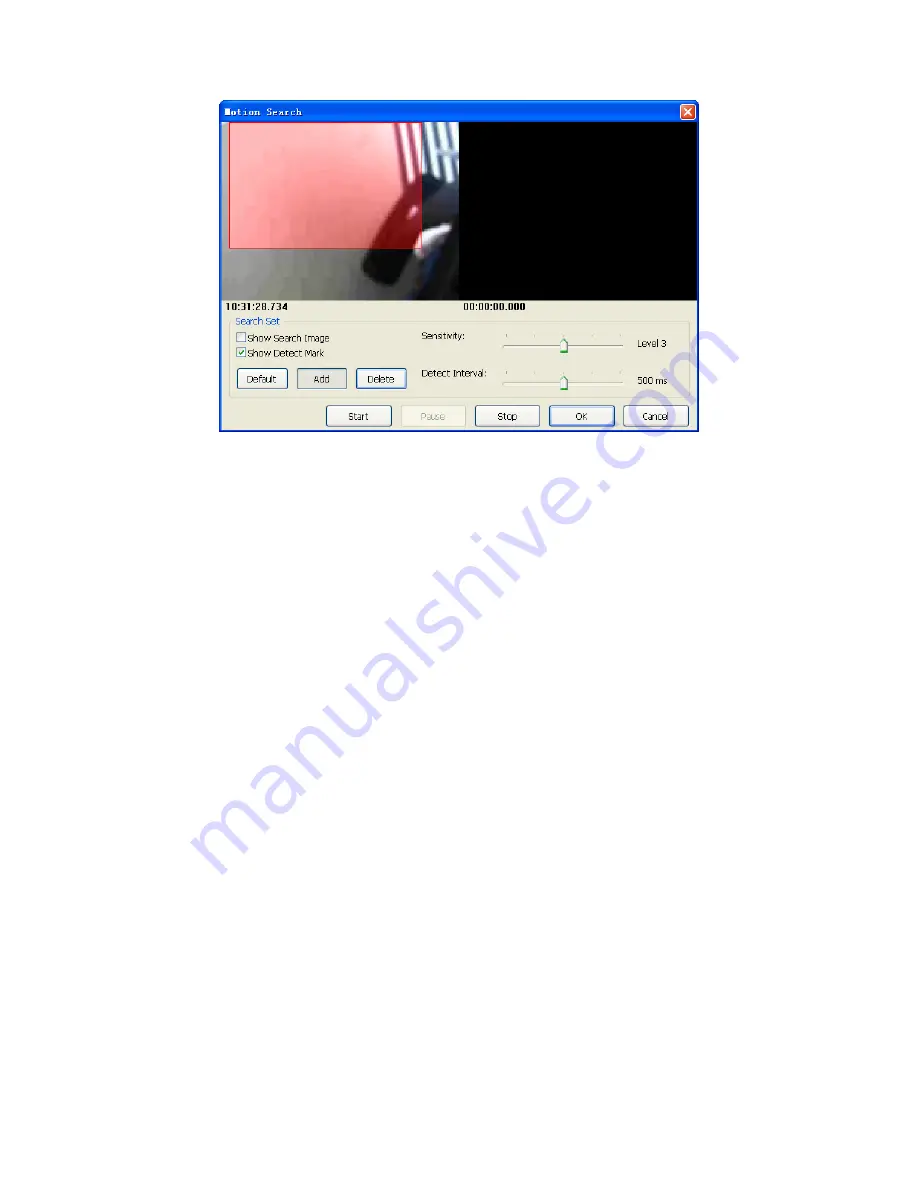
Add:
Click
Add
and drag a rectangle area where you want to check. The search area will
overlay a transparent red mask.
¾
Delete:
Click
Delete
and drag a rectangle area where you want to remove the region.
¾
Default:
Click
Default
to select full image for motion detection.
¾
Show Search Image:
Check
Show Search Image
to display the searching video sequence
or un-check this box to only show the image once the event found.
¾
Show Detect Mark:
Check
Show Detect Mark
to display the detect result on the image by
pink rectangles.
¾
Sensitivity:
Select
Sensitivity
to define the sensitivity of detection. The higher value means
the event will be triggered easier.
¾
Detect Interval:
Select
Detect Interval
to define the interval of motion detection. If set longer
value, it means the system will use less CPU computing power to check motion detection.
¾
Start / Continue:
When the event has been triggered, the window on the right side will
display the triggered image. If the event is not matched your expectation, click the “Continue”
button to search next event.
¾
OK:
If you found the matched event, click
OK
to return to the playback panel, and all playing
channels will be synchronized to the same timestamp of the event.
¾
Cancel:
Click
Cancel
to abort this motion search job.
5.9.6 Sequential Search
Click mouse right button on the channel which you want to do sequential search, and then select
Sequential Search
from the popup menu.
Sequential Search Window:


