4.6 ODD Bay Module
4 Replacement Procedures
4.6 ODD Bay Modules
Removing the ODD Bay Module
NOTE:
The installation and removal procedures are the same for all the modules that
can be installed in the ODD bays. See the appropriate sections for the disassembly
procedures of the specific modules.
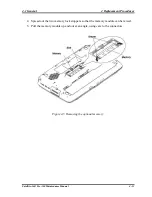
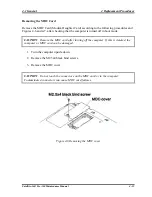
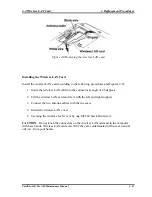
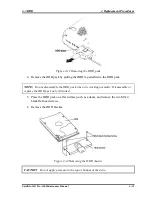
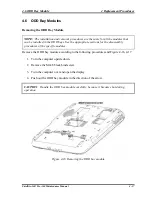
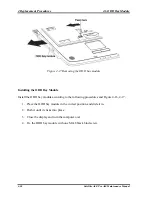
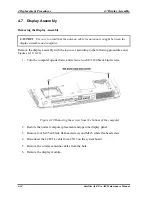
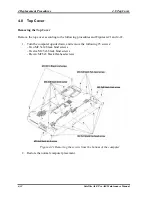
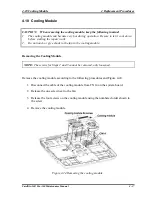
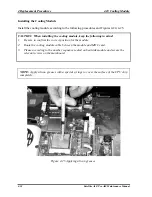
Remove the ODD bay module according to the following procedures and Figure 4-16, 4-17.
1. Turn the computer upside down.
2. Remove the M2x8 black bind screw.
3. Turn the computer over and open the display.
4. Push out the ODD bay module in the direction of the arrow.
CAUTION
: Handle the ODD bay module carefully, because it becomes hot during
operation.
Figure 4-16 Removing the ODD bay module
Satellite A60/ Pro A60 Maintenance Manual
4-27
Summary of Contents for Satellite Pro A60 Series
Page 10: ...x Satellite A60 Pro A60 Maintenance Manual ...
Page 11: ...Chapter 1 Hardware Overview ...
Page 12: ...1 Hardware Overview 1 ii Satellite A60 Pro A60 Maintenance Manual ...
Page 35: ...2 Troubleshooting 2 Chapter 2 Troubleshooting 2 i Satellite A60 Pro A60 Maintenance Manual ...
Page 65: ...Chapter 3 Diagnostic Programs ...
Page 68: ......
Page 134: ...Chapter 4 Replacement Procedures 4 1 ...
Page 135: ...4 Replacement Procedures 4 ii Satellite A60 Pro A60 Maintenance Manual ...
Page 141: ......
Page 202: ...6000 1 次 Appendices ...
Page 203: ...Appendices App ii Satellite A60 Pro A60 Maintenance Manual ...
Page 211: ...Appendices Apx A Handling the LCD Module A 6 Satellite A60 Pro A60 Maintenance Manual ...
Page 221: ......
Page 223: ......
Page 225: ......
Page 229: ......
Page 231: ......
Page 235: ......
Page 237: ......
Page 239: ......
Page 250: ......
Page 252: ......
Page 254: ......
Page 256: ......
Page 262: ......
Page 264: ......

