


Learning The Basics
User's Manual
3-12
Satellite P20
Version
1
Last Saved on 30/05/2003 13:57
ENGLISH using Euro_M.dot –– Printed on 30/05/2003 as T202014-EN
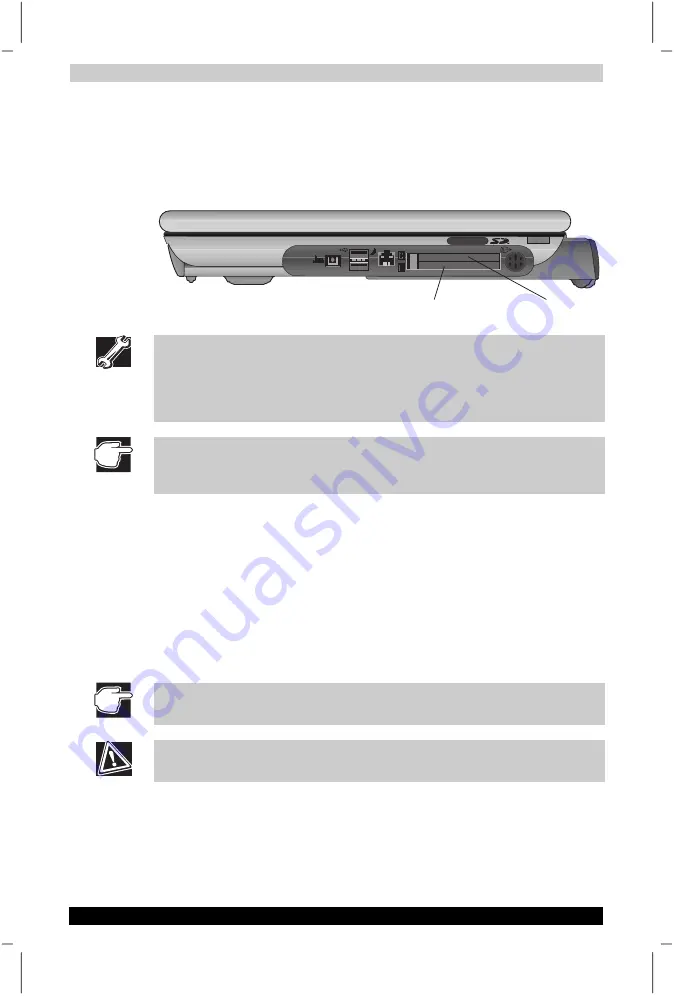
Inserting PC Cards
PC Cards require Card and Socket Services software, which is
preinstalled with Microsoft
®
Windows
®
XP. This is a set of programs that
acts as a translator between the PC Card and the computer that makes
hot swapping (switching cards while the computer is on) possible.
TYPE II/III PC CARD
SLOT
TYPE II PC CARD SLOT
Microsoft
®
Windows
®
XP operating system provides the Card and Socket
Services for your PC Card. Even if your PC Card comes with its own
version of Card and Socket Services, you should use the files included in
Microsoft
®
Windows
®
XP operating system. Some PC Cards do not
support hot swapping. Refer to your PC Card’s manual for information.
An HDD or CD-ROM connected to a 16-bit PC card, might affect the
performance of the computer’s sound system and data transmission,
including slower transmission speeds and dialling errors.
1.
If your PC Card does not support hot swapping, save your data and
turn off the computer before inserting the PC Card. For more
information, see “Hot swapping” later in this chapter.
2.
Hold the PC Card with the arrow side up and the connector side
toward the slot.
3.
Align the card connectors with an available PC Card slot and carefully
slide the card into the slot until it locks into place.
There are two eject buttons, one per slot. When the PC card is seated,
the eject button for that slot pops out.
4.
Press the eject button to put it in its retracted position.
If you have a Type III card, insert the connector into the lower slot. If you
have a Type II card, insert it into either the upper or the lower slot.
To avoid damaging the computer or the PC Card, don’t force the card into
the slot.


