MicroMAS Installation Guide
Installation
Micro MAS Installation Guide 4/07
11
3.
To change the firmware setting, select the Misc Tab and highlight FirmwareFile.
4.
From the drop-down menu in the
Value
field, select
d4u.fwl for the D/4PCIUF board or
d4ucsp.fwl for the D/4PCIUS board
(shown right).
5.
To set the Tone Set File, highlight
TSFFileSupport and from the
Value
field, select Yes.
6.
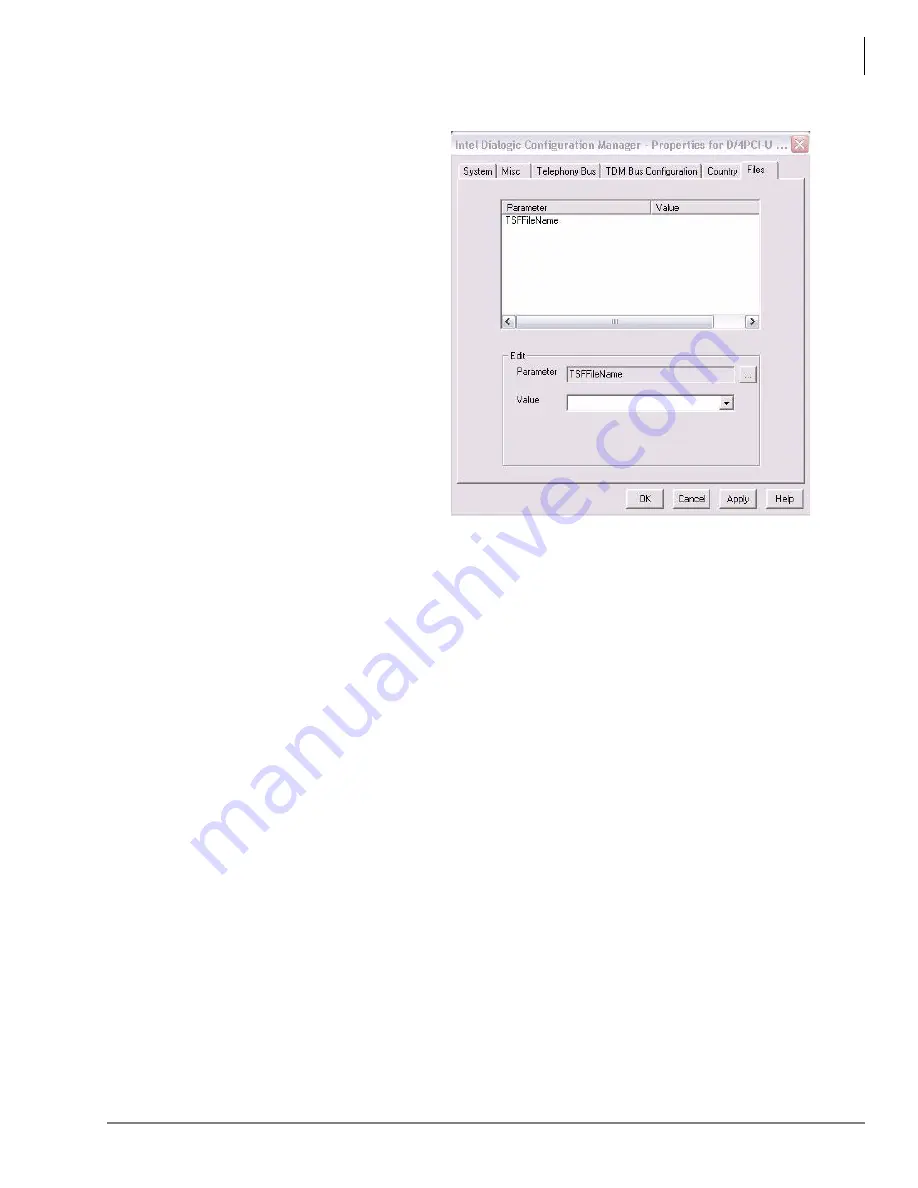
Select the Files tab, highlight
TSFFileName and in the
Values
field
type or browse to
C:\StratagyES\Bin\DK.tsf.
7.
Click Apply.
8.
Click OK. The DCM screen displays.
9.
Repeat steps 2~4 for the second board if applicable.
10. Exit out of the DCM and reboot the system.
Step 15: Configure Software
The MicroMAS is shipped with the application software loaded. Product and service licenses are
downloaded from FYI. Refer to the Toshiba
Strata CIX Programming Manual (Vol. 2).
The pre-loaded software should never need to be loaded. In the event this becomes necessary the
MicroMAS recovery CD-ROM set, included with the server should be used.
Installation of any software not approved by Toshiba voids the warranty. Refer to
Party Application Software” on page 12
Windows XP Firewall Settings
The MicroMAS runs on the Windows XP Professional operating system. Windows XP includes an
Internet Connection Firewall (ICF). When installing the MicroMAS, consider the configuration of the
network and how the MicroMAS will be accessed. Changes to the ICF may be required.
Considerations include:
•
Will the MicroMAS be accessed using remote desktop or will a keyboard, monitor and mouse
connected to the MicroMAS be the only direct access?
•
Will the MicroMAS be addressable via the internet?


