English -
27
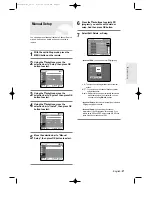
6
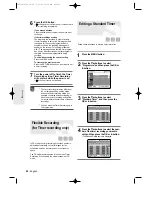
Press the
†…
buttons to select a PR
(program) you wish to edit, delete, or
swap. And then press OK button.
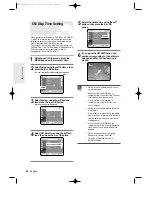
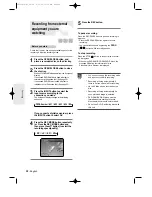
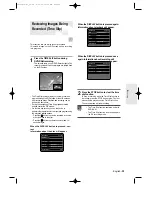
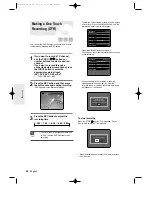
7
Select Edit, Delete, or Swap.
• In case of Edit : you can add or edit PR(program)
- CH : Tune the channel using
œ √
buttons or number
buttons.
- MFT : You can tune up the channel frequency better
using
œ √
buttons.
- Name : Display station name automatically detected in
broadcasting signal. If not detected, you can
edit name by using
†…œ √
buttons.
• In case of Delete : the channel information of selected
PR(program) will be removed.
• In case of Swap : You can swap the channel
information of two PR(program). For example, if you
wish to swap PR2 and PR5, select swap at PR2, then
press OK button or
√
button at PR5.
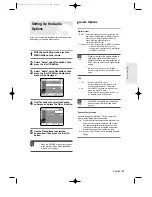
You can add preset channel that Auto Channel Search
missed. And you can delete a channel you wish to
remove.
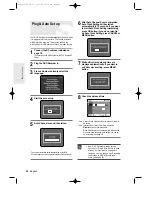
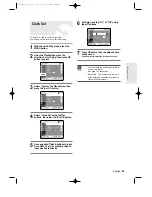
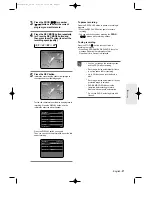
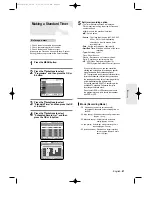
1
With the unit in Stop mode, press the
MENU button on the remote.
2
Using the
†…
buttons, move the
selection bar to “Setup” then press OK
button to select.
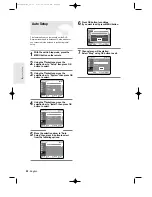
3
Using the
†…
buttons, move the
selection bar to “System” then press OK
button to select.
4
Using the
†…
buttons, move the
selection bar to “Install”, then press OK
button to select.
5
Move the selection bar to “Manual
Setup”, then press OK button to select.
Manual Setup
RETURN
OK
MOVE
EXIT
Setup
DVD-RAM(VR)
System
√
√
Language
√
√
Audio
√
√
Video
√
√
Parental Control
√
√
RETURN
OK
MOVE
EXIT
System
DVD-RAM(VR)
Clock Set
√
√
Install
√
√
CM Skip Time
: 15 Sec
√
√
AV1 Output
: Video
√
√
NICAM
: On
√
√
RETURN
OK
MOVE
EXIT
Install
DVD-RAM(VR)
Auto Setup
√
√
Manual Setup
√
√
RETURN
OK
MOVE
EXIT
Manual Setup
DVD-RAM(VR)
01
5
----
√√
02
---
----
√√
03
---
----
√√
04
---
----
√√
05
---
----
√√
06
---
----
√√
07
---
----
√√
PR CH Name Edit
Edit
Delete
Swap
S
ystem Setup
MOVE
OK
Manual Setup
Done
PR
01
CH
- - -
Name
- - - -
MFT
00566A-D-R3_14~35 8/31/04 10:28 AM Page 27

