English -
25
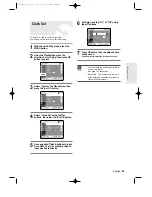
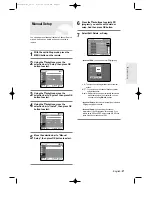
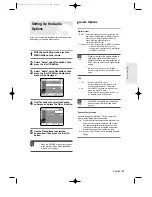
This menu is used to set the current time.
You need to set the time to use timer recording.
1
With the unit in Stop mode, press the
MENU button.
2
Using the
†…
buttons, move the
selection bar to “Setup” then press OK
button to select.
3
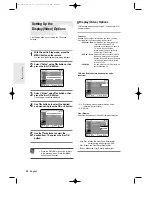
Select “System” the
†…
buttons, then
press the
√
or OK button.
4
Select “Clock Set” using the
†…
buttons, then press the
√
or OK button.
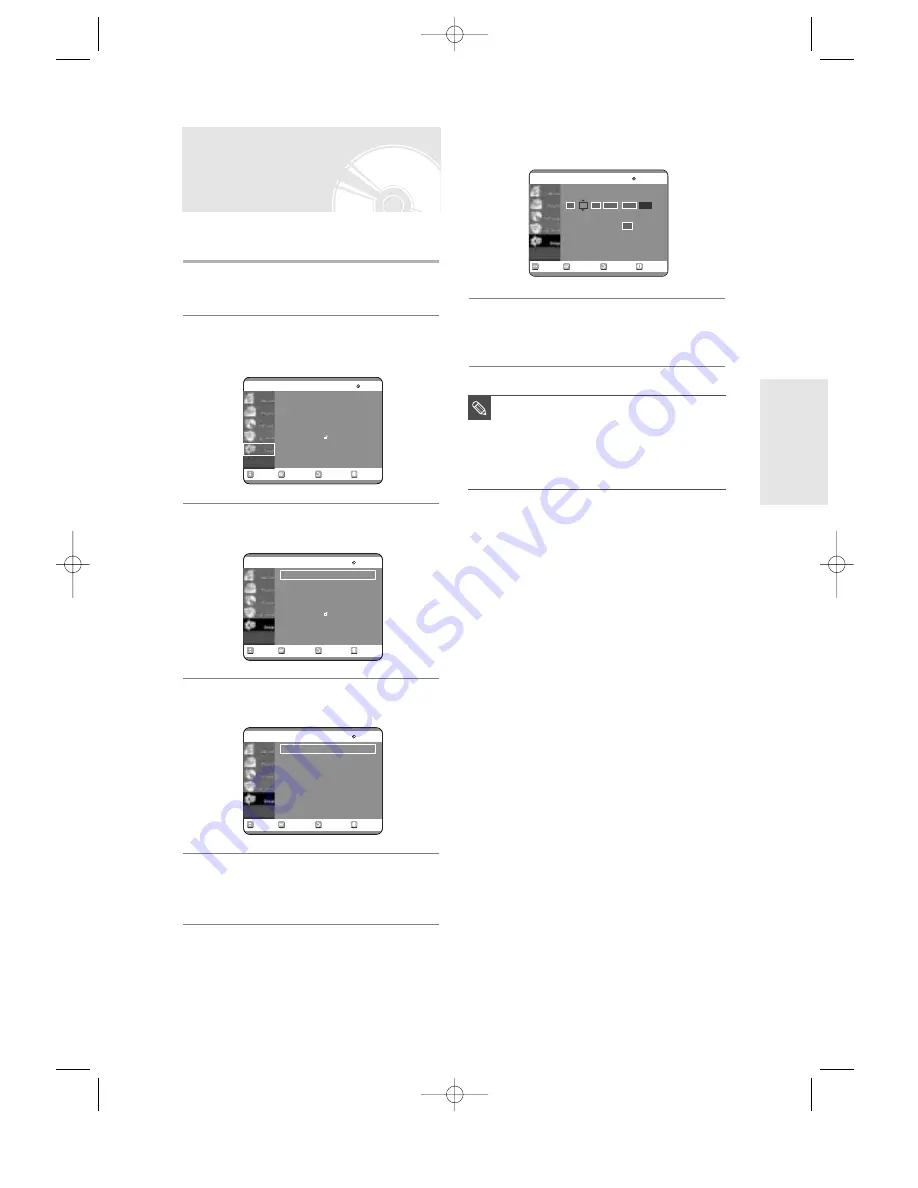
5
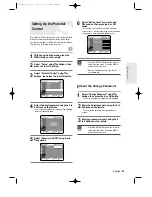
Use navigation
†…œ √
buttons to input
Time, Date, Year. Use number button to
input clock data directly.
Clock Set
RETURN
OK
MOVE
EXIT
Setup
DVD-RAM(VR)
System
√
√
Language
√
√
Audio
√
√
Video
√
√
Parental Control
√
√
RETURN
OK
MOVE
EXIT
System
DVD-RAM(VR)
System
√
√
Language
√
√
Audio
√
√
Video
√
√
Parental Control
√
√
RETURN
OK
MOVE
EXIT
System
DVD-RAM(VR)
Clock Set
√
√
Install
√
√
CM Skip Time
: 15 Sec
√
√
AV1 Output
: Video
√
√
NICAM
: On
√
√
S
ystem Setup
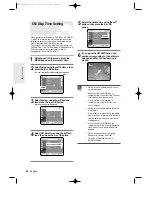
6
Set Auto clock tap “On” or “Off” using
the
…†
buttons.
7
Press OK button, then the date and time
will be saved.
If you don’t press OK button, it will not be saved.
RETURN
OK
MOVE
EXIT
Clock Set
DVD-RAM(VR)
Time Date Year
00
Auto Clock :
:
THU
01
2004
JAN
12
Off
■
You must have the antenna connected to
set the Auto Clock.
See page 15 Connections.
■
Auto Clock : The recorder sets the clock
automatically by searching for a channel
that carries a time signal.
NOTE
00566A-D-R3_14~35 8/31/04 10:28 AM Page 25

