7. After drilling, put a chisel in position across the hole
and strike sharply to break the ring. Replace with a new
ring at time of reassembly (Fig. 11).
Wear protective safety goggles when break
ing the retaining ring. Personal injury could
result from flying metal particles. Keep all
personnel away during this procedure.
WARNING
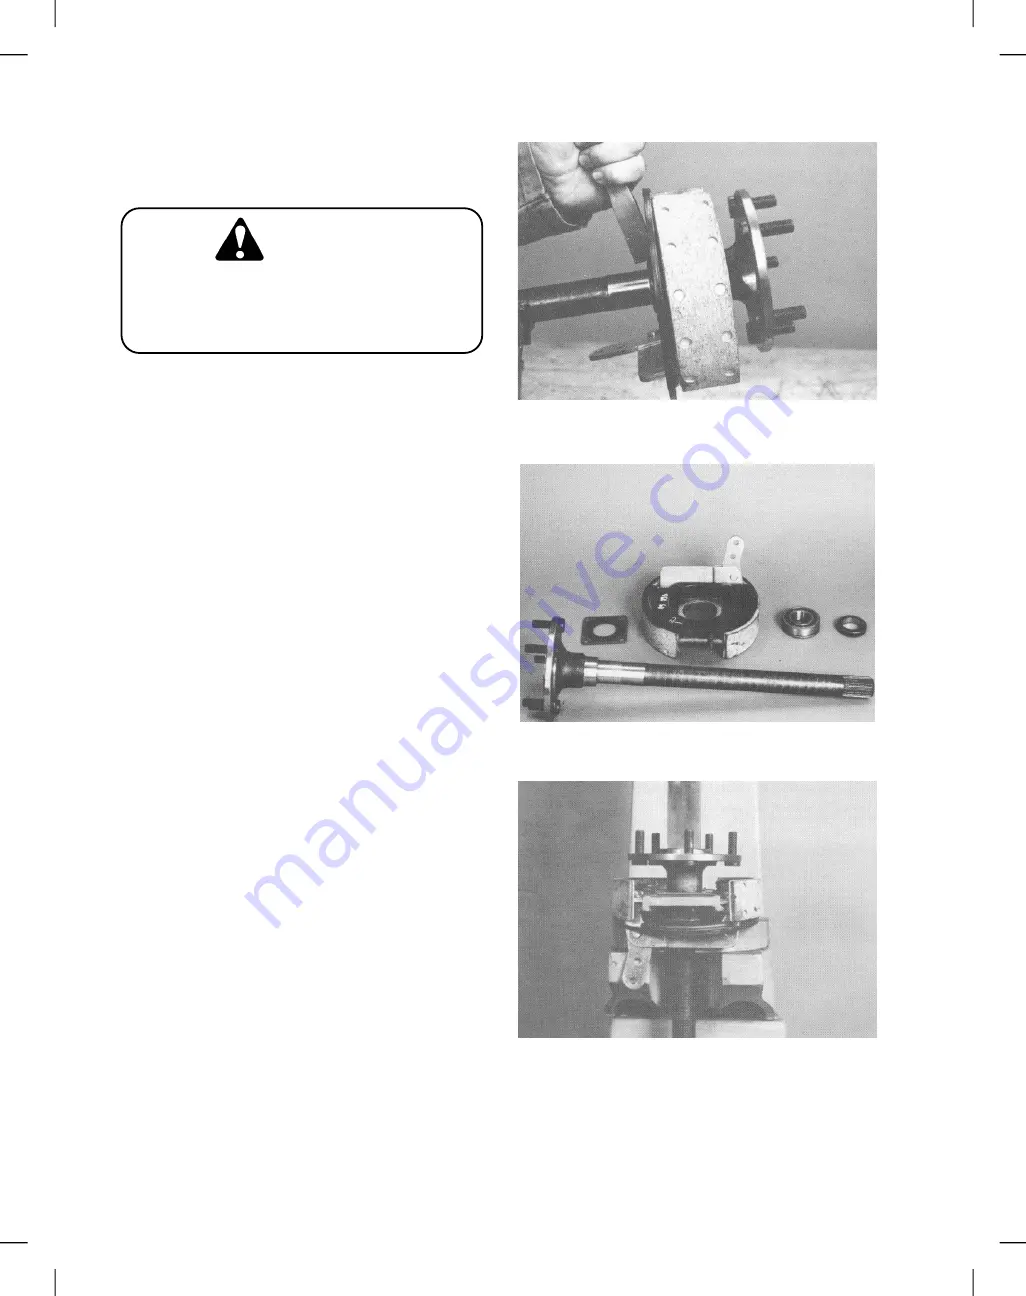
8. Inspect the shaft for possible damage (Fig. 12).
Inspect the sealing surface of the hub and shaft.
Replace it if the seal has grooved the surface more that
1/64 inch (0.4 mm).
9. Put a new grease seal, brake assembly, and a new
grease packed bearing (in that order) onto the axle
shaft.
Figure 11
Figure 12
10. Press the assembly until the bearing is firmly seated
against the axle shaft shoulder (Fig. 13).
Figure 13
Repairs
Page 6 - 6
Reelmaster
®
5100-D
Summary of Contents for Reelmaster 5100-D
Page 2: ...This page is blank ...
Page 4: ...This page is blank ...
Page 8: ...Safety Instructions Page 1 4 Reelmaster 5100 D ...
Page 12: ...Maintenance Interval Chart Maintenance Interval Chart Page 2 4 Rev A Reelmaster 5100 D ...
Page 32: ...Troubleshooting Page 3 16 Reelmaster 223 D 5100 D ...
Page 33: ...Reelmaster 223 D 5100 D Page 3 17 Troubleshooting ...
Page 86: ...Specifications Page 4 2 2 Reelmaster 5100 D ...
Page 90: ...Hydraulic Schematic Rev A Hydraulic Schematic Page 4 6 Reelmaster 5100 D ...
Page 154: ...Logic Chart Page 5 2 Reelmaster 5100 D ...
Page 155: ...Wiring Schematic S N Below 51001 Rev B Reelmaster 5100 D Page 5 3 Wiring Schematic ...
Page 206: ...Repairs Page 5 48 Rev A Reelmaster 5100 D ...
Page 230: ...Repairs Page 6 24 Reelmaster 5100 D ...
Page 304: ...Repairs Page 8 22 Reelmaster 223 D 5100 D 5300 D ...
Page 317: ...This page is blank ...


