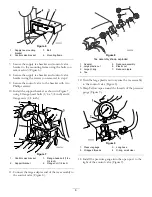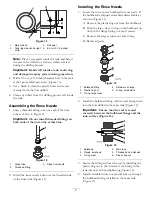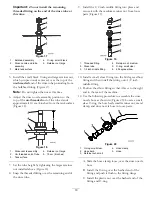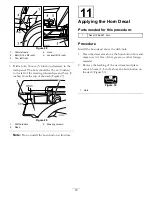
2. Install the tail light bracket to the center boom
support with 2 bolts (5/16 x 3/4 inch) and 2 locknuts
(5/16 inch) (Figure 34).
3. Install the tail light to the tail light bracket with 2
palnuts (1/4 inch) (Figure 34).
Figure 34
1.
Tail light
4.
Bolt (5/16 x 3/4 inch)
2.
Tail light bracket
5.
Locknut (5/16 inch)
3.
Left side boom support
6.
Palnut (1/4 inch)
14
Applying the Decals on the
Booms
Parts needed for this procedure:
2
Decal, 104-8904 boom
Procedure
1. Measure from the end of the booms as shown in
Figure 35
1.
Decal
3.
Measure 90 cm (35-1/2
inches)
2.
Boom
2. Clean the decal area and make sure the area is free of
dirt, grease, or other foreign material.
3. Remove the backing of the new decal and place onto
the boom (Figure 35).
Figure 36
Boom decal, 104-8904
1.
Grab boom here
4. Repeat the procedure on the opposing boom.
15
Installing the Wire Harness
and Horn Button
Parts needed for this procedure:
1
Horn button assembly
1
Wire harness
7
Plastic ties
Installing the Horn Button
1. Open the horn button packing that includes the horn
switch and button cap, 2 screws, and a retaining ring.
17


