11
Install Filtration & RO Membrane Cartridges
1.
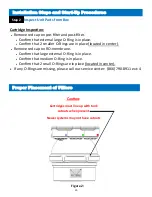
Remove red cap from top of filter & RO membrane cartridges.
2.
With a black permanent marker, write the date on each filter to track replacement time. Filters
last up to a year.
3.
Pre
-
fill all the cartridges with bottled water or tap water until they overflow from the top. Wait
3 minutes and top off as cartridges soak up water. Repeat until cartridges are completely
saturated and no air is present at the top.
4.
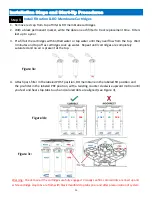
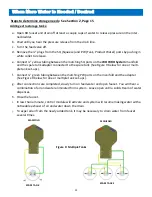
Attach post
-
filter in the labeled POST position, RO membrane in the labeled RO position and
the pre
-
filter in the labeled PRE position, with a twisting counter clockwise upward motion until
you feel and hear stop tabs touch and colored dots are aligned (see Figure 3), .
Installation Steps and Start
-
Up Procedures
Step 3
Figure 3a:
Warning: Check to see if the cartridges are fully engaged. Visually confirm colored dots are lined up and
white cartridge stop tabs are flush with black manifold stop tabs prior and after pressurization of system.
Figure 3b:
Figure 3c:
POST
RO
PRE
POST
RO
PRE
Summary of Contents for WOW RO System
Page 4: ...4 Figure 1 Installation Diagram...
Page 5: ...5 Section 1 Installation Start up Procedures...
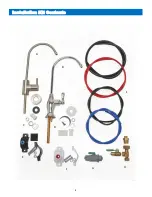
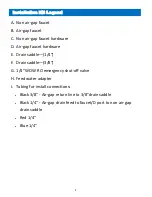
Page 8: ...8 Installation Kit Contents A B C D E F G H I G...
Page 17: ...17 Figure 7 Refrigerator Icemaker...
Page 24: ...24 Modular Expandability Parallel Processing...
Page 25: ...25 Section 4 Plumbing the Sink...
Page 29: ...29 Section 5 Maintenance...
Page 35: ...35 Section 6 Troubleshooting...


