8
5. INSTALLATION INSTRUCTIONS
PLEASE READ THESE INSTRUCTIONS BEFORE STARTING TO OPERATE THE LIFT.
STEP 1: After unloading the lift, place it near the intended installation location.
STEP 2: Remove the shipping bands and packing materials and the power unit from the lift.
STEP 3: Open the wrapping from the upper column and carefully remove the parts from
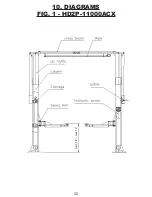
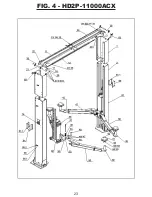
inside. Unbolt the column from the shipping brackets. Unbolt the up-rights (1) from the
columns (2) and assemble them to the columns based on any height restrictions.
STEP 4: Once the lift location is decided, chalk the center line in the bay and ensure the
proper lift placement is observed from walls and obstacles. Also check the ceiling height for
clearance in this location.
STEP 5: Unpack the cylinders and open the oil port on each cylinder by unscrewing the
black plastic cap. Move the carriage up about 20” to 25”. Next, carefully slide the cylinder
inside from the bottom of the carriage. The oil port will face the backside of the column and
the notch on the bottom of cylinder will fit into the hole in the center of the base plate.
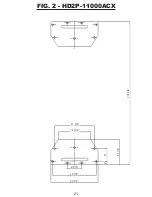
STEP 6: Position the columns facing each other 137 3/8” between outside base plates.
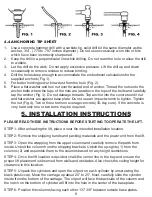
4.4 ANCHORING TIP SHEET
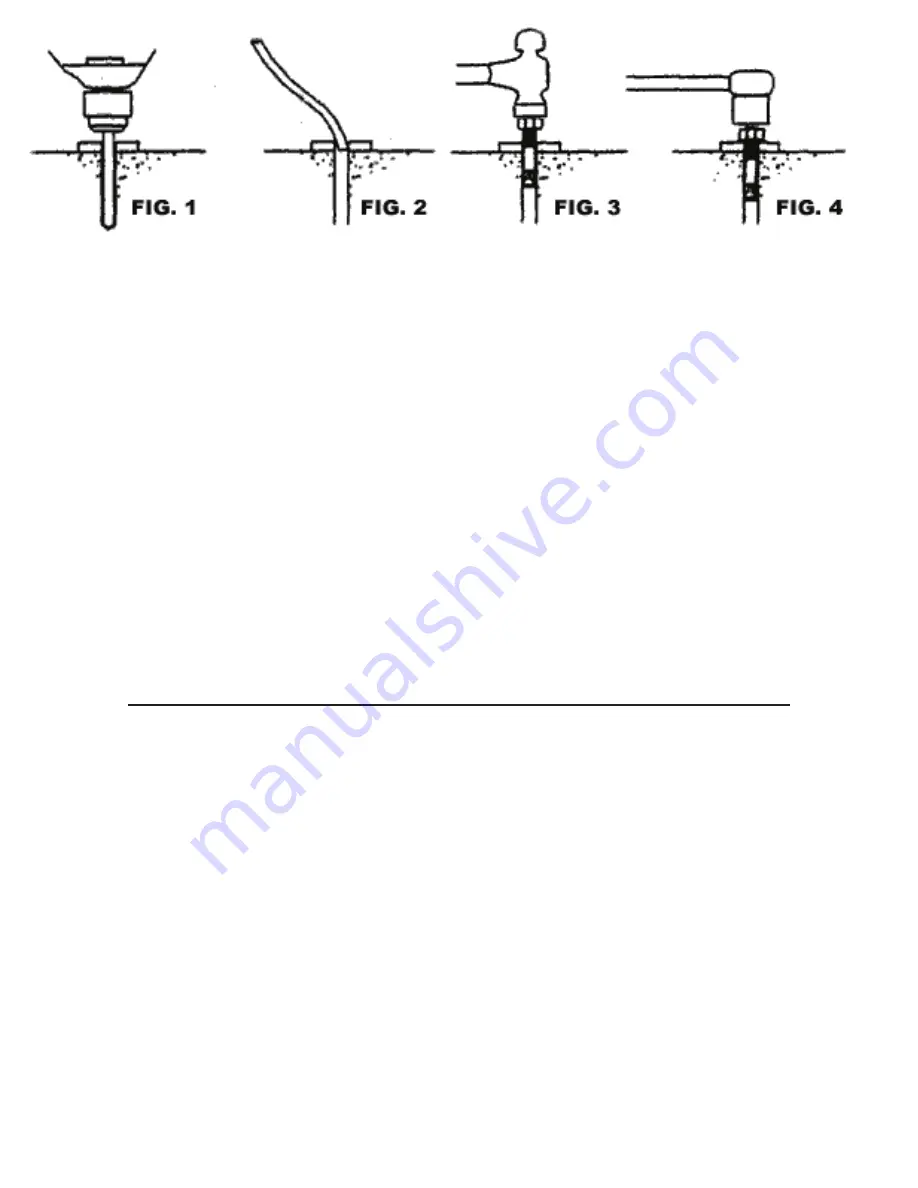
1. Use a concrete hammer drill with a carbide tip, solid drill bit the same diameter as the
anchor, 3/4”. (.775 to .787 inches diameter). Do not use excessively worn bits or bits
which have been incorrectly sharpened.
2. Keep the drill in a perpendicular line while drilling. Do not ream the hole or allow the drill
to wobble.
3. Let the drill do the work. Do not apply excessive pressure. Lift the drill up and down
occasionally to remove residue to reduce binding.
4. Drill the holes deep enough to accommodate the embedment calculations for the
supplied anchors (Fig. 1).
5. For better holding power blow dust from the hole (Fig. 2).
6. Place a flat washer and hex nut over threaded end of anchor. Thread the nuts onto the
anchor bolts where the tops of the nuts are just above the tops of the bolts and carefully
tap the anchor (Fig. 3). Do not damage threads. Tap anchor into the concrete until nut
and flat washer are against base plate. Do not use an impact wrench to tighten. Tighten
the nut (Fig. 4). Two or three turns on average concrete (30-day cure). If the concrete is
very hard only one or two turns may be required.


