Connecting to the ThinkRF R5750
16
ThinkRF R5750 Real Time Signal Analyzer User Guide
1.
Connect the Ethernet cable provided with the R5750 to the Ethernet port on the
PC and the Ethernet port on the R5750.
2.
Power up the R5750 and wait a minute for it to complete booting.
3.
Check to ensure that the R5750 LINK indicator is illuminated. If it is not
illuminated, your PC may not support automatic crossover on its Ethernet
connection and you may require an RJ-45 crossover Ethernet cable.
4.
If you are using static IP allocation, go to the next step. If you are using dynamic
IP address allocation, check the STS LED for the Auto-IP setup completion (this
takes approximately one minute or longer).
Note
: While the R5750 is searching for a DHCP server, the STS LED blinks yellow slowly
until it obtains an IP address either via DHCP or Auto-IP. The STS LED blinks in a green
heartbeat pattern if it has set up successfully to using an Auto-IP address.
5.
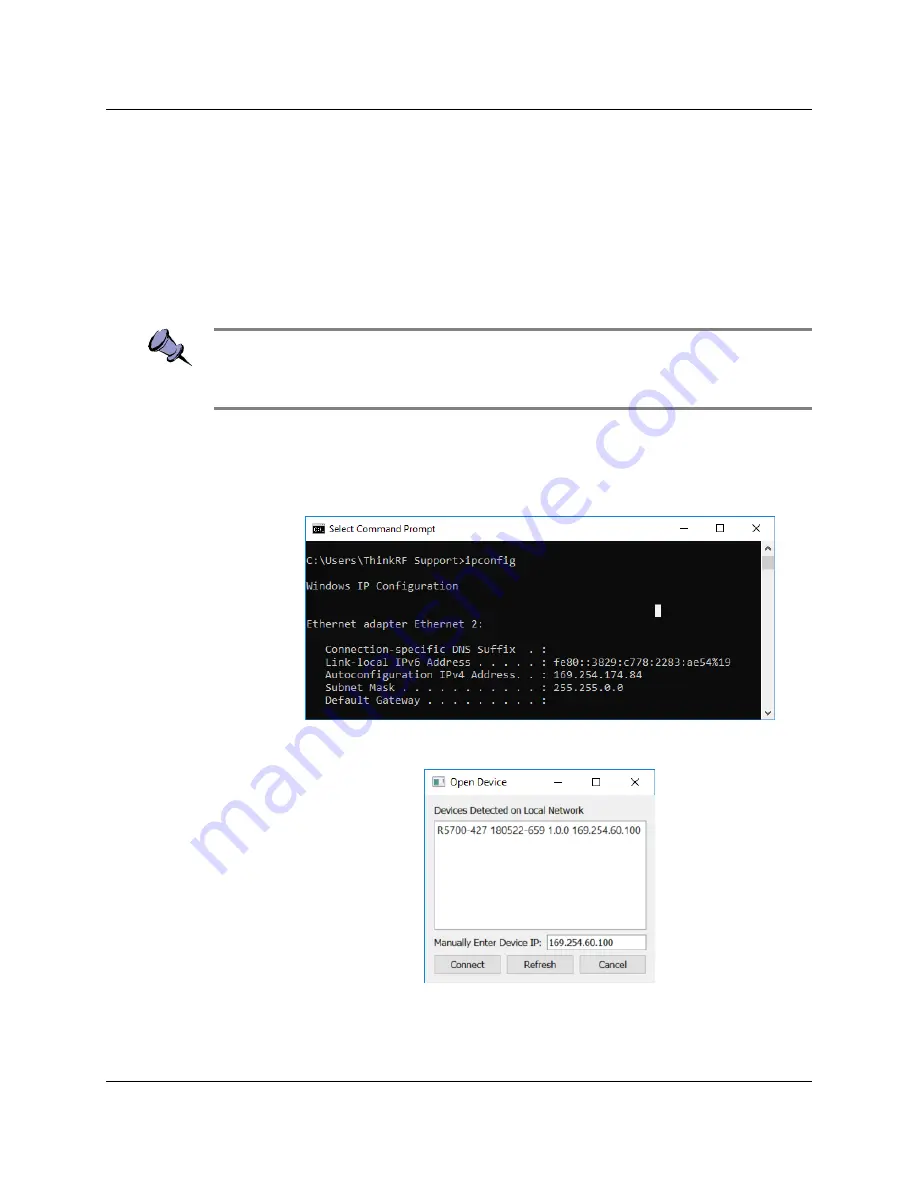
Verify the PC's IP configuration by opening a Command window and typing the
ipconfig
command to show the IP addresses assigned to each interface.
The Ethernet interface should show a 169.254.x.y address as shown in the
example below:
6.
Launch the S240 Real-Time Spectrum Analysis Software to determine the
assigned IP address of the R5750.
In order for the Discovery tool to locate the R5750, your computer and the R5750
must be configured for the same subnet. If you are using Auto-IP dynamic IP
allocation, then they will both be on the same 169.254.x.y subnet.


