36 | Operation
Thermo Fisher Scientific CryoExtra CE8100 Series
Use the “
” keys to scroll to the appropriate number.
Press “ENTER” to advance the cursor to the next position.
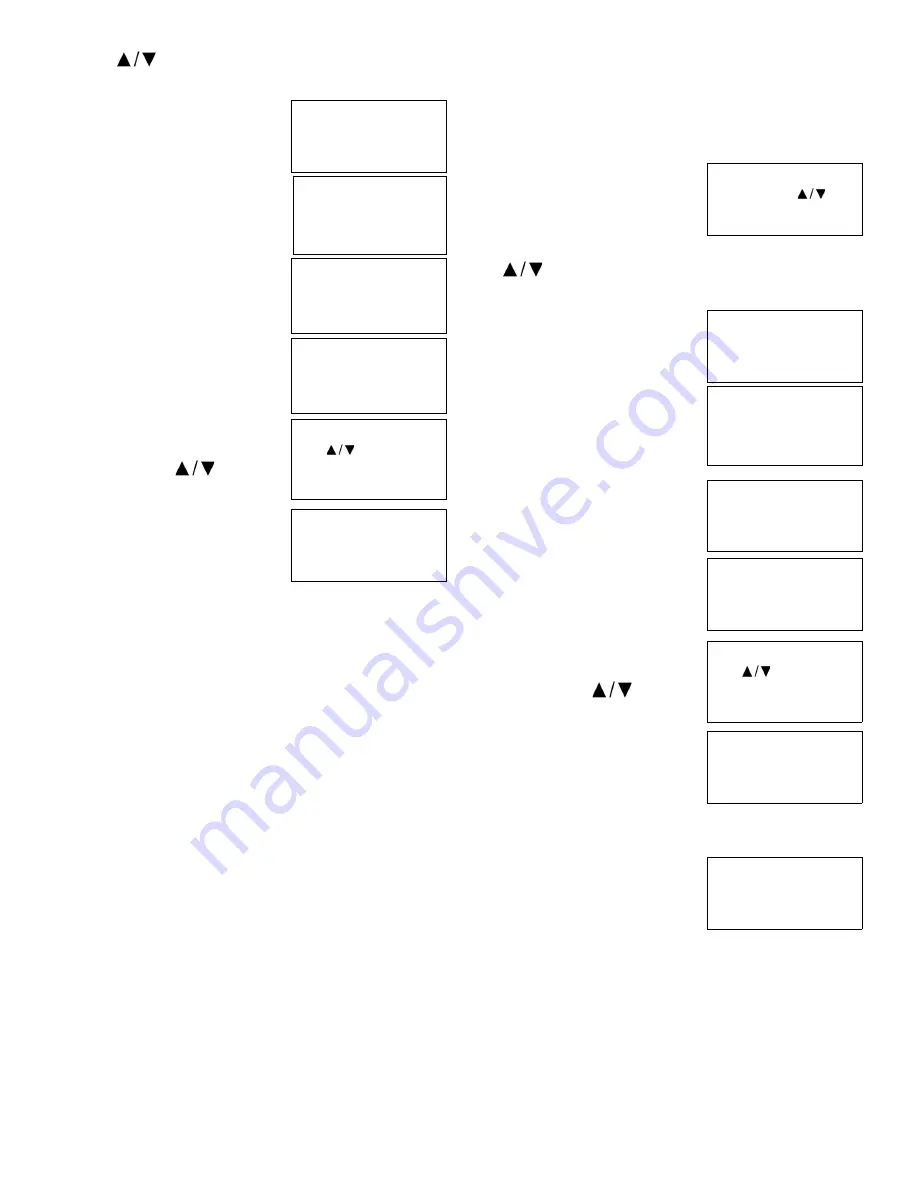
2.
Press “ENTER”
The display will read “Temperature
Menus”.
3.
Press “SETUP”
Until the display reads “Advanced
Settings”.
4.
Press “ENTER”
The display will read “Advanced Fill
Menus”.
5.
Press “SETUP”
Until the display reads “Restart
Controller”.
6.
Press “ENTER”
The display will read “Confirm
Restart”. Use the “
” keys to
change to “YES”.
7.
Press “ENTER”
The Controller will restart and the
display will read “Starting Please
Wait”. Following the startup
sequence, the display will return to
the main monitoring screen.
Firmware Update
Note:
Controller firmware should only be updated by
authorized CryoExtra Distributors or under the direction of
Technical Service. Improper firmware updates can render the
Controller inoperable.
The firmware or Controller software, can be updated in the
event that a new revision is released. A personal computer,
COM USB communications kit (PN CE8100COM) and the
current firmware updater program are required to perform an
upgrade. Contact your authorized CryoExtra Distributor or
Technical Service for more information.
1. Connect the Controller COM USB kit to serial port 1 on
the Controller and a USB port on a computer.
2. Start the current firmware updater program.
3. When prompted, select “Update Firmware” in the
Controller Advanced Settings Menu and cycle power to
the Controller.
4. The updater program should begin loading the new
firmware.
5. Once complete, the Controller may take several minutes
to reboot. It is normal for an occasional beep to sound
during this rebooting period.
Note:
Security Level 3 or higher is required to update the
firmware.
1.
Press “SETUP”
Controller will prompt for a
password. A flashing cursor on the
entry screen will make it clear
which digit is being changed. Use
the “
” keys to scroll to the appropriate number. Press
“ENTER” to advance the cursor to the next position.
2.
Press “ENTER”
The display will read “Temperature
Menus”.
3.
Press “SETUP”
Until the display reads “Advanced
Settings”.
4.
Press “ENTER”
The display will read “Advanced Fill
Menus”.
5.
Press “SETUP”
Until the display reads “Update
Firmware”.
6.
Press “ENTER”
The display will read “Confirm
Update”. Use the “
” keys to
change to “YES”.
7.
Press “ENTER”
The display will read “Connect
COM 1 to a PC and cycle
Controller power”. After cycling
Controller power, the updater
program should begin loading the new firmware.
8. During the firmware update,
the display will read
“Communications Loss Check
Controller”. This is normal.
Upon completion, the startup
sequence should begin within
several minutes.
Press ENTER for
Temperature Menus or
press
SETUP for next
Press ENTER for
Advanced Settings or
press SETUP for next
menu
Press ENTER for
Advanced Fill Menus or
press SETUP for next
menu
Press ENTER to Restart
Controller or press
SETUP for next menu
Confirm Restart NO
Use
to
adjust
Press ENTER to save
Starting
Please Wait
Version: 2.03
Higher User Level
Required use
to
ENTER Password 0000
Press ENTER for
Temperature Menus or
press
SETUP for next
Press ENTER for
Advanced Settings
or press SETUP for next
menu
Please ENTER for
Advanced Fill menus or
press SETUP for next
menu
Press ENTER to Update
Firmware or press
SETUP for next menu
Confirm Update NO
Use
to
adjust
Press ENTER to save
Connect COM 1 to a PC
and Cycle Controller
power.
Communications Loss
Check Controller


