DE10-Standard
User Manual
103
www.terasic.com
January 19, 2017
APIs in lcd_graphic.c don’t drive LCD to draw graphic pixels directly. All graphic pixels are stored
in a temporary image buffer called "Canvas". When API "DRAW_Refresh" is called, all drawing
data in the Canvas is transferred to LCD. In this demonstration, main program calls "DRAW_Clear"
to clear LCD Canvas first. "DRAW_Rect" and "DRAW_Circle" are called to draw geometry in
Canvas. "DRAW_PrintString" is called to draw font in Canvas. Finally, "DRAW_Refresh" is called
to move Canvas data onto LCD.
Demonstration Source Code
Build tool: SoC EDS v16.1
Project directory: \Demonstration\SoC\hps_lcd
Binary file: hps_lcd
Build command: make ("
make clean
" to remove all temporary files)
Execute command: ./hps_lcd
Demonstration Setup
Connect the USB cable to the USB-to-UART connector (J4) on the DE10-Standard board and
host PC.
Make sure the executable file "
hps_lcd
" is copied into the SD card under the /home/root folder
in Linux.
Insert the booting micro SD card into the DE10-Standard board.
Power on the DE10-Standard t board.
Launch PuTTY to connect to the UART port of DE10-Standard board and type "
root
" to login
Yocto Linux.
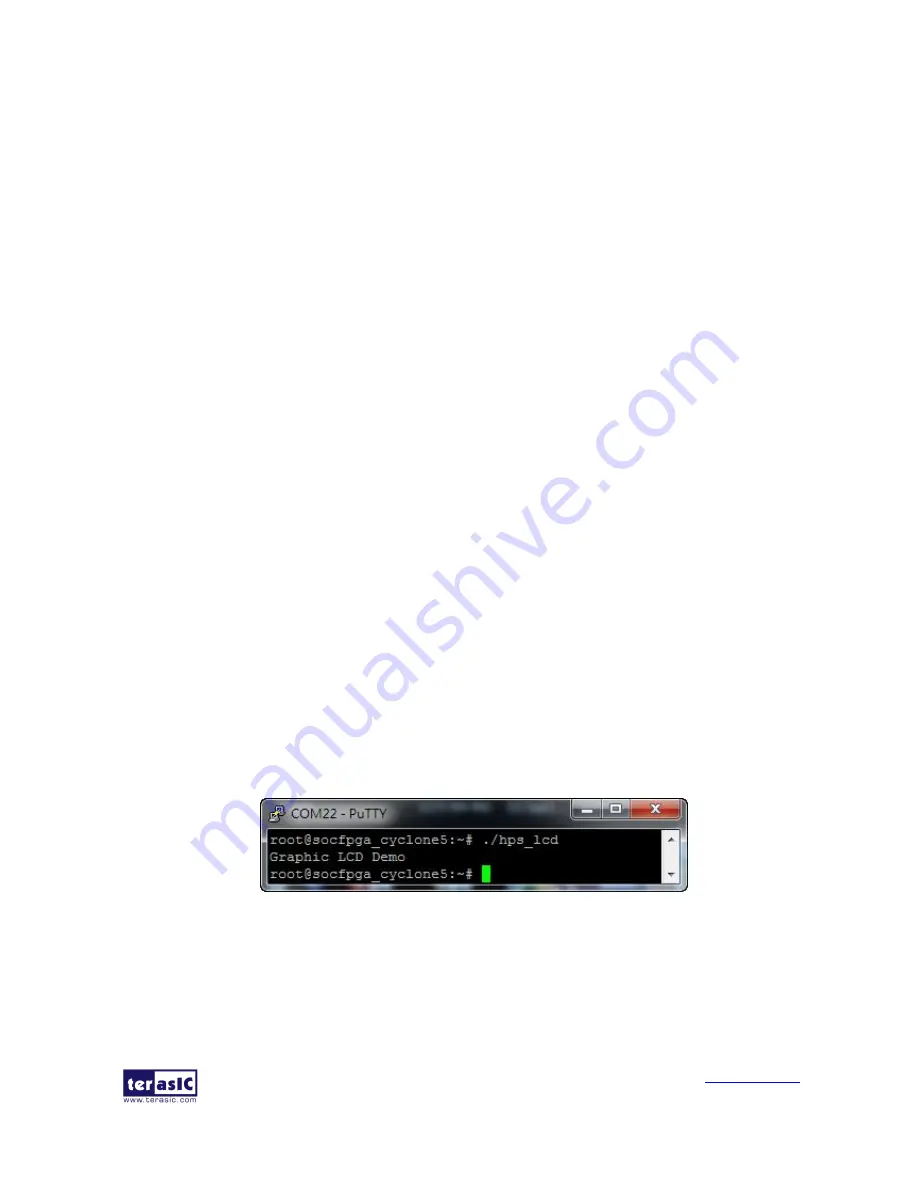
In the UART terminal of PuTTY, type "
./hps_lcd
" to start the LCD demo, as shown in
Figure
6-13
.
Figure 6-13 Launch LCD Demonstration
Users should see the LCD displayed as shown in
Figure 6-14.


