


Model CFA-24 Transparent Cable Farm Automation Switch Reference Manual Page 6 of 76
3.0
Before You Begin
➢
Do not punch down cable to the CFA-24 until you have read this document and the reference manual. The last
step in setting up your system is punching down the cable.
➢
Always use the punch down tool approved by Telebyte.
3.1 Establish CFA Network
Do not connect CFA-24 units with the same IP address to the POE switch.
The CFA-24 units do not
support DHCP. A default static IP address for each CFA-24 is configured at the factory and must be
changed if there is more than one unit in the CFA network. Connect only one unit at a time to the POE
switch while a new IP address is assigned through the web browser interface. This prevents IP address
conflicts which can prevent communication with the CFA-24.
3.2 Connecting Standalone CFA-24 to POE Adaptor
CFA-24 Default IP Settings:
IP:172.16.21.241
Subnet Mask: 255.255.255.0
When the CFA network consists of only one (Standalone) unit, the CFA-24 is most likely connected to power via
a POE adaptor (CFA-POE-1). The IP address for the Standalone unit may be changed from the factory default if
desired but this is not required. If the CFA network consists of two or more units, see
Connecting CFA-24 to POE
Switch
in the next section.
1.
Plug the POE adaptor into a power source.
2.
Configure the remote PC with an IP address in the same subnet of the CFA’s IP.
3.
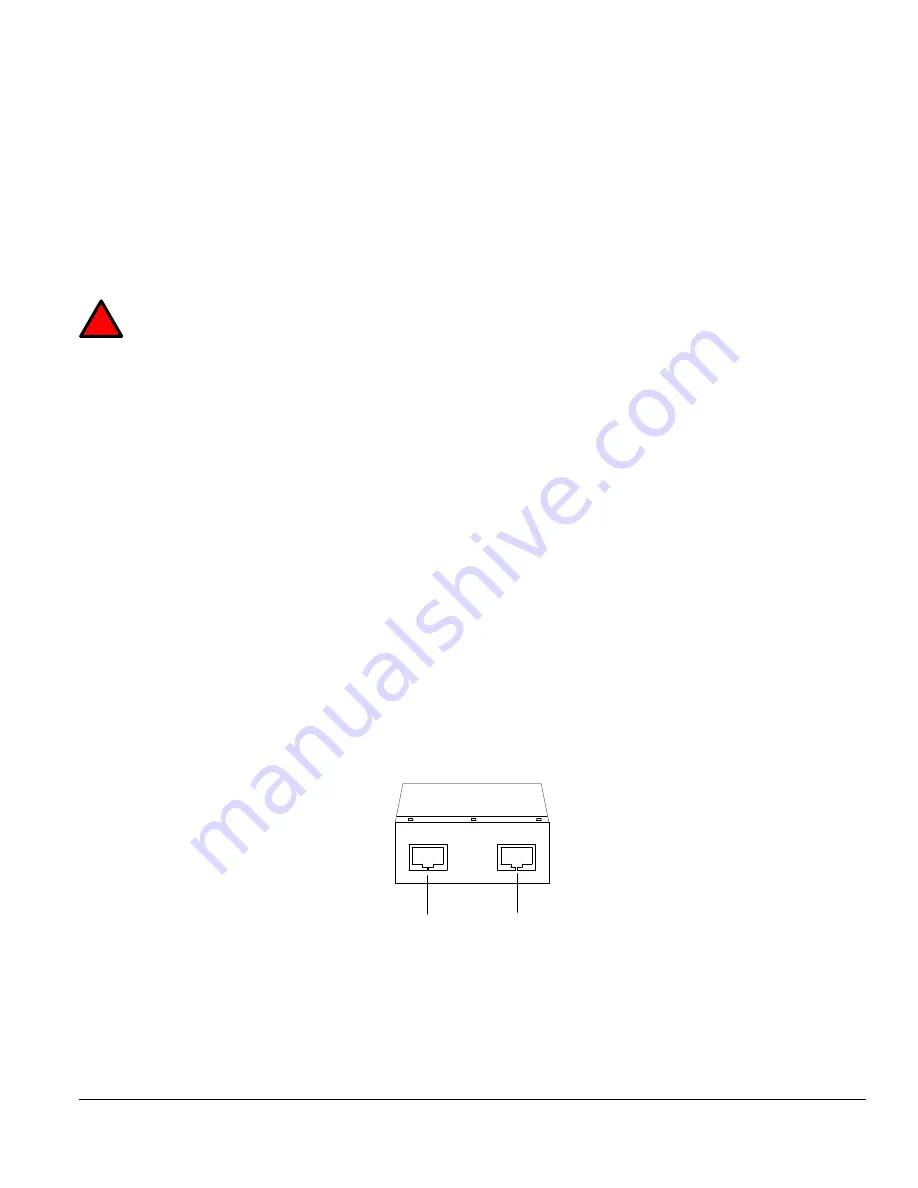
Connect a remote PC to the IN port of the POE adapter.
4.
Connect the CFA to the OUT port of the POE adapter and wait at least 75 seconds for the CFA-24 to boot up.
An LED in the front of the unit turning from RED to GREEN indicates the system is ready.
5.
From the remote PC, open a web browser and enter the factory default IP: 172.16.21.241 to communicate with
the CFA-24 unit.
6.
The Main screen is displayed.
OUT
IN
CFA
PC
!
IMPORTANT


